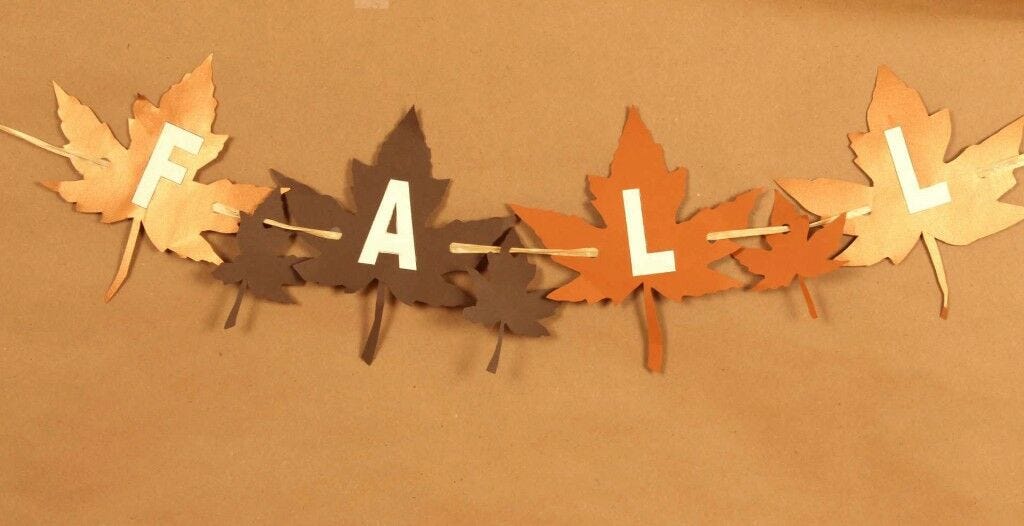
Fall in Love With Our DIY Fall Banner
- By Andrew Jacobs
- Sep 20, 2013
Fall in Love With Our DIY Fall Banner
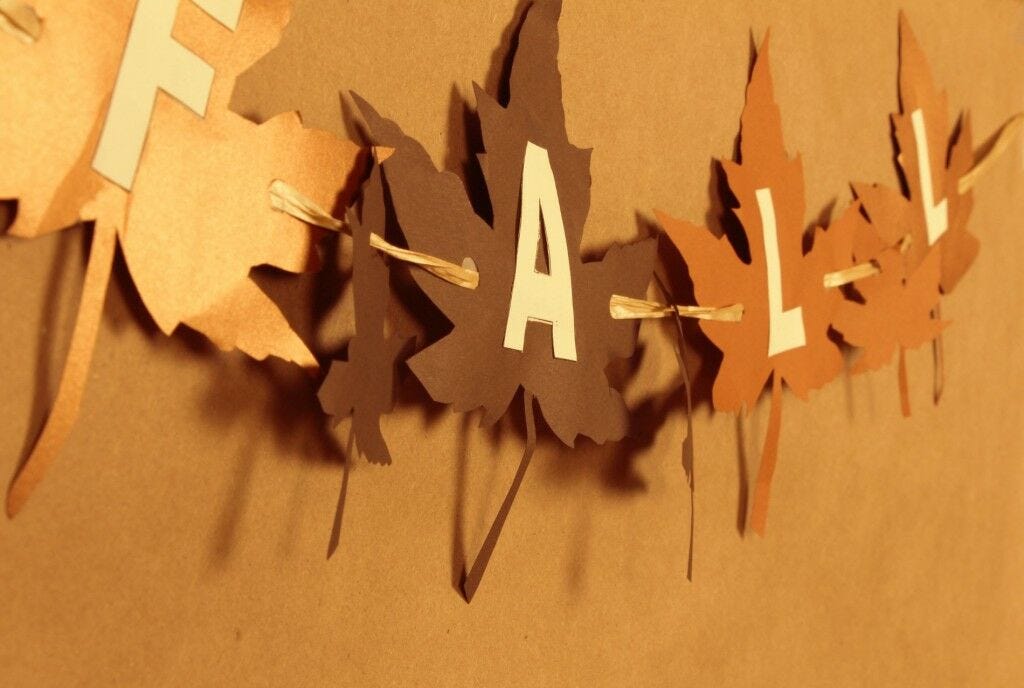
With fall arriving this Sunday we thought we would share with you a simple fall foliage inspired banner. It's super easy to make and if you're looking for some fall decor, it's a lovely option.Materials
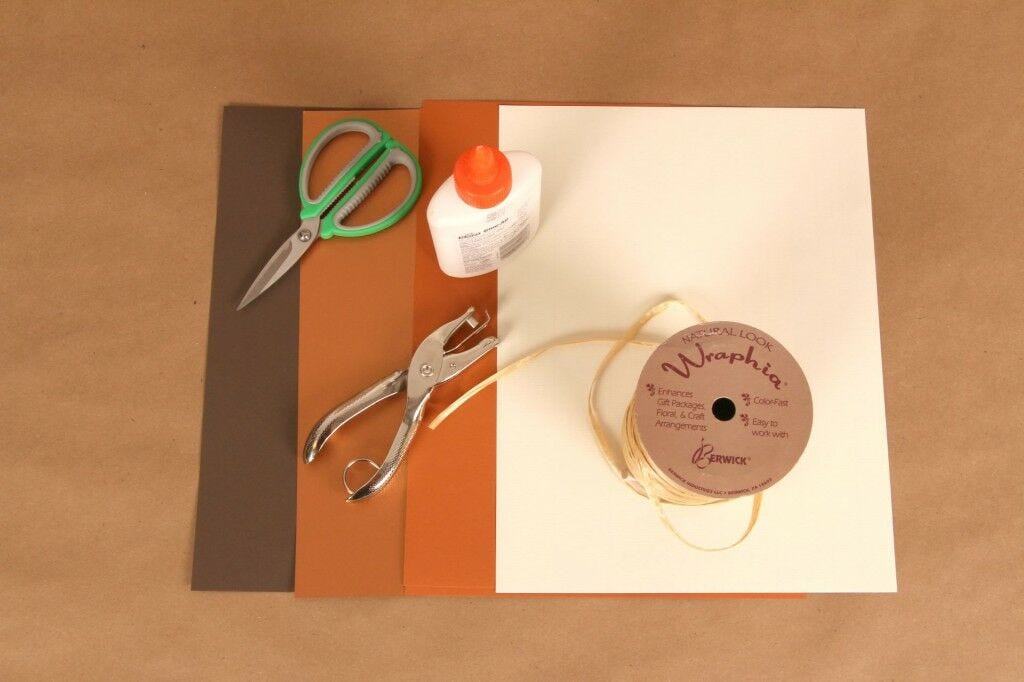
- Cardstock from JAM Paper
- Strathmore Laid Paper
- Glue
- Hole Punch
- Kraft Wraphia
- Ribbon Scissors
- Printer
Creating the Leaves
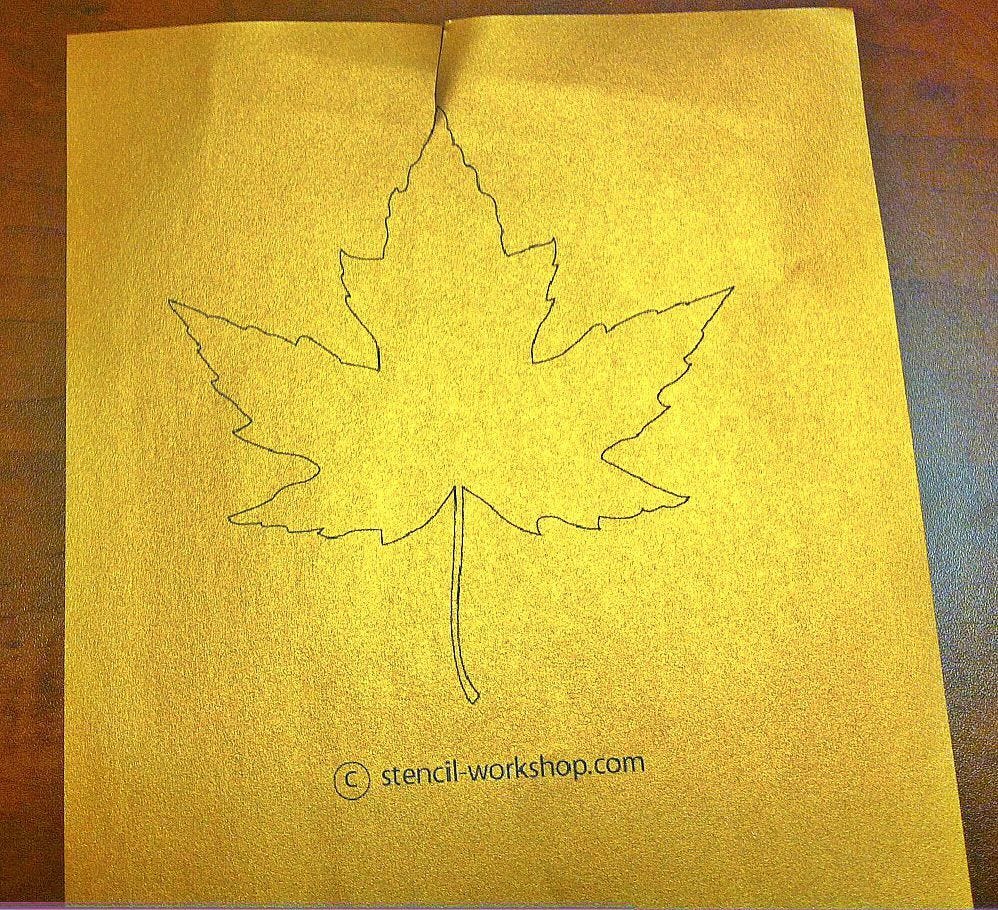
We created the leaves by using an online stencil site, stencil-workshop.com, and printing the stencil out on our cardstock. Print two different leaf sizes for every piece of cardstock. The larger leaves will hold the lettering, while the smaller leaves will be placed in between as decoration. We wanted a nice autumn palette so the colors we chose were:- Copper
- Chocolate Brown
- Dark Orange
Adding the Letters
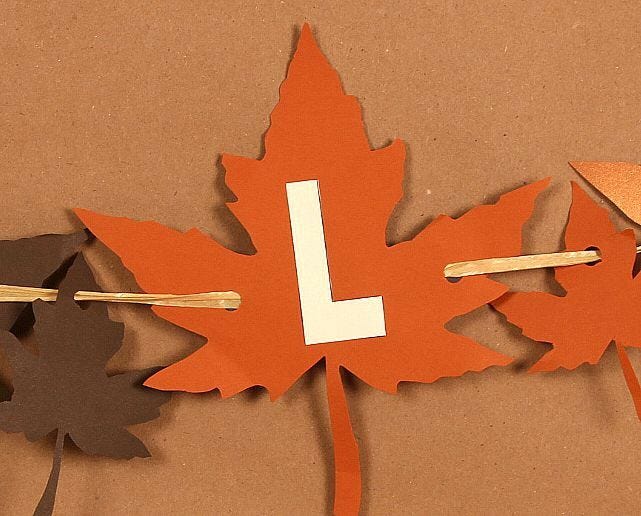
Using a Microsoft Word Document, open WordArt style one and type out the letters: FALL. Adjust the sizing accordingly. They should be small enough to sit at the center of your leaves. Once you are ready, print your letters out on your beautiful ivory paper. Cut out your letters and arrange your leaves in the color pattern you've chosen. Then simply glue the letters on.Attaching the Leaves
Once your leaves are ready, use your single hole punch to punch two holes on each leaf (one of either sides of the letter). For the smaller leaves you can punch holes at the top. Once you are done, cut a long section of Kraft wraphia and loop them all together. Tie off ends to create little circles for easy hanging. There you have it. A simple fall banner perfect for your front door, office desk, or store window.From your friends at JAM, happy autumn everyone!
Get Creative with Our DIY Fall Banner
As the leaves begin to change and the air becomes crisp, it's the perfect time to add some festive decor to your home. Our DIY Fall Banner is a fun and easy way to bring the colors and spirit of the season indoors. Whether you're hosting a fall gathering or simply want to add a touch of autumn to your living space, this banner is a great way to do so. With just a few simple materials and a little creativity, you can create a beautiful and personalized fall decoration that will impress your guests and bring joy to your home.
Benefits of Our DIY Fall Banner
Our DIY Fall Banner offers a range of benefits for anyone looking to add some seasonal charm to their home. Not only does it provide a creative outlet for crafting enthusiasts, but it also allows you to customize your decor to suit your personal style. Additionally, the banner can be a cost-effective alternative to purchasing pre-made fall decorations, and it can be a fun activity for families to enjoy together. By making your own fall banner, you can create a unique and meaningful piece that will bring warmth and joy to your home throughout the season.
Use Cases for Our DIY Fall Banner
There are countless ways to incorporate our DIY Fall Banner into your home decor. Hang it above a mantel, drape it across a doorway, or use it as a backdrop for seasonal photos. You can also get creative with where you display it, such as on a porch, in a dining room, or as part of a fall-themed vignette. The versatility of the banner allows you to experiment with different placements and styles, making it a versatile and adaptable decoration for any home.
Alternatives to Our DIY Fall Banner
While our DIY Fall Banner is a fantastic option for adding a personal touch to your fall decor, there are other alternatives to consider. For those who prefer a more minimalist look, simple garlands or wreaths made from fall foliage can offer a subtle yet elegant touch. Additionally, purchasing pre-made fall banners or signs can be a convenient option for those with limited time or crafting resources. However, creating your own banner allows for a unique and customized decoration that reflects your individual style and creativity.
Tips for Using Our DIY Fall Banner
When creating your DIY Fall Banner, consider using a variety of fall-themed materials such as burlap, twine, and faux leaves to add texture and visual interest. Experiment with different color schemes and patterns to create a banner that complements your existing decor. Additionally, consider incorporating personalized elements such as monograms or family names to make the banner even more special. Finally, don't be afraid to get creative and think outside the box when designing and displaying your fall banner.
Adding a Personal Touch to Your DIY Fall Banner
One of the best things about our DIY Fall Banner is the opportunity to add a personal touch to your home decor. Whether you choose to incorporate meaningful quotes, family names, or special symbols, the banner can be a reflection of your unique style and personality. By infusing your creativity and personal flair into the design, you can create a one-of-a-kind decoration that will bring warmth and joy to your home throughout the fall season.
