Handmade Holiday Greetings: DIY Christmas Cards
Key Summary:
- This article will provide creative ideas for handmade holiday greetings with a focus on DIY Christmas cards.
- Readers will learn how to make unique and festive cards for the holiday season.
- Key findings will cover materials needed, step-by-step instructions, tips and tricks, real-world use cases, and examples of DIY Christmas cards.
The holiday season is a time for spreading joy and cheer, and what better way to do so than with a personalized DIY Christmas card? In this article, we will explore various creative ideas for handmade holiday greetings that will surely impress your friends and family. From materials needed to step-by-step instructions, tips and tricks, real-world use cases, and examples of DIY Christmas cards, readers will learn how to create unique and festive cards that will spread holiday cheer to all who receive them.
Materials Needed
When creating DIY Christmas cards, it's important to have the right materials on hand. Some essential items include cardstock, scissors, glue, markers, and decorative paper. These materials will help you bring your creative ideas to life and make your handmade holiday greetings truly special.
Cardstock
Cardstock is a thick and sturdy type of paper that is perfect for creating the base of your DIY Christmas cards. It provides a solid foundation for your designs and ensures that your cards will hold up well during the holiday season.
Scissors and Glue
Scissors and glue are essential tools for any DIY project, including making Christmas cards. Scissors will help you cut out shapes and designs, while glue will allow you to securely attach embellishments and decorations to your cards.
Markers and Decorative Paper
Markers and decorative paper are great for adding color and personality to your DIY Christmas cards. Use markers to write heartfelt messages or draw festive designs, and use decorative paper to create unique patterns and backgrounds for your cards.
Step-by-Step Instructions
Creating DIY Christmas cards can be a fun and rewarding experience, especially when you follow step-by-step instructions. Whether you're making pop-up cards, 3D cards, or other unique designs, these instructions will guide you through the process and help you create beautiful handmade holiday greetings.
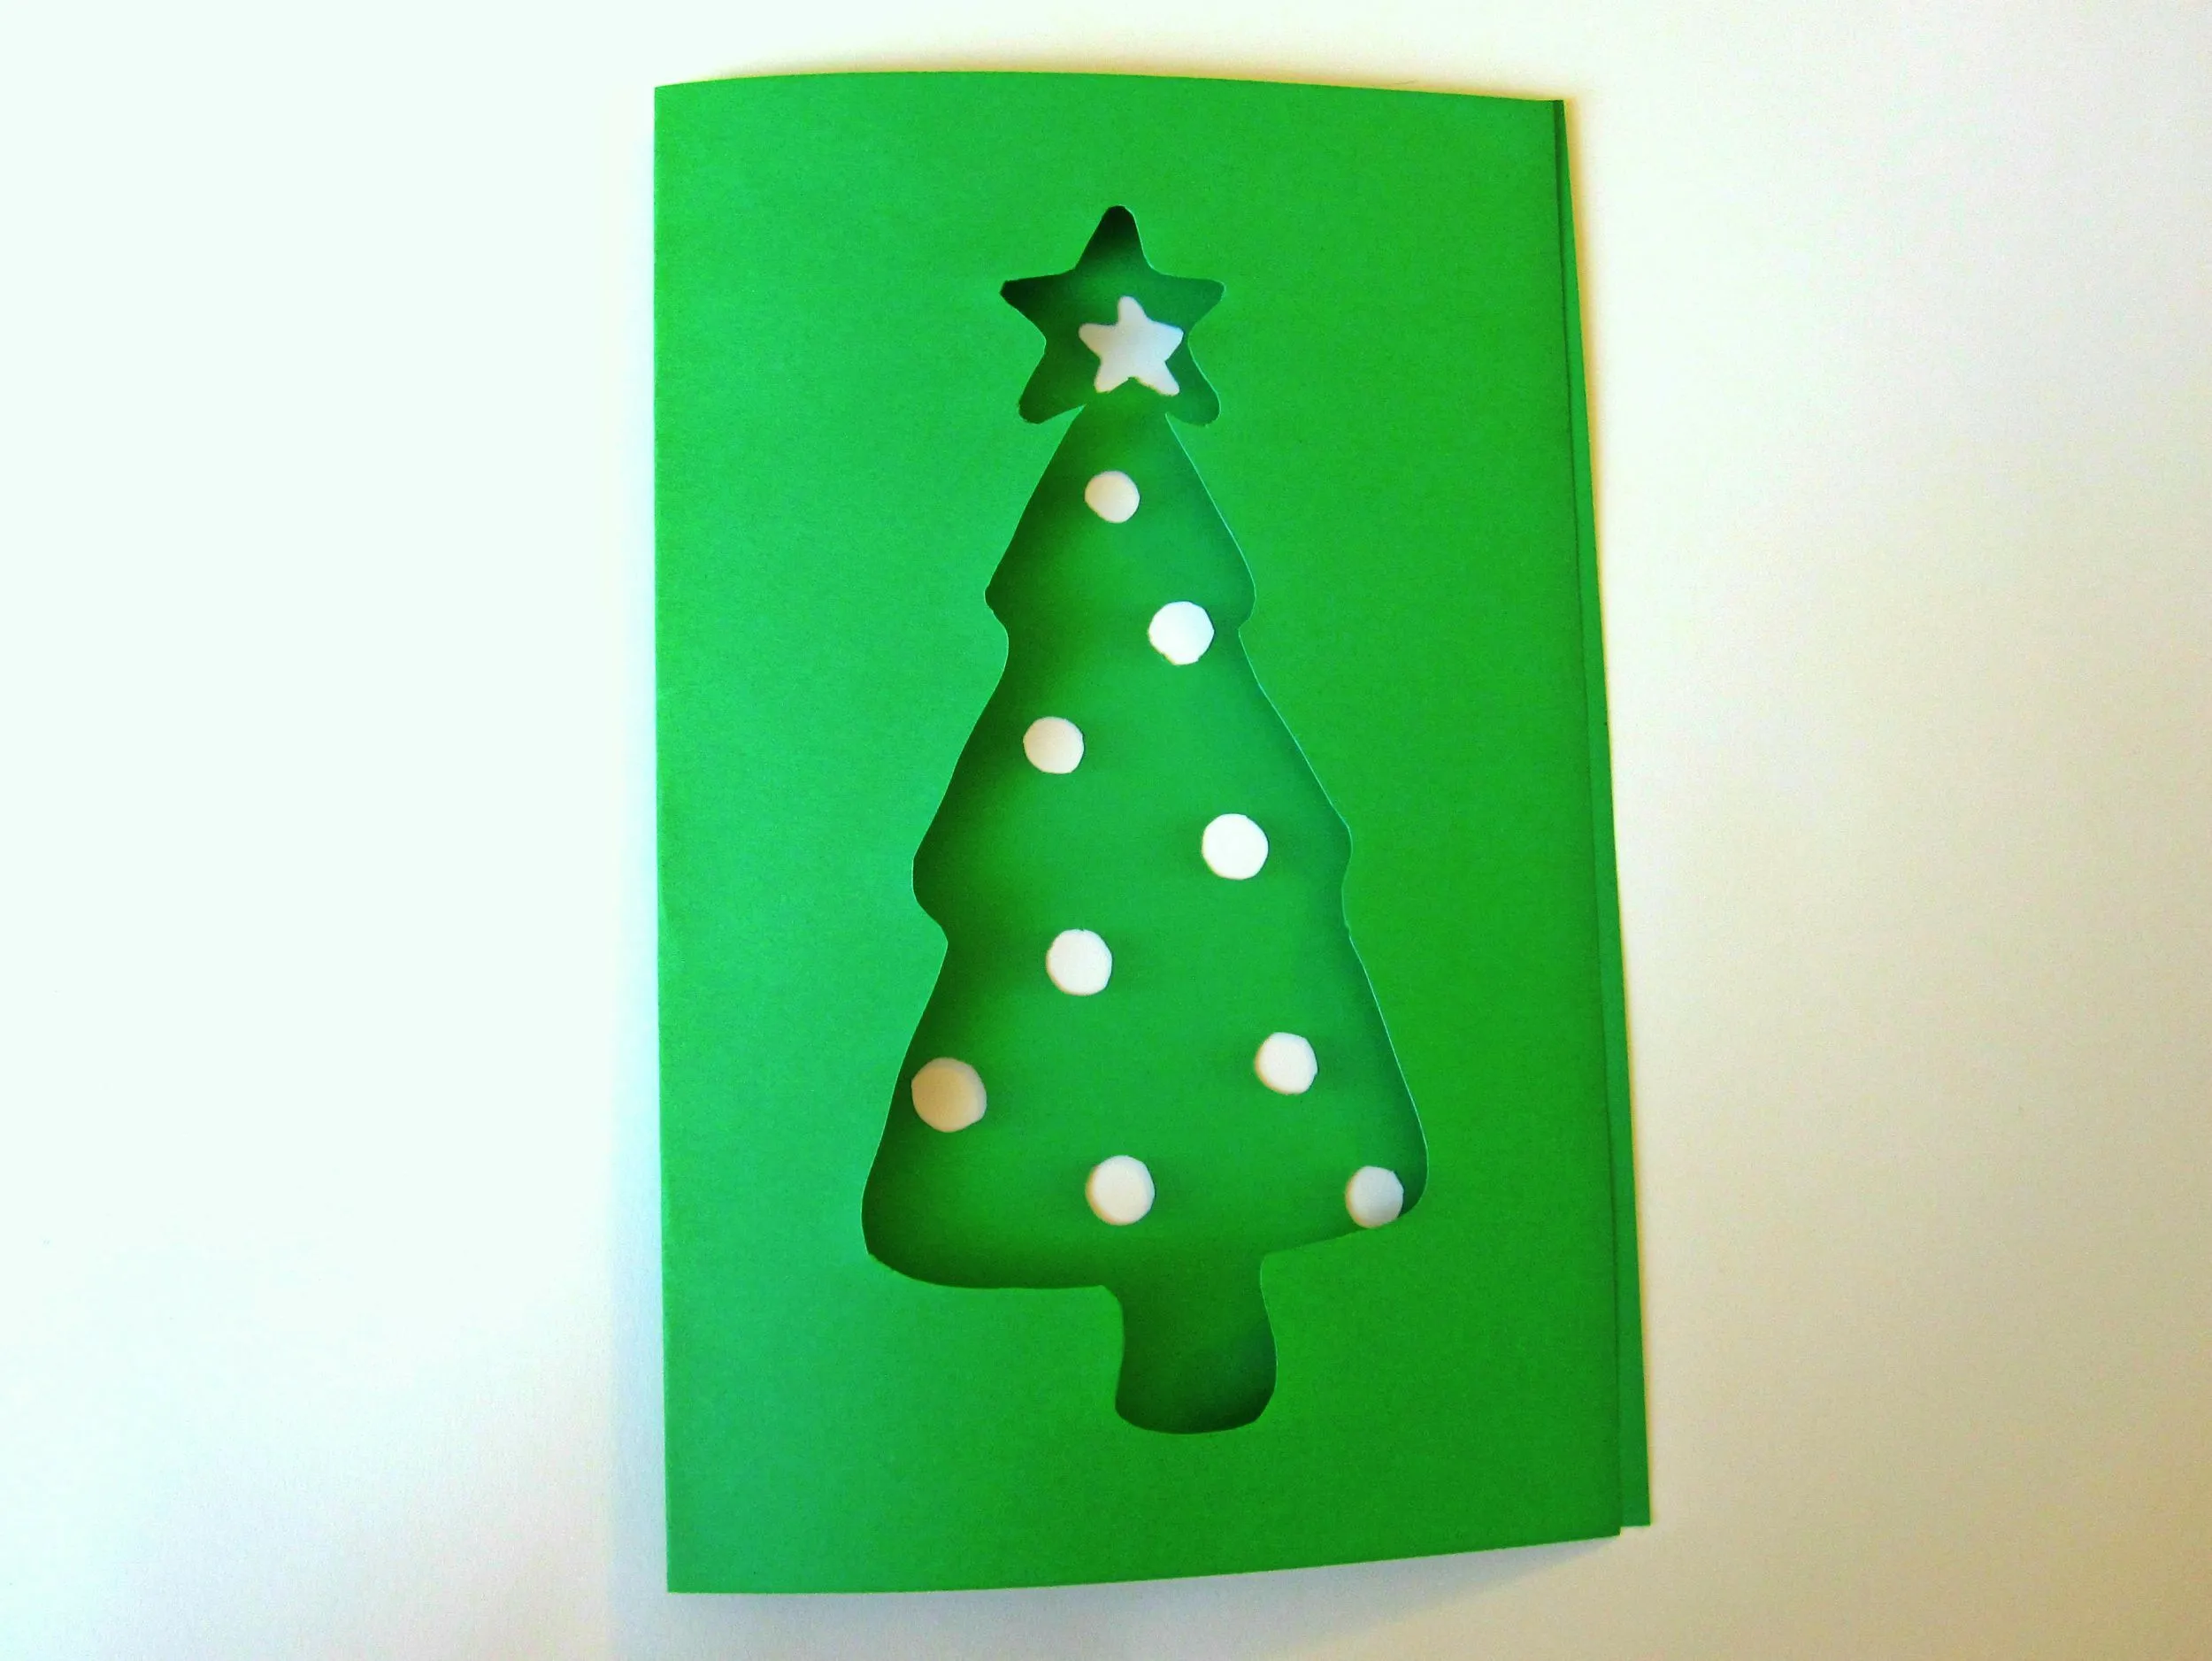
Pop-Up Cards
To make a pop-up card, start by folding a piece of cardstock in half to create the base of your card. Then, cut out a smaller piece of cardstock and fold it in half to create the pop-up element. Attach the pop-up element to the inside of the card using glue, and decorate the front of the card with festive designs and embellishments.
3D Cards
For 3D cards, begin by cutting out multiple layers of cardstock in different shapes and sizes. Stack the layers on top of each other using foam adhesive to create a three-dimensional effect. Add additional embellishments and decorations to bring your 3D card to life and make it truly unique.
Tips and Tricks
When making DIY Christmas cards, there are several tips and tricks that can help take your creations to the next level. From using glitter to incorporating personal touches, these tips will help you make your handmade holiday greetings stand out and impress your friends and family.
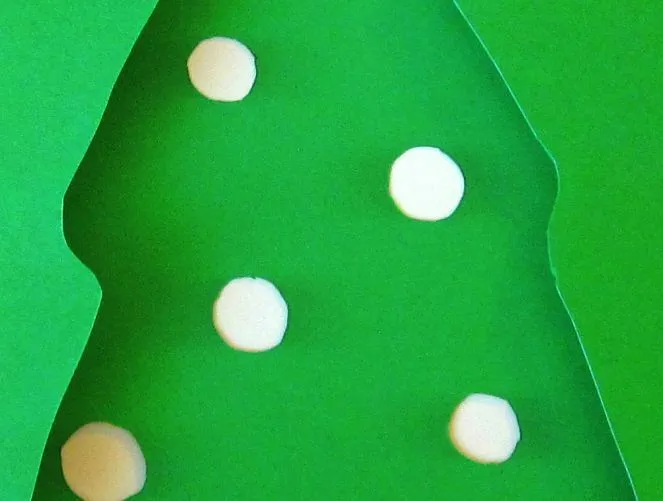
Use Glitter Sparingly
Glitter can add a touch of sparkle and shine to your DIY Christmas cards, but it's important to use it sparingly. Too much glitter can overwhelm your design and make your card look messy. Instead, use glitter strategically to highlight certain elements and create a festive look.
Incorporate Personal Touches
Adding personal touches to your DIY Christmas cards can make them even more special. Consider including handwritten messages, photos, or other personal elements that will resonate with the recipient and show them how much you care. These personal touches will make your handmade holiday greetings truly memorable.
Who Should Use This Product
DIY Christmas cards are perfect for:
- Crafty individuals who enjoy creating handmade gifts
- People looking to add a personal touch to their holiday greetings
- Families who want to create a fun and festive activity together
- Individuals on a budget who want to save money on holiday cards
- Anyone who wants to spread joy and cheer during the holiday season
When to Utilize This Product
You should consider making DIY Christmas cards:
- During the holiday season to spread cheer and goodwill
- When you want to add a personal touch to your holiday greetings
- For special occasions like Christmas parties or family gatherings
- As a creative and fun activity to do with friends or family
- When you want to save money on store-bought holiday cards
Use Case Scenarios
Here are some examples of how you can use DIY Christmas cards:
Sending Holiday Greetings
- Create personalized cards to send to friends and family
- Add a heartfelt message to show your love and appreciation
- Include photos or memories to make the card extra special
Personalized Cards for Coworkers
- Create unique cards to show appreciation for your coworkers
- Add a touch of humor or inside jokes to make the cards memorable
- Include a message of gratitude for their hard work throughout the year
Hosting a Card-Making Party
- Gather friends or family for a fun and creative card-making party
- Provide materials and instructions for guests to create their own cards
- Share ideas and techniques to inspire creativity and collaboration
What Sets Our Product Apart
Our DIY Christmas card product stands out from the rest due to its focus on creativity and personalization. We provide unique ideas and techniques that allow users to create one-of-a-kind cards that truly reflect their personality and style. With an emphasis on handmade touches and thoughtful designs, our product helps users spread holiday cheer in a meaningful and heartfelt way.
Customizable Templates
Our product offers a variety of customizable templates that users can personalize to suit their preferences. From festive designs to heartfelt messages, these templates make it easy for users to create beautiful DIY Christmas cards that are truly unique.
Various Use Cases for Our Product
Our DIY Christmas card product is perfect for a wide range of use cases:
- Crafty individuals who enjoy creating handmade gifts
- People looking to add a personal touch to their holiday greetings
- Families who want to create a fun and festive activity together
- Individuals on a budget who want to save money on holiday cards
- Anyone who wants to spread joy and cheer during the holiday season
Maximizing Your Experience with Our Product
To get the most out of your adventure with our DIY Christmas card product, consider the following tips:
Personalize Your Designs
Adding personal touches to your DIY Christmas cards can make them even more special. Consider including handwritten messages, photos, or other personal elements that will resonate with the recipient and show them how much you care. These personal touches will make your handmade holiday greetings truly memorable.
Experiment with Different Techniques
Don't be afraid to try out new techniques and ideas when creating your DIY Christmas cards. Whether it's incorporating 3D elements, using unique materials, or experimenting with different designs, exploring different techniques can help you create truly unique and festive cards.
Spread Holiday Cheer with Handmade Greetings
From materials needed to step-by-step instructions, tips and tricks, real-world use cases, and examples of DIY Christmas cards, this article has covered everything you need to know to create unique and festive handmade holiday greetings. By following the guidance provided, you can spread joy and cheer to your friends and family with personalized DIY Christmas cards that are sure to impress.