DIY 3D Paper Globe Garland with JAM Map Paper
- By Andrew Jacobs
- Nov 12, 2013
Customer Talent Spotlight
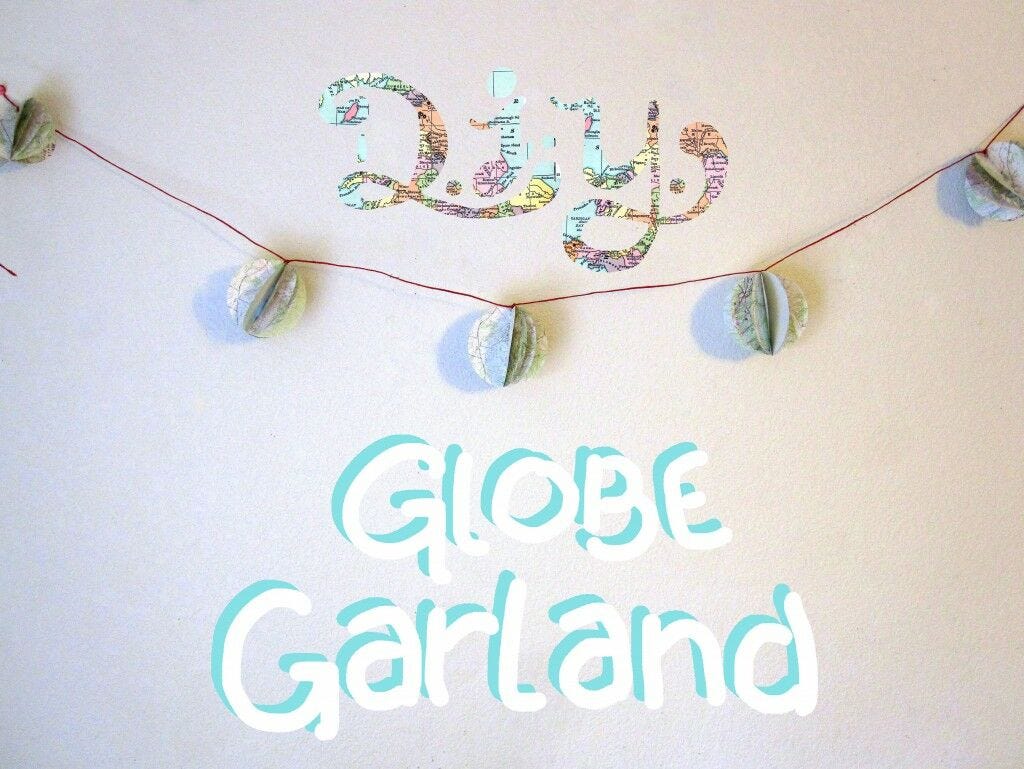
This talent spotlight comes to us from Casey Webb, a fellow DIY blogger of the site Kceh.wordpress.com. Find out how she created this awesome DIY 3D paper globe garland with our JAM map paper and some twine.Materials:
- 12 Pieces Map Paper
- Pencil
- Compass
- Scissors
- Hole Punch
- Ruler
- Glue Stick
- Kraft Twine (red)
3D Paper Globe Garland - Steps 1 thru 4
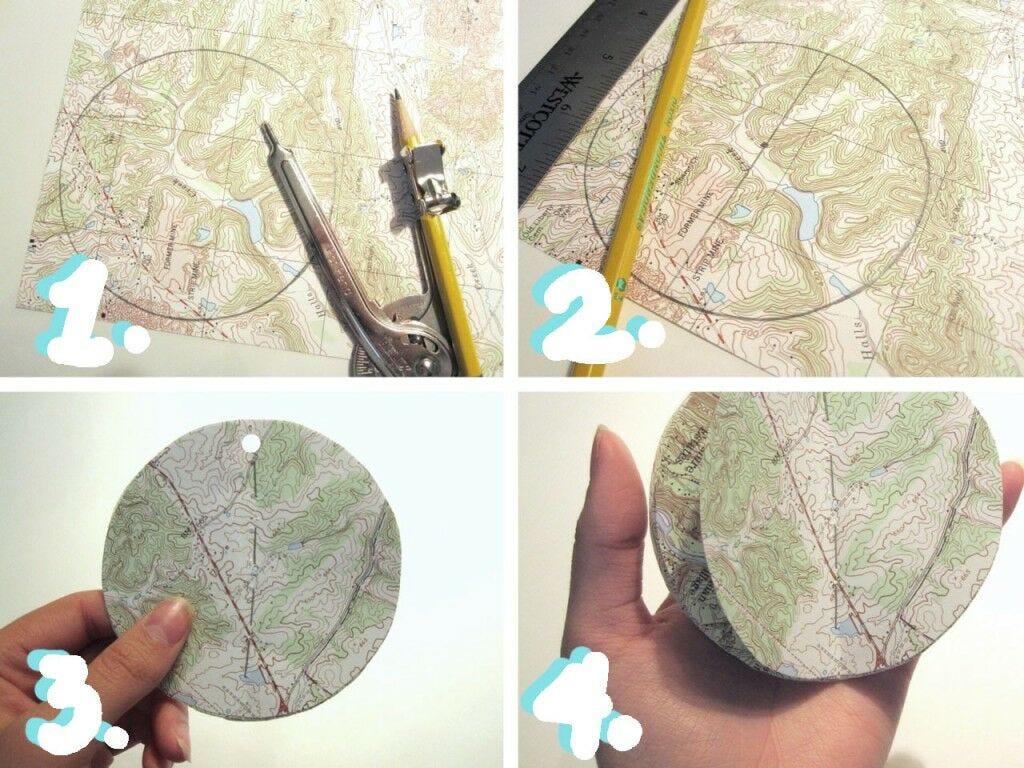
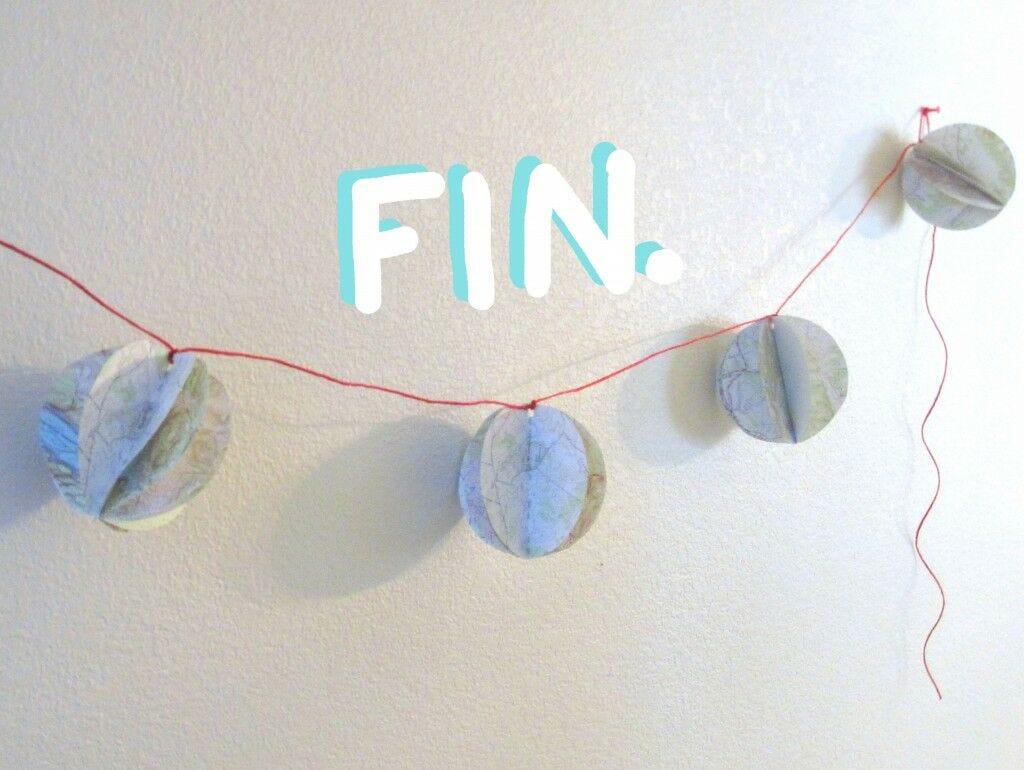
1. Use a glue-stick to glue the blank backsides of your 12 pieces of map paper together until you have 6 double thick pieces that are extra sturdy. Once dry, take a piece and draw 5 circles 3.5 inches in diameter with your compass. You should be able to draw at least five per piece. 2. Next, take your ruler and make a mark halfway through your circles. Then, use the side of the ruler as a straight edge to draw a line through the middle. Next, you can either draw and cut them all out individually, or stack them up and cut out several at time (no more than two or three because more can be difficult). 3. Make stacks of circles six circles high. Staple down the center of the circles, where you drew the line mentioned in step 1, making sure to leave room at the top so that you can punch a hole to run the string through. 4. String the garland with a colored twine of your choice. I chose red so that it popped out in contrast to the green on the map paper. Tie the globes on the string a foot apart from each other. Start bending back the sides of the circle so that they take on a more spherical shape. Hang your globe garland and enjoy!Creating Your Own DIY 3D Paper Globe Garland with JAM Map Paper
If you're looking for a fun and creative way to add some flair to your next party or event, look no further than creating your own DIY 3D paper globe garland using JAM Map Paper. This unique and eye-catching decoration is sure to impress your guests and add a touch of whimsy to any space. With just a few simple materials and a bit of creativity, you can easily bring this charming project to life.
What It Is
A DIY 3D paper globe garland is a decorative piece made up of multiple small paper globes strung together to create a garland. Using JAM Map Paper adds a unique and colorful touch to the project, making it stand out from traditional garlands. This DIY project is a great way to add a personalized and handmade touch to any event or space.
Benefits
Creating your own DIY 3D paper globe garland with JAM Map Paper allows you to customize the colors and patterns to perfectly match the theme or color scheme of your event. Additionally, this project is a cost-effective way to add a unique and personalized decoration to any space. The garland can be easily stored and reused for future events, making it a sustainable and eco-friendly decor option.
Use Cases
This DIY 3D paper globe garland is perfect for a wide range of events, including birthday parties, baby showers, weddings, and more. It can also be used as a charming decoration for home decor, adding a touch of whimsy to any room. The versatility of this project makes it a great option for anyone looking to add a personalized and handmade touch to their space.
Alternatives
If you're looking for alternative materials to create your DIY 3D paper globe garland, consider using different types of decorative paper or even recycled materials for a more sustainable option. Additionally, you can experiment with different sizes and shapes of globes to create a unique and customized garland that suits your specific needs.
Tips for Using JAM Map Paper
When using JAM Map Paper for your DIY 3D paper globe garland, consider mixing and matching different patterns and colors to create a visually stunning and dynamic garland. Additionally, be sure to take your time when assembling the globes to ensure they are securely attached and will withstand the test of time. Finally, have fun and let your creativity shine as you bring this charming project to life!


