How To Make Tissue Paper Flowers
- By Andrew Jacobs
- Apr 11, 2016
How To Make Tissue Paper Flowers


So you want to learn how to make tissue paper flowers. Now you might be a little skeptical.
Not only do you think that you'll end up on the 'Pinterest Fails' page, but you might not believe that this can be made with just JAM tissue paper, tape, scissors, and a pencil. Trust me, it can and it's actually pretty easy. And don't worry, I'll help you along the way...you WILL learn how to make tissue paper flowers.
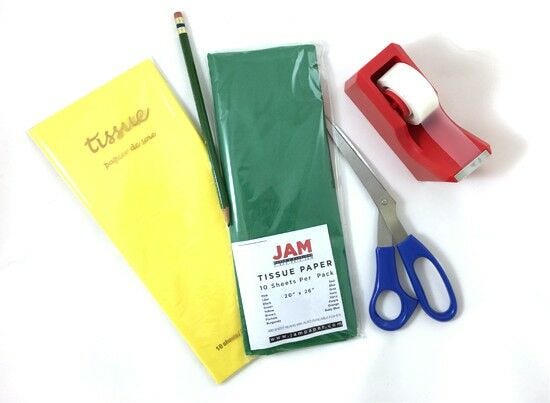
Requirements:
- 1 pack of any JAM Colored Tissue Paper
- 1 pack of JAM Green Tissue Paper
- Pencil
- Tape
- Scissors
- Patience
- More patience
- Time on your hands
Step 1. Draw then Cut
First you'll want to cut the tissue paper the way you want your flower to come out. I tried two different kinds of flowers, but if you're in the mood to be creative, try another! 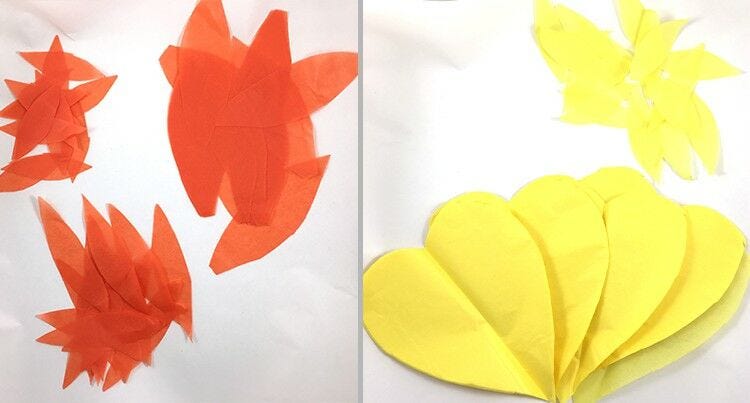
Small, medium and large petal shapes (pointed on both sides) OR small petal shapes with big heart shapes
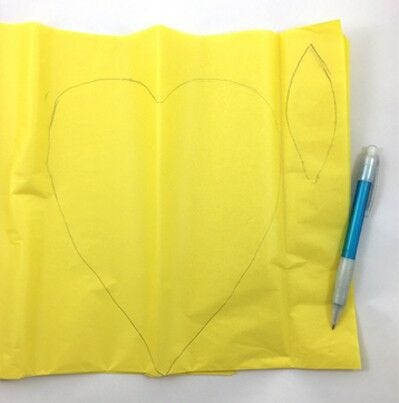
These shapes do not have to be in specific dimensions. Honestly I just went with it. The amount of sheets you want to cut also depends on how big you want the flower. If you lay out the tissue paper, like shown below, you can see how big my shapes were in comparison to the whole sheet. (For the triangular flowers, you want to make the biggest petal almost the width and height from one crease to the next.)
2. Start Taping!
For both flowers, you want to start off by taping your small petals to the pencil. Round and round you go, where you stop, nobody knows. No but really, you won't know until you feel like there are enough petals. Kind of like this evolution: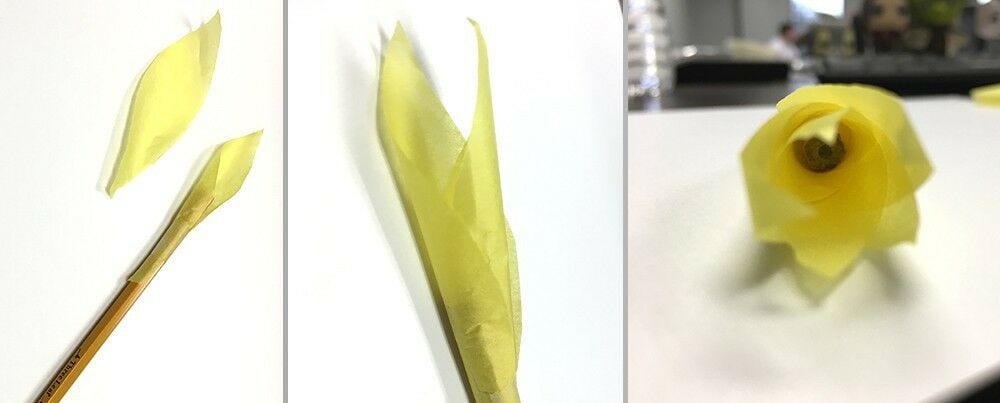 Start with 1 petal and attach another. Keep taping and revolving the petals around the pencil so you can start seeing your flower "bloom". And yes, when I wrote this sentence, my coworker looked at me weird because I was smiling to myself.
Things to remember:
- You don't want to overlap petals right away (you'll soon find that it will certainly become a Pinterest Fail)
- You don't want to keep the petals at the same level the whole time.
- Instead, you want to heighten the next layer once there is a whole layer covering the pencil.
3. KEEP Taping!
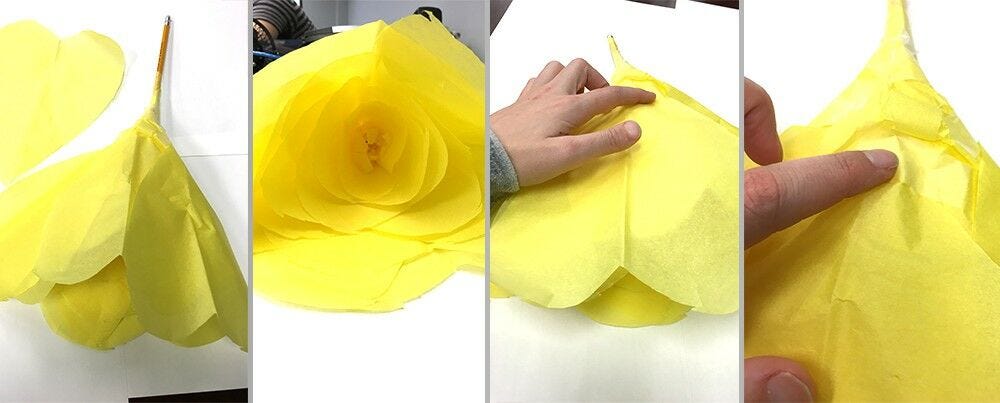 After you're satisfied with your petals, you start with the hearts (or the medium petals, depending on the flower). Make them close to the petals in the beginning, and again remember to not overlap the hearts (or medium petals) immediately. This step is easy on the hands, but hard on the mind. You really just have to keep going, making taller and taller layers, taping them to one another. This is where patience comes in. Tape is hard to work with, and tissue paper is delicate.
Things to remember:
- Make sure that you don't tape too early. This might make you have to rip the petal, which is hard to do without ripping another.
- Make sure the heart isn't bent in any way. You want it to be flat.
- Make sure you don't rip a piece that's already taped on, it might ruin the whole dynamic of the flower.
Step 4: Defy Gravity
Do NOT worry!
This happens.
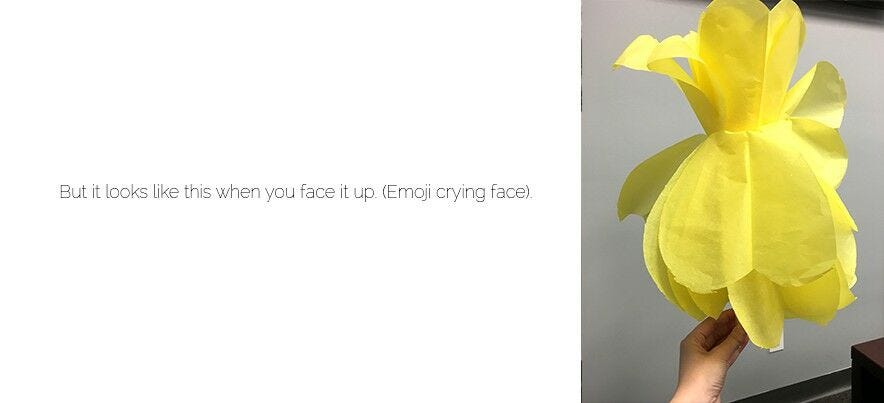
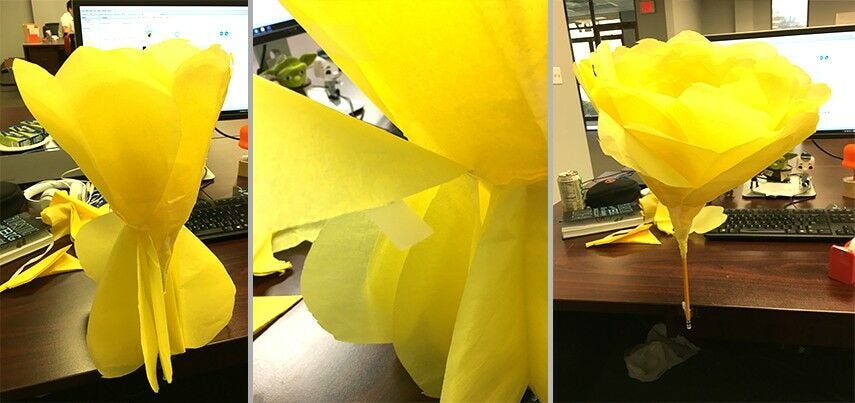
My solution: tape the pencil to the edge of a table. One by one, tape the inner most heart to the closest petal that is defying gravity. Trust me, it will end up looking like an amazing rose (like you see below).
Same goes with the only-petals flower (the blue and orange color flowers)! Just tape it to the table, tape the deepest petal to the first one that isn't subjected to gravity, and then keep taping!
Things to remember:
-
- When it's taped to the table, make sure instead of laying it flat like you did before, pull it as much as you can (it's tissue paper, so delicately) and tape it to the previous petal.
- Stand up when doing this. It'll make it easier for you to see the flower that's pretty close to blooming.
5. Make the Stem!
Easily make the stem by wrapping our green tissue paper to the pencil. Wrap a whole sheet around to make it look even with the big flower. You can also add some leaves onto the stem if you want, or leave it alone. That's up to you!
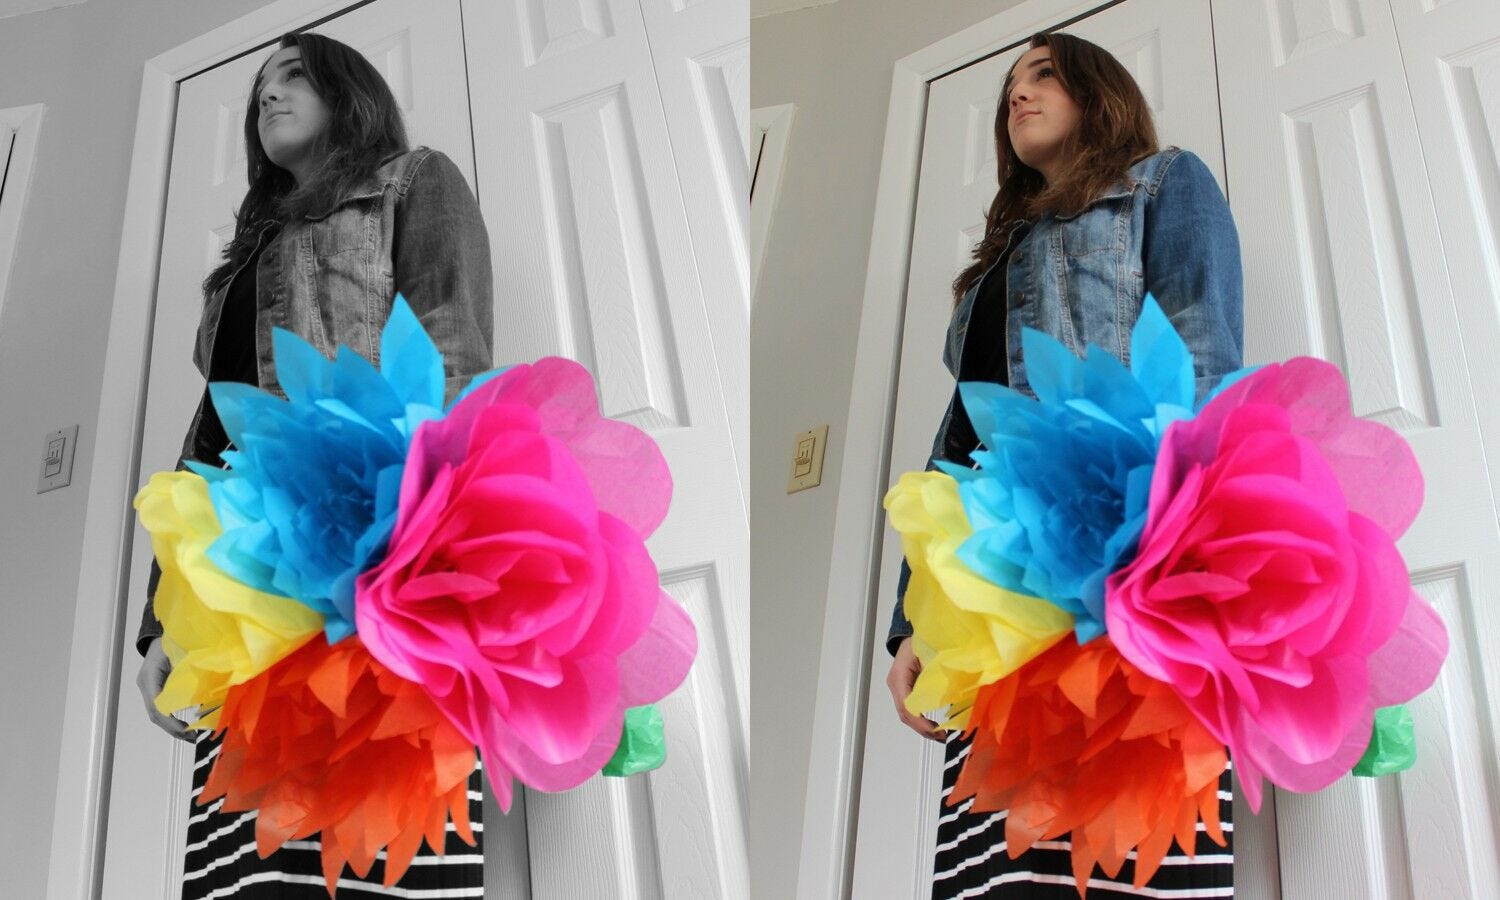
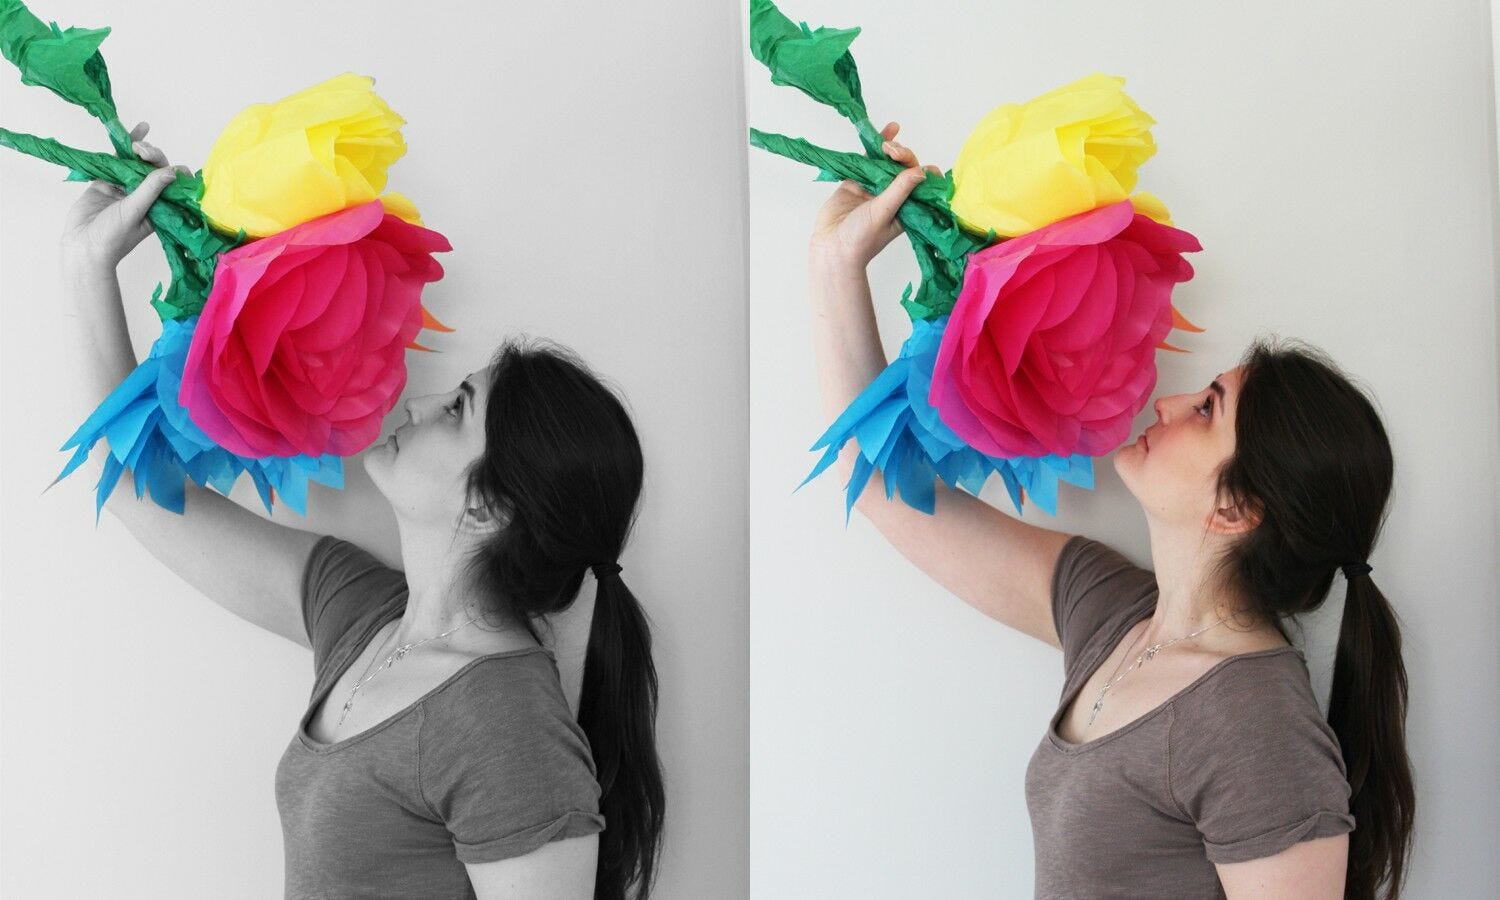
Now you might be thinking, there's no way those top pictures weren't photoshopped to make these flowers look THAT bright and THAT colorful. I thought that myself too (and I'm the one who did the black and white transformation). So here are a few pictures my friend and I took with and without the black and white transformation. How to make tissue paper flowers. The JAM way.
Yes, our Tissue Paper is really that bright.
I wanted to thank my friend Danielle so so much for helping me with this blog. I will be posting more pictures that we took throughout our social media.
I really hoped you liked this blog. I worked hard on this one, and really hope to see your own JAM tissue paper flowers on our Facebook, Twitter, Instagram, or Pinterest! Talk more in the comments below about what you learned and how to make tissue paper flowers!
Creating Beautiful Tissue Paper Flowers
Learning how to make tissue paper flowers is a fun and creative way to add a pop of color to any event or space. Whether you're decorating for a party, wedding, or simply want to brighten up a room, tissue paper flowers are a cost-effective and beautiful option. By following a few simple steps, you can create stunning floral arrangements that will impress your guests and bring joy to any occasion. With just a few supplies and a little bit of patience, you can master the art of making tissue paper flowers and enjoy the satisfaction of creating something beautiful with your own hands.
The Benefits of Tissue Paper Flowers
Tissue paper flowers offer a range of benefits, including affordability, versatility, and the ability to customize colors and sizes to suit any occasion. Unlike real flowers, tissue paper flowers won't wilt or die, making them a long-lasting and low-maintenance option for decorations. Additionally, making tissue paper flowers allows for endless creativity and personalization, as you can experiment with different shapes, sizes, and arrangements to achieve the perfect look for your event or space.
Use Cases for Tissue Paper Flowers
Tissue paper flowers can be used in a variety of settings, including weddings, birthday parties, baby showers, and home decor. They can be used as centerpieces, wall decorations, or even as part of a backdrop for photo booths. Tissue paper flowers are also a popular choice for DIY projects and craft activities, making them a versatile and enjoyable option for people of all ages.
Alternatives to Tissue Paper Flowers
While tissue paper flowers are a popular choice for decorations, there are alternative options to consider, such as silk flowers, paper flowers, or real flowers. Each option has its own unique benefits and drawbacks, so it's important to consider the specific needs of your event or space before making a decision.
Tips for Making Tissue Paper Flowers
When making tissue paper flowers, it's important to use high-quality tissue paper and to pay attention to the details, such as the size and shape of the petals. Additionally, experimenting with different color combinations and arrangements can help you achieve the perfect look for your specific needs. It's also helpful to watch tutorials or seek guidance from experienced crafters to learn new techniques and tricks for creating stunning tissue paper flowers.
Adding a Personal Touch to Tissue Paper Flowers
One of the best things about making tissue paper flowers is the ability to add a personal touch to each creation. Whether it's incorporating meaningful colors, adding glitter or other embellishments, or customizing the size and shape of the flowers, there are endless ways to make each piece unique and special. By infusing your personality and creativity into your tissue paper flowers, you can create decorations that truly stand out and make a lasting impression.


