DIY Captain America Shield Guide
Key Summary:
- This article will provide a step-by-step guide on how to make a Captain America Shield, perfect for superhero fans looking to craft their own iconic prop.
- Materials needed, step-by-step instructions, tips and tricks, real-world use cases, and examples of the topic in action will be covered.
- Readers will learn how to create a personalized prop inspired by a beloved superhero, perfect for cosplay, Halloween costumes, or themed parties.
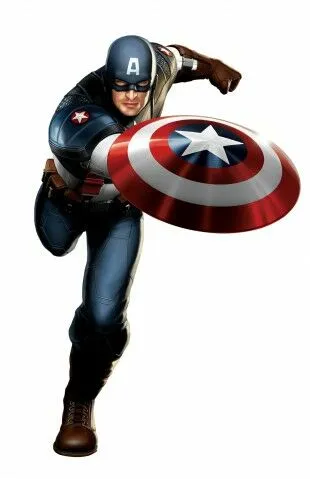
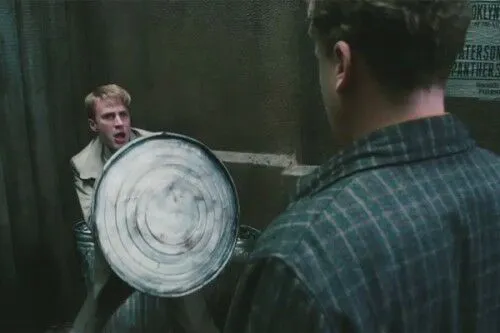
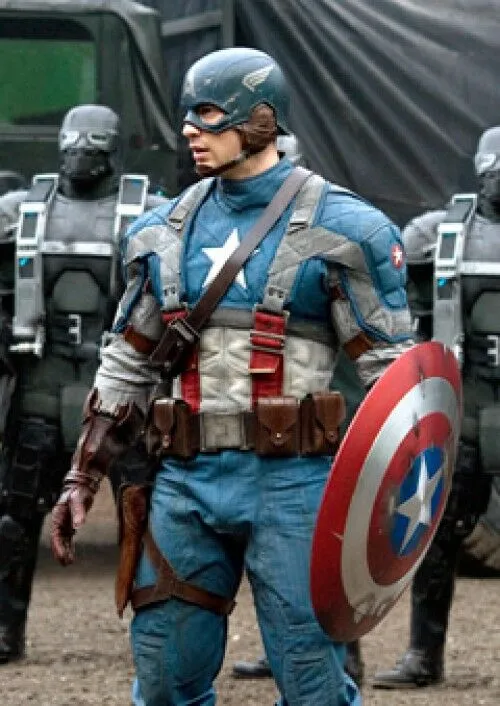
Superhero culture has become increasingly popular, with fans looking to bring their favorite characters to life through DIY projects. One iconic prop that many aspire to create is the Captain America Shield. This article will guide you through the process of making your own shield, from gathering the necessary materials to adding authentic details. Whether you're a seasoned crafter or a beginner looking for a fun project, this guide will help you create a personalized prop that showcases your love for the superhero genre.
Detailed Information and Supporting Headings:
Materials Needed
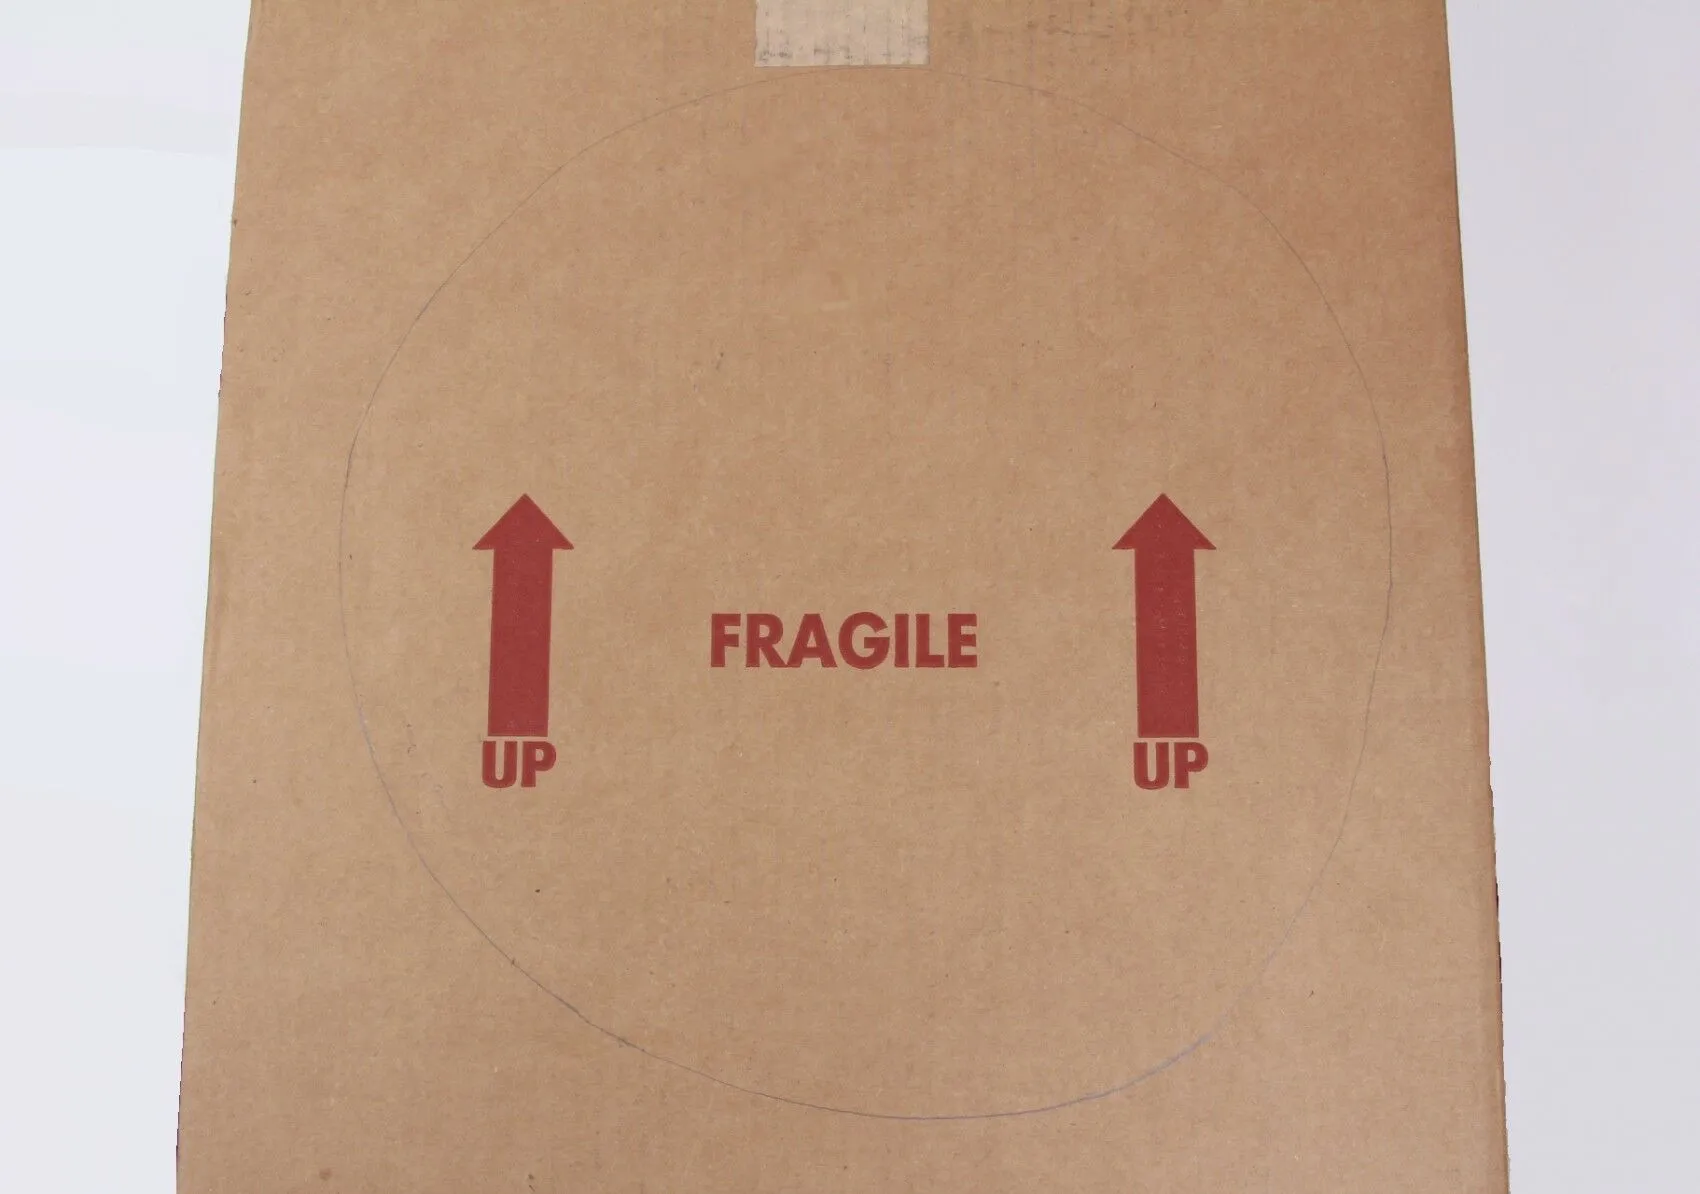
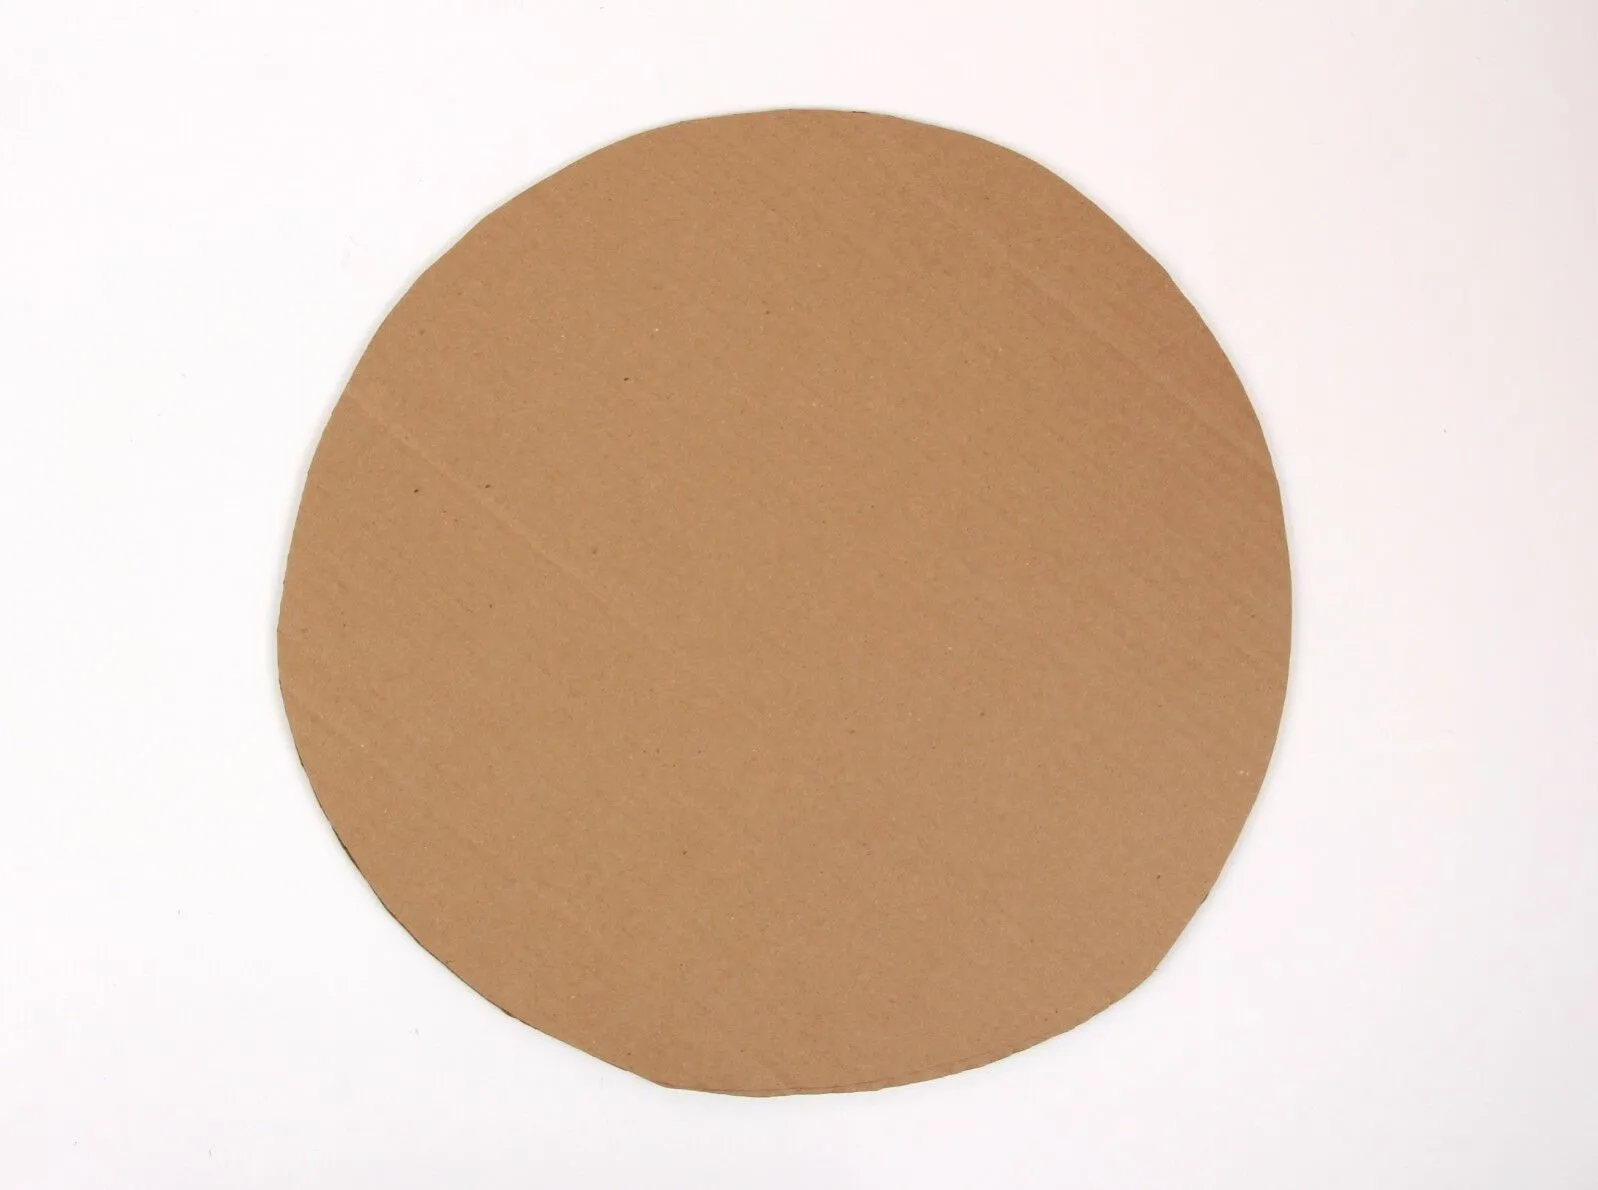
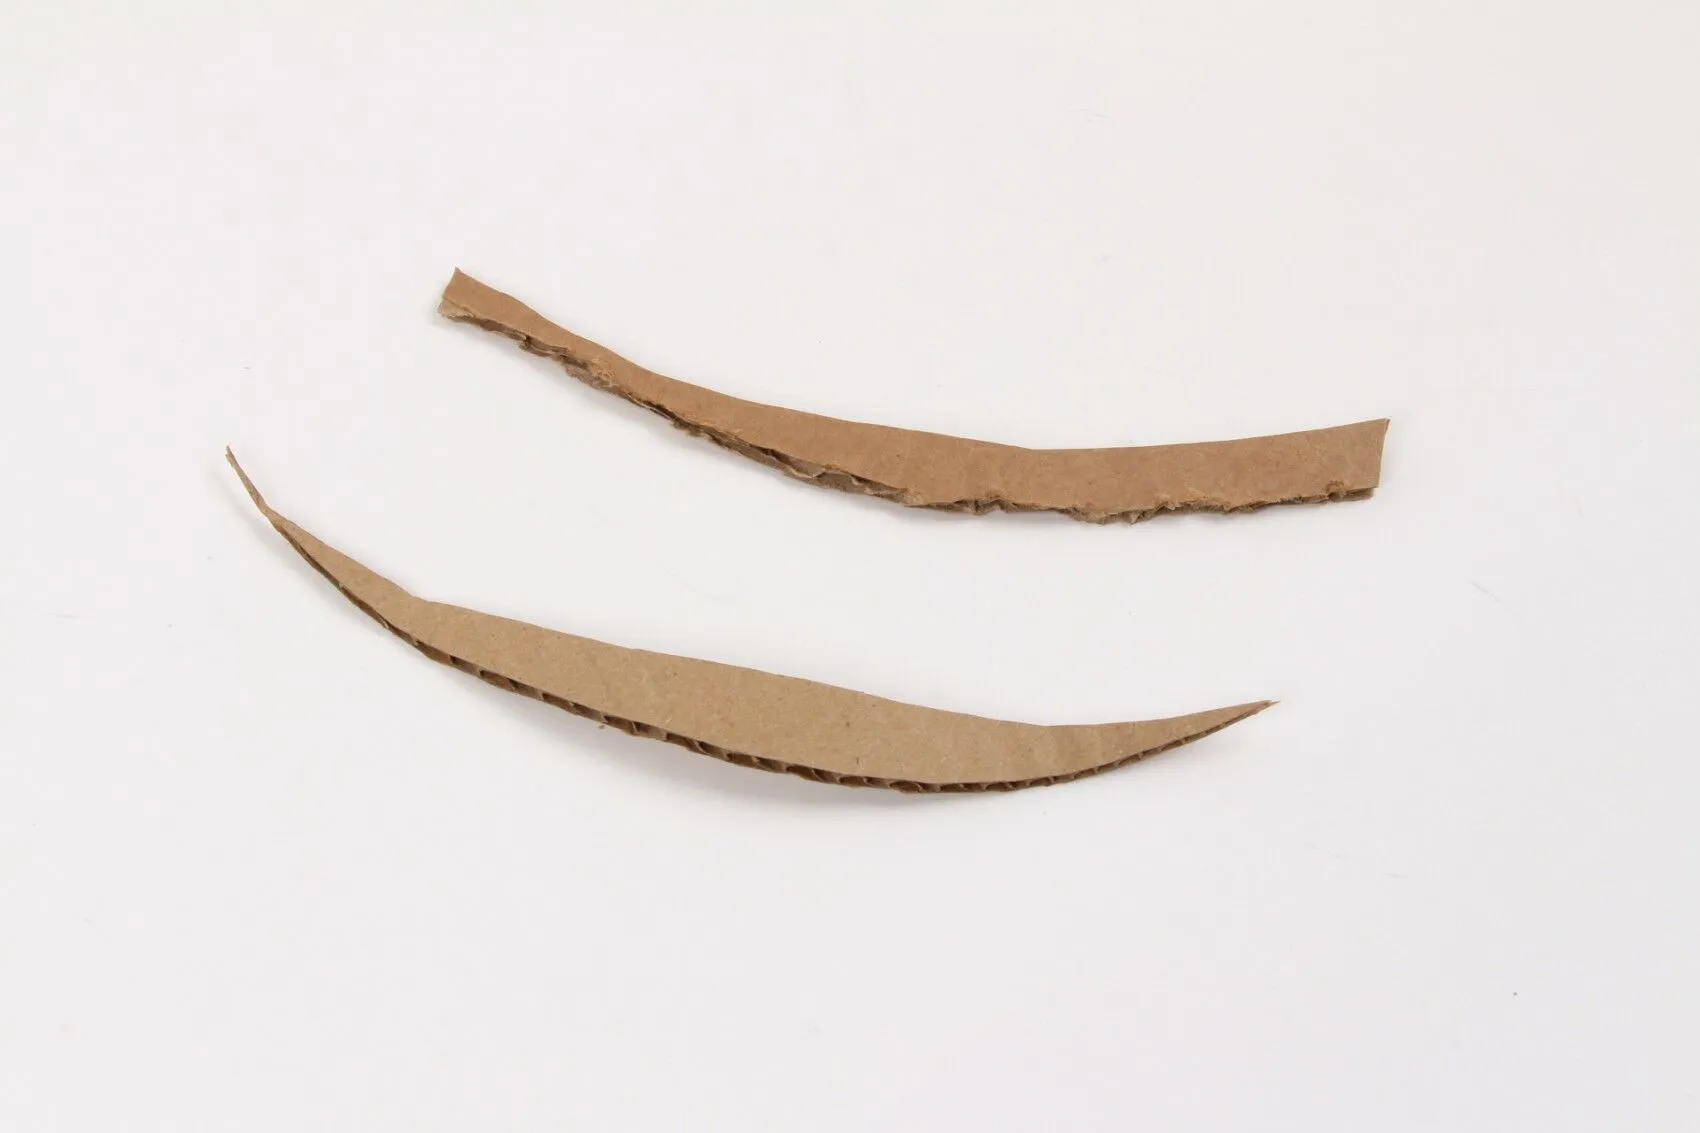
Before starting your Captain America Shield project, you will need to gather specific materials. These include a frisbee as the base, red, white, and blue paint, painter's tape, a ruler, a pencil, and a star stencil. Make sure to have all materials on hand before beginning the crafting process.
Step-by-Step Guide
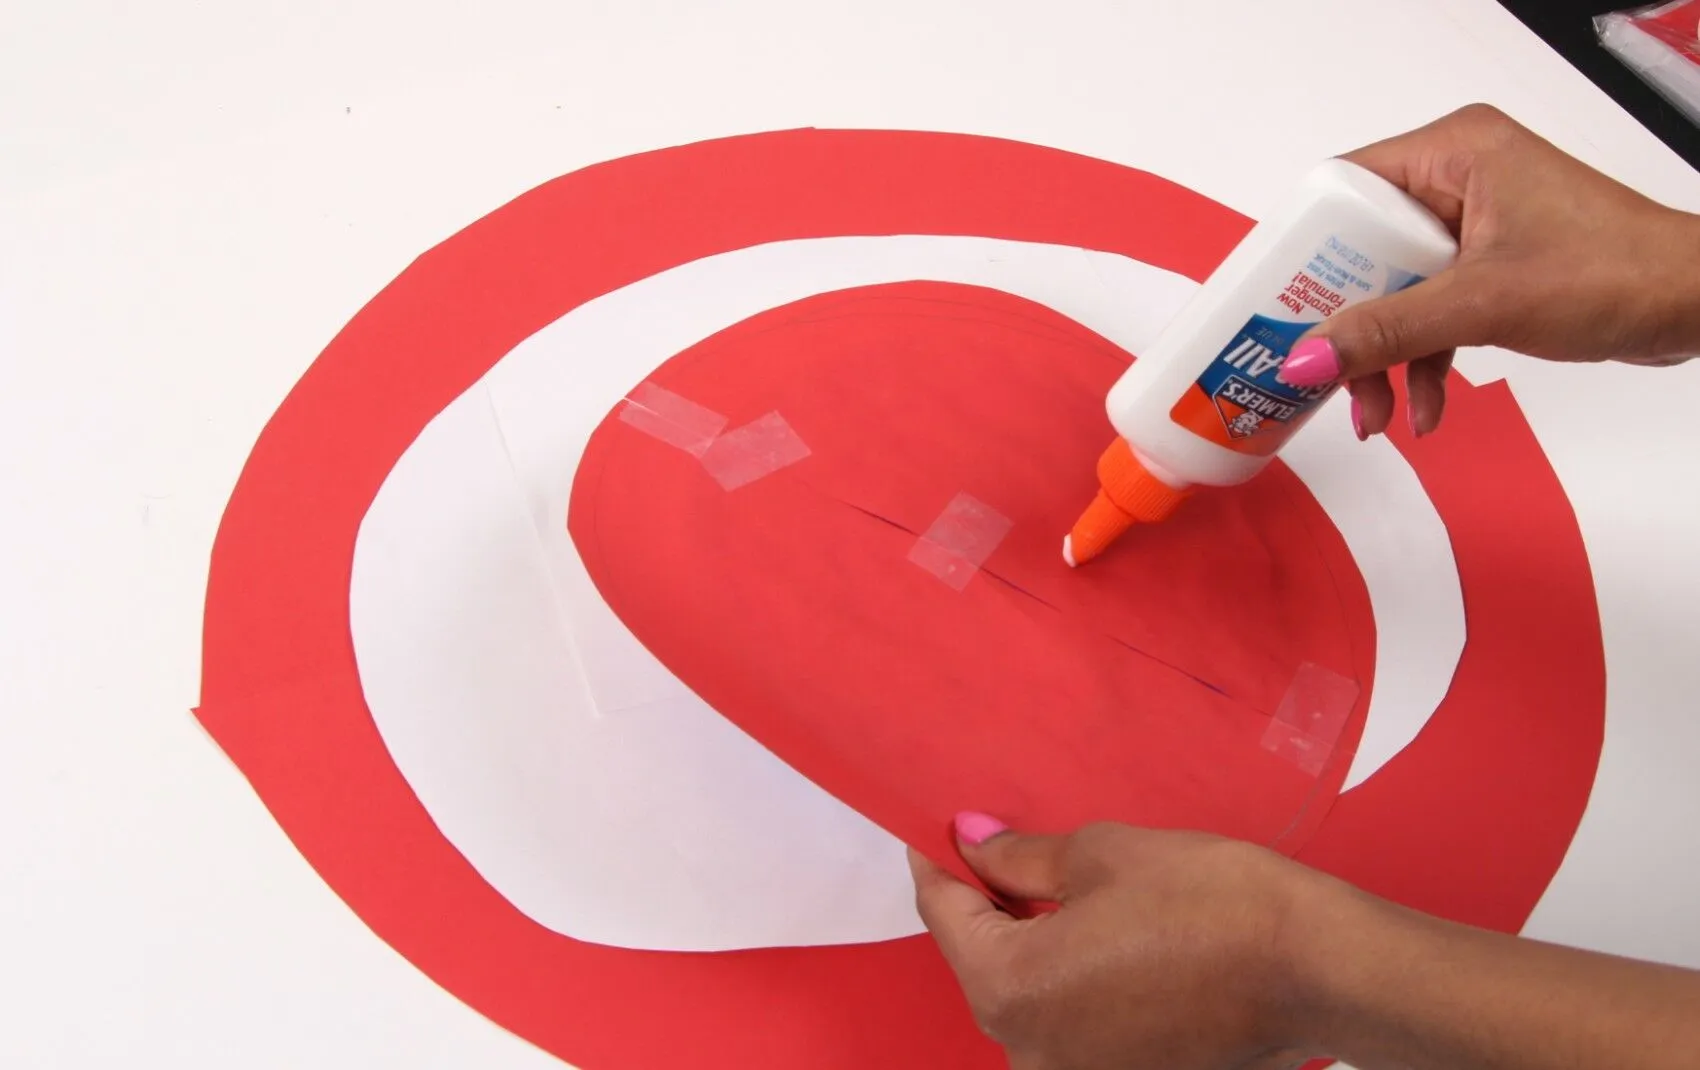
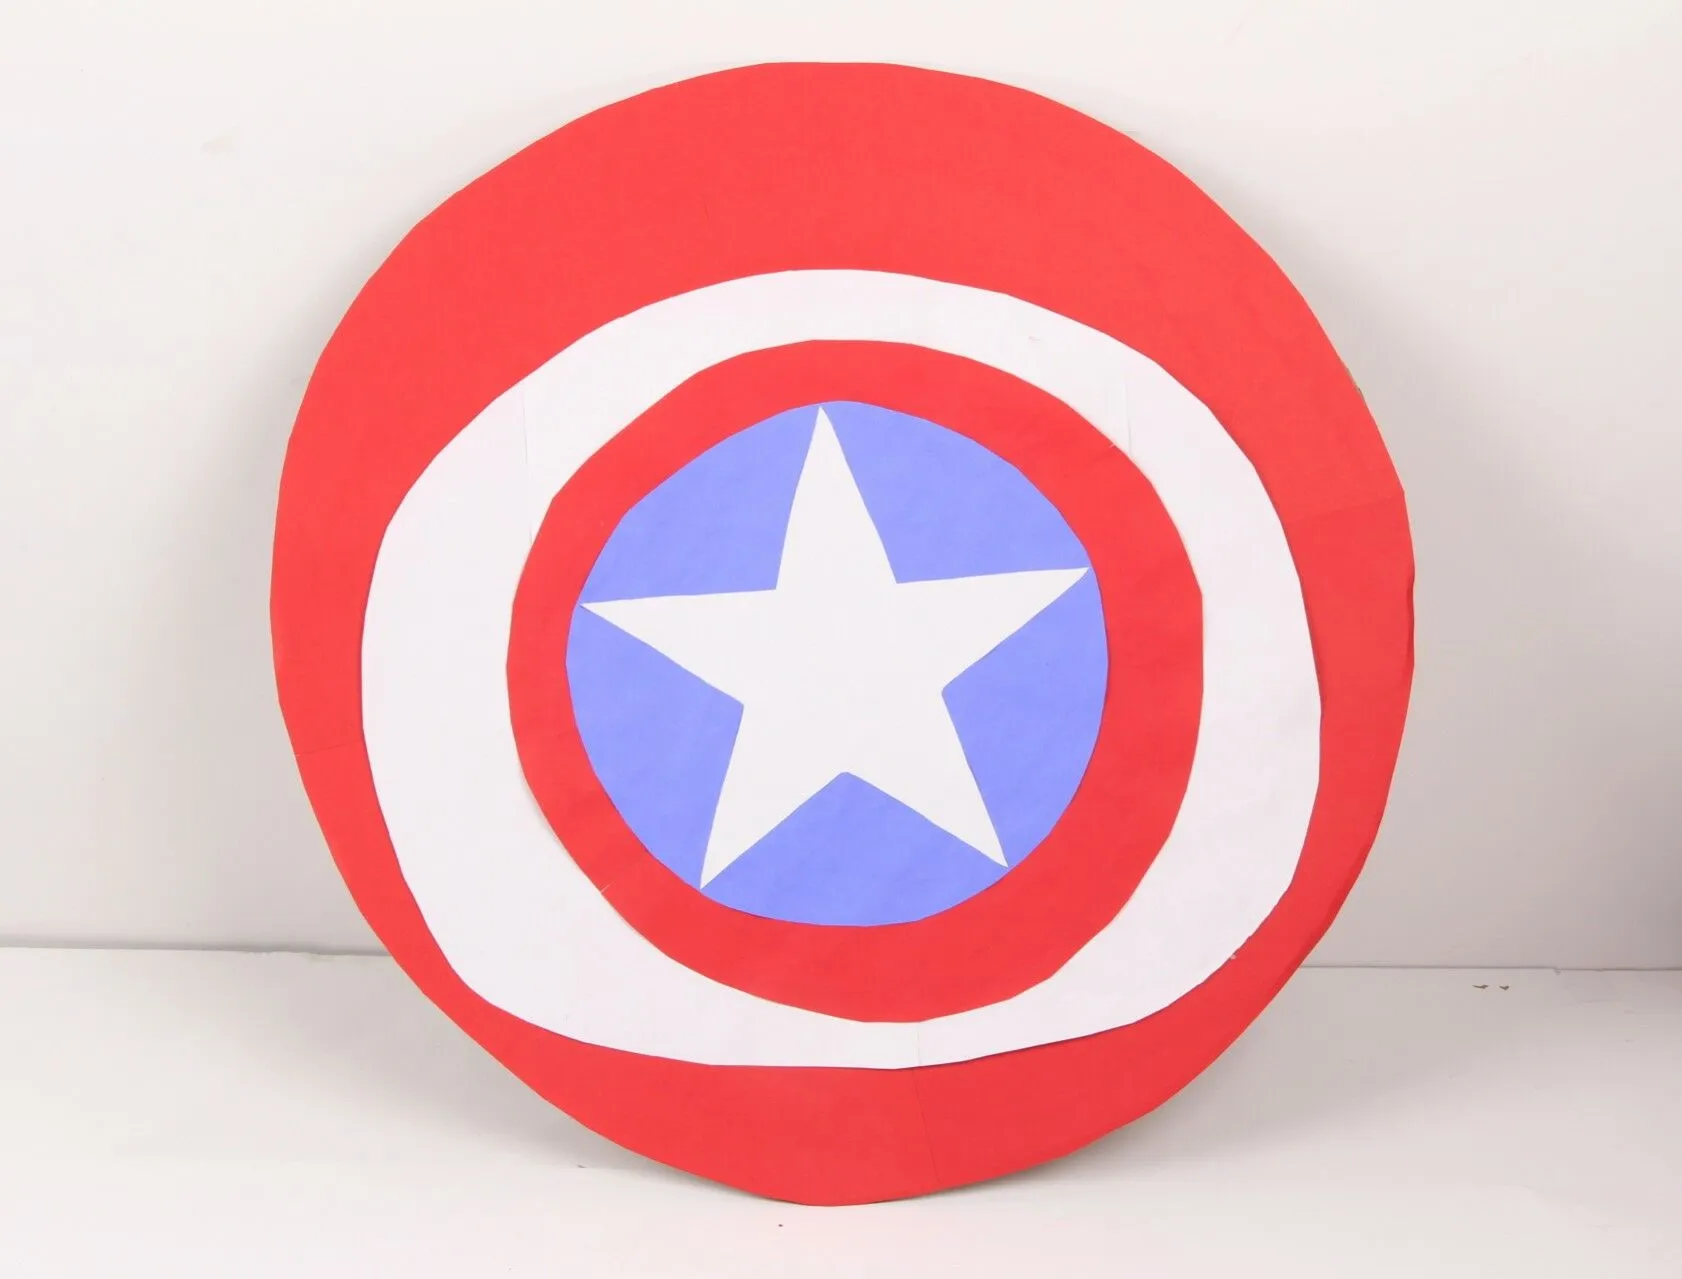
Creating a Captain America Shield involves several steps, starting with preparing the frisbee. Begin by cleaning the frisbee surface thoroughly to ensure the paint adheres properly. Use painter's tape to section off the shield into red, white, and blue segments, following the iconic design of Captain America's shield.
Painting the Shield
Once the frisbee is prepped and taped off, it's time to start painting. Use a high-quality acrylic paint in red, white, and blue to achieve vibrant colors. Apply multiple coats of paint to ensure full coverage and let each layer dry completely before moving on to the next color. Remove the painter's tape carefully to reveal clean lines between each color segment.
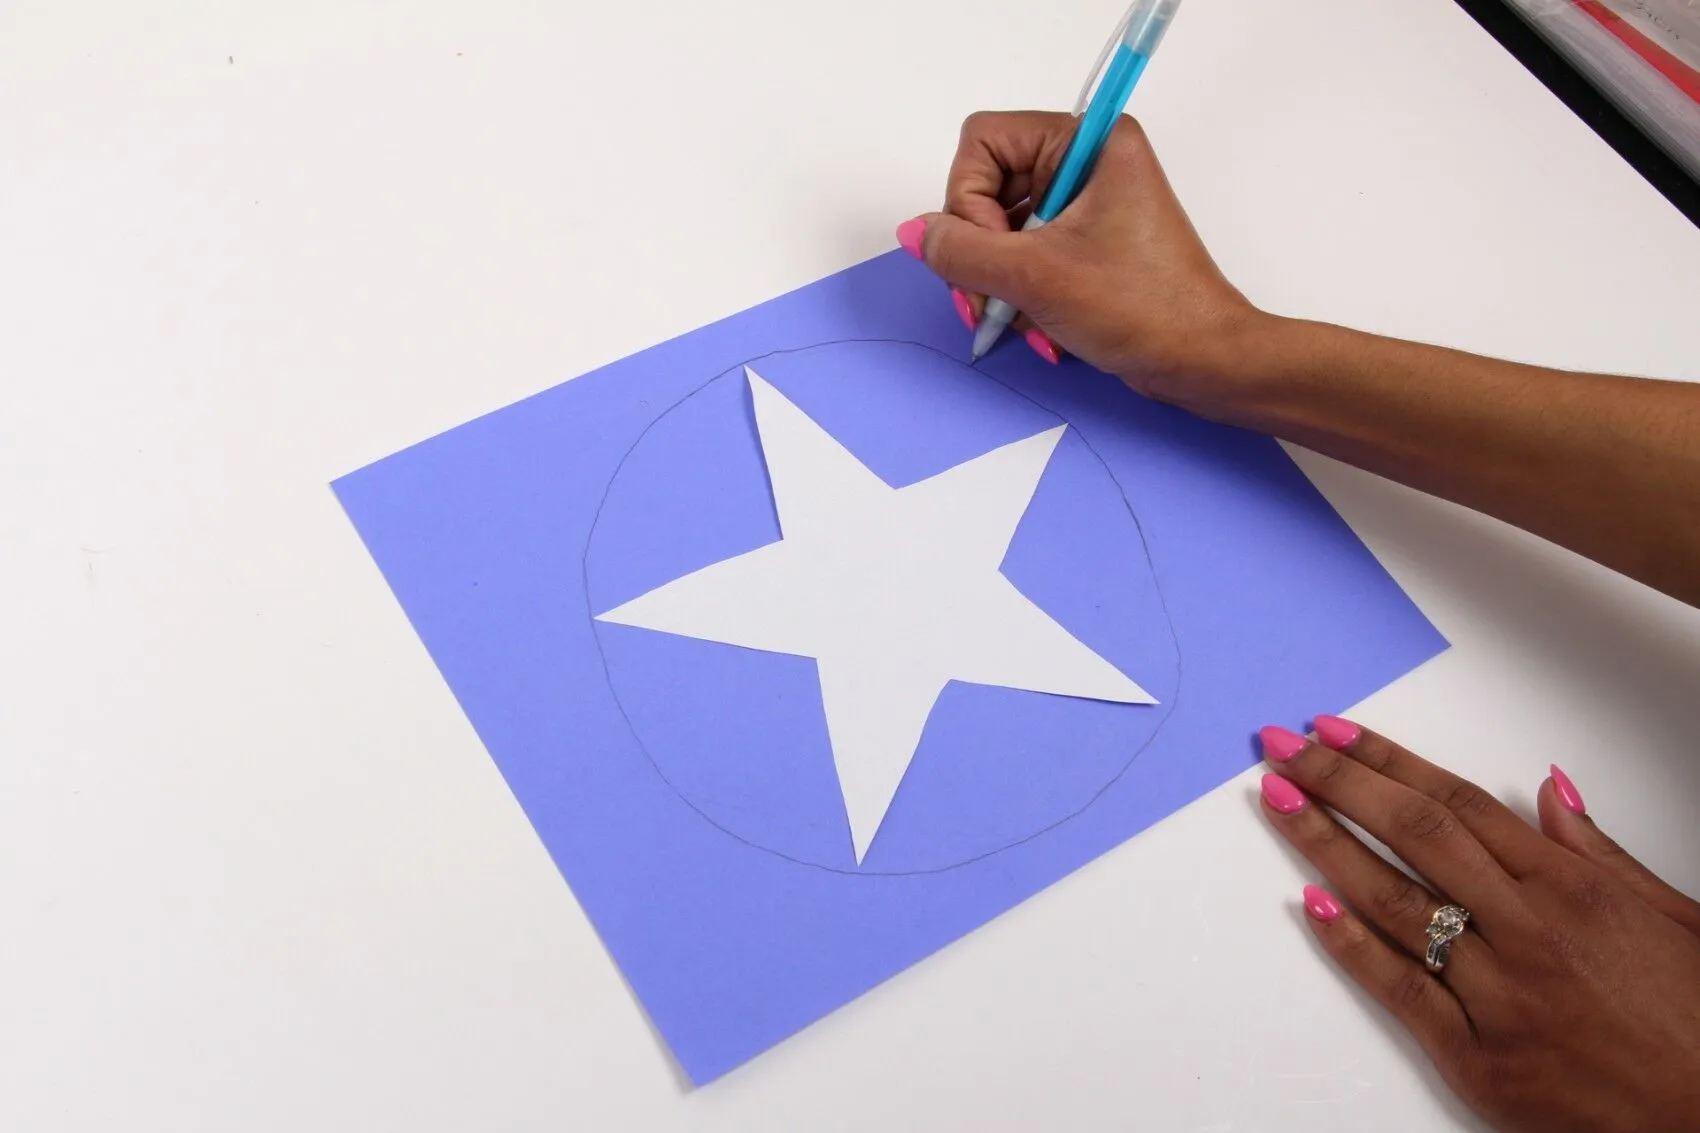
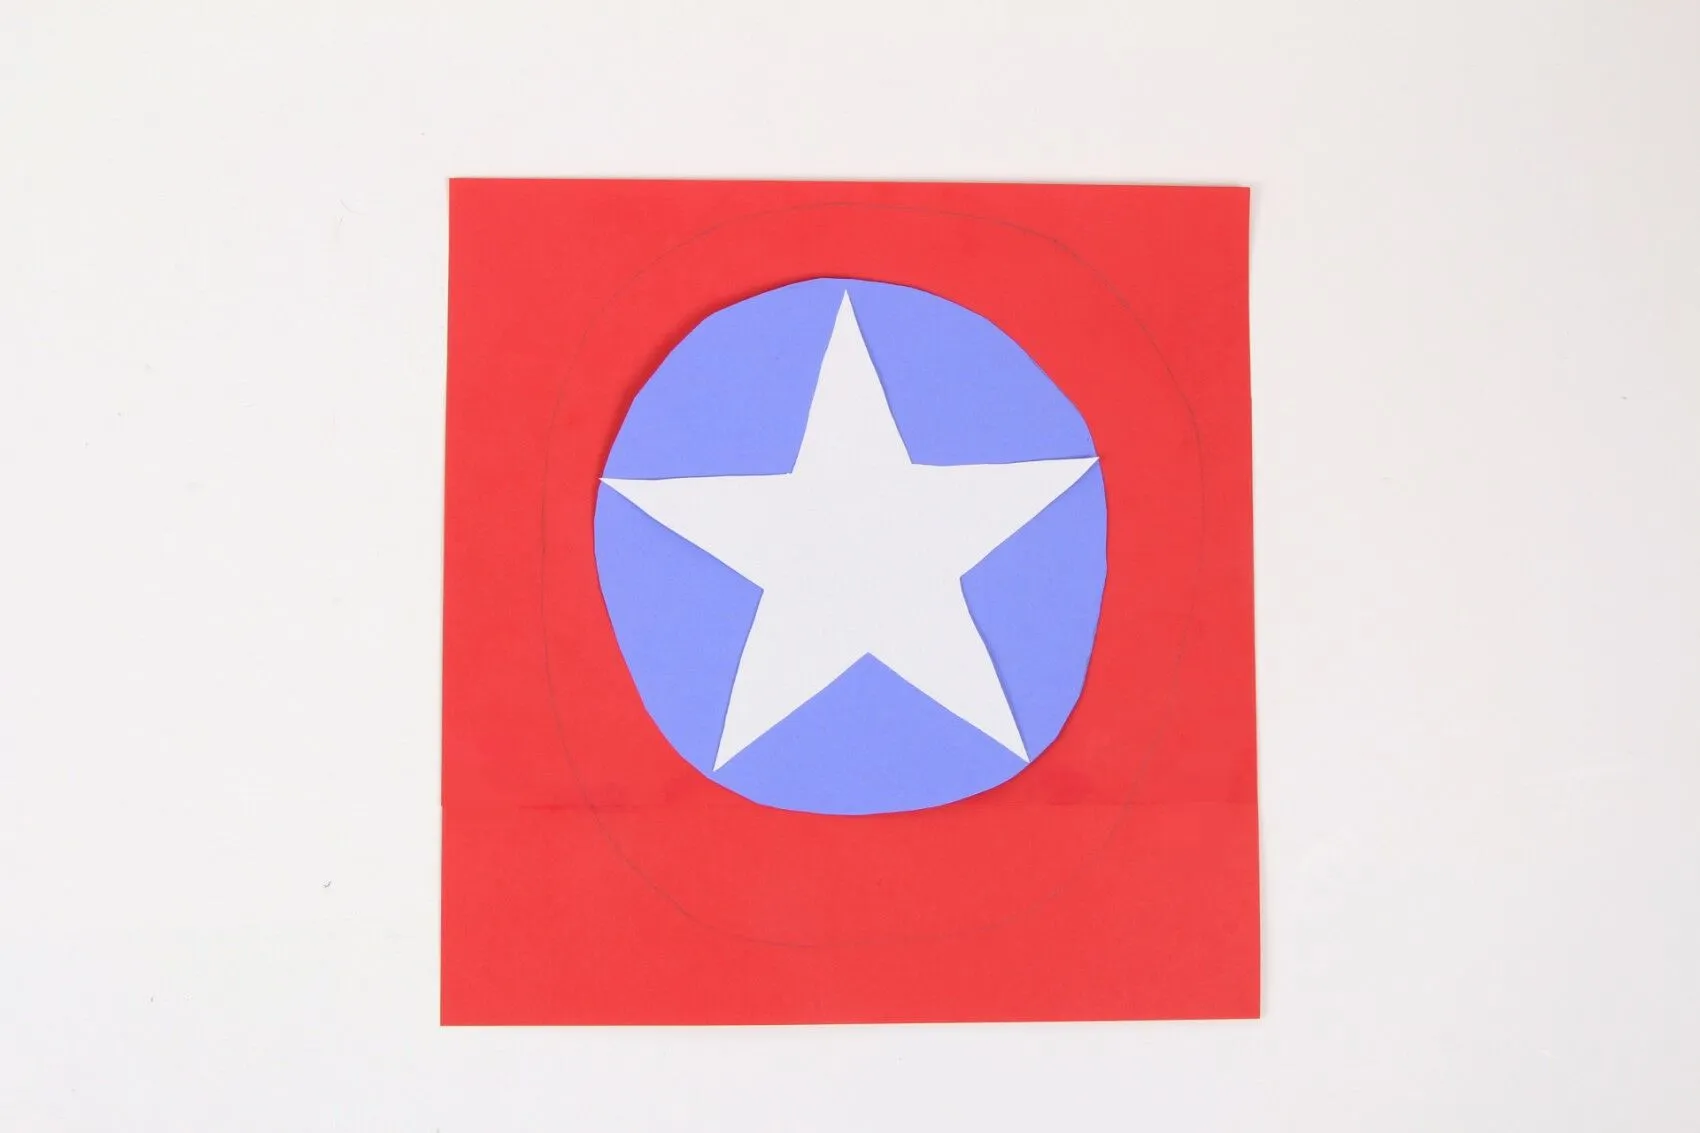
Adding Details
To complete the Captain America Shield look, you'll need to add the star and other details. Use a star stencil to paint a white star in the center of the shield. You can also add additional details, such as silver accents or shading, to enhance the overall appearance of the shield. Take your time with this step to ensure precision and accuracy.
Who Should Make This Shield
Creating a DIY Captain America Shield is perfect for:
- Superhero fans who want to showcase their love for Captain America.
- Cosplayers looking to add an authentic prop to their costume.
- Crafters who enjoy working on fun and creative projects.
- Individuals looking for a unique and personalized Halloween costume accessory.
- Parents and kids who want to bond over a fun crafting activity.
When to Craft Your Shield
- When preparing for a cosplay event or convention.
- As a fun DIY project for a themed party or gathering.
- During the Halloween season to complete your superhero costume.
- As a creative and engaging activity for a rainy day or weekend at home.
- When looking for a unique gift idea for a fellow superhero enthusiast.
Examples of Shield Use Cases
- As a prop for Captain America cosplay at comic conventions.
- For themed birthday parties or superhero-themed events.
- As a decorative piece in a superhero-themed room or man cave.
- For school projects or presentations on superheroes and pop culture.
- As a fun and interactive activity for kids' playdates or parties.
What Sets Our Product Apart
Our DIY Captain America Shield guide stands out from the rest due to its detailed step-by-step instructions and comprehensive list of materials needed. We provide clear guidance on how to achieve the iconic look of Captain America's shield, ensuring that fans can create a prop they can be proud of. Additionally, our tips and tricks section offers valuable insights for crafting a durable and authentic shield that will last for years to come.
List of Crafting Scenarios
There are various occasions where crafting your own Captain America Shield can be a fun and rewarding experience. Whether you're gearing up for a cosplay event, planning a themed party, or simply looking for a creative project to pass the time, making this shield is a versatile and enjoyable activity. Consider involving friends or family members in the crafting process to make it a memorable bonding experience.
Maximizing Your Crafting Adventure
Choosing the Right Materials
When gathering materials for your Captain America Shield project, opt for high-quality paint and sturdy tape to ensure a professional finish. Invest in a star stencil for precise detailing and consider adding metallic accents for an extra touch of authenticity.
Perfecting the Painting Process
Take your time when painting the shield to achieve clean lines and vibrant colors. Allow each coat of paint to dry completely before moving on to the next color to prevent smudging or bleeding. Use a steady hand and follow the segmented design carefully to replicate the iconic look of Captain America's shield.
Adding Personal Touches
While staying true to the classic design of the shield, don't be afraid to add your own creative flair. Experiment with different color combinations, textures, or embellishments to make your shield unique. Consider customizing the shield with your initials or a personal message to make it truly one-of-a-kind.
Crafting Your Own Shield
Creating a DIY Captain America Shield is a fun and rewarding project for superhero fans of all ages. By following the step-by-step guide, gathering the necessary materials, and adding authentic details, you can bring this iconic prop to life. Whether you're gearing up for a cosplay event, Halloween party, or simply want to showcase your love for Captain America, crafting your own shield is a creative way to express your fandom. So grab your materials, unleash your inner superhero, and get ready to wield your very own Captain America Shield with pride!