


Create Your Own Fringe Photo Booth Backdrop Using Plastic Table Covers
- By Rhianna Marie
- Sep 11, 2023
Thinking about the upcoming event you are planning and want to have a photo booth but it is not really in the budget or you simply might not have a clue where to start looking for one…? And now just thinking about it makes all your anxiety begin to spiral. With our budget-friendly DIY solution, you can make your own photo backdrop using just one material, table covers.
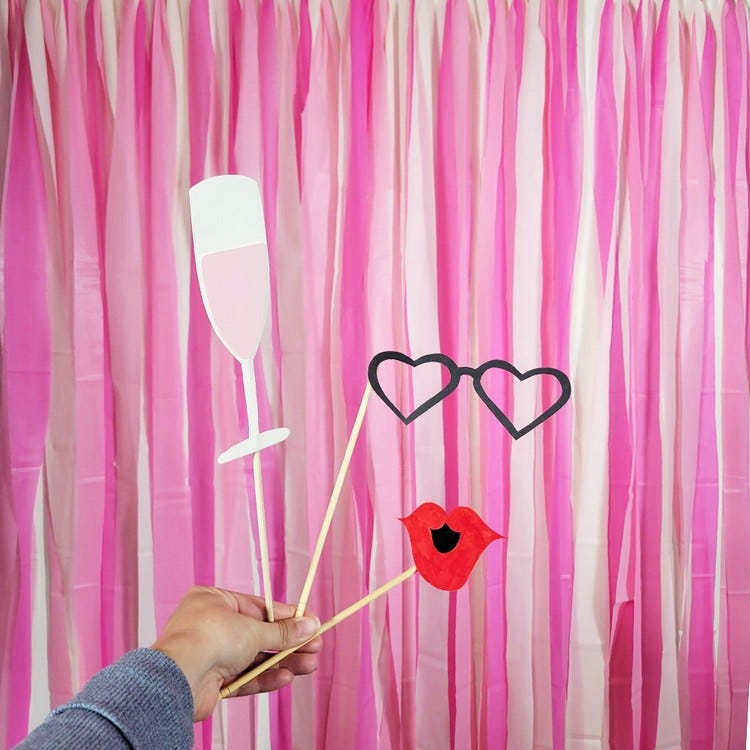
Photo booths are truly, a must-have for any occasion and have taken the party scene by storm! At every party you attend, you inevitably see a photo booth. And the simple reason is that they are awesome! Everyone wants to take part in the fun and have a cute memory to hold onto from your party! But the downside for the host, it can be costly. Hiring a professional company or renting a backdrop can be pricey. This do-it-yourself project will guide step by step to create a playful fringe photo backdrop without breaking the bank.
Gather your supplies and let’s dive in!
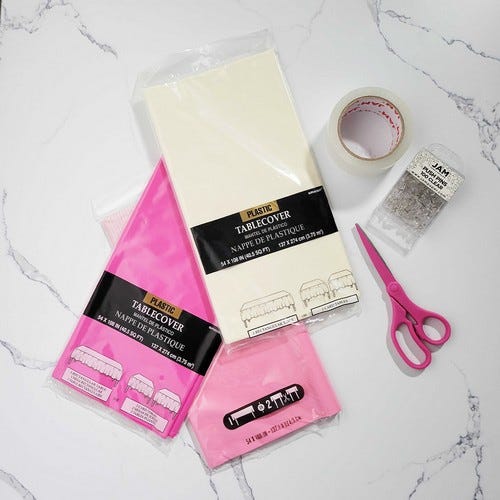
1. HANG
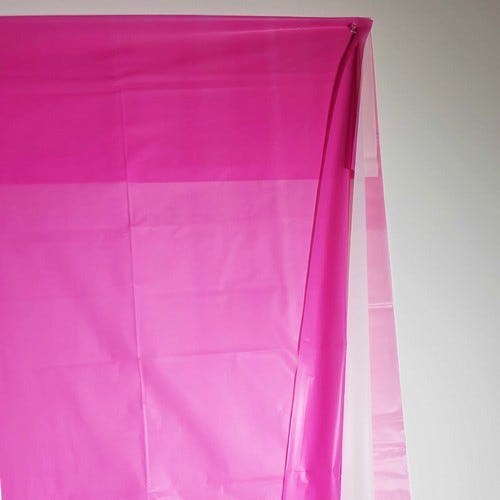
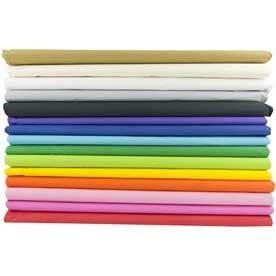
Hang three table covers one on top of the other and adhere to the wall using either push pins or tape, crafter's choice. Make sure they are lying flat and smooth. You can hang vertically or horizontally depending on how long or tall you'd like your backdrop to be.
TIP: Use colors that match your theme. Choose the color you want to see more of. This color will go on top. When finished, the color on top will appear the most, so be mindful when layering your tablecovers.
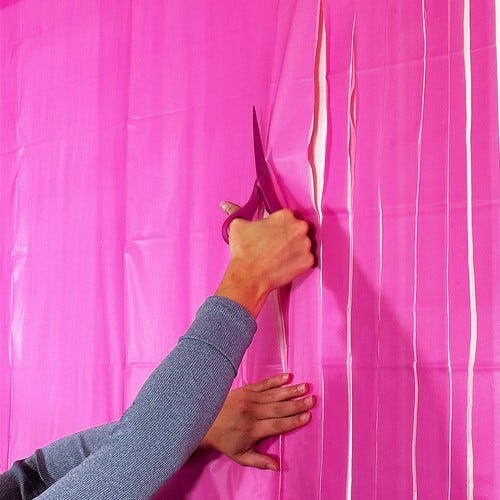
2. CUT
Starting from the bottom, grab the three table covers and cut thick strips vertically, almost all the way to the top. Leave a bit of the table cover uncut (maybe about the height of a textbook). No need for perfection, your best eye judgment will do!
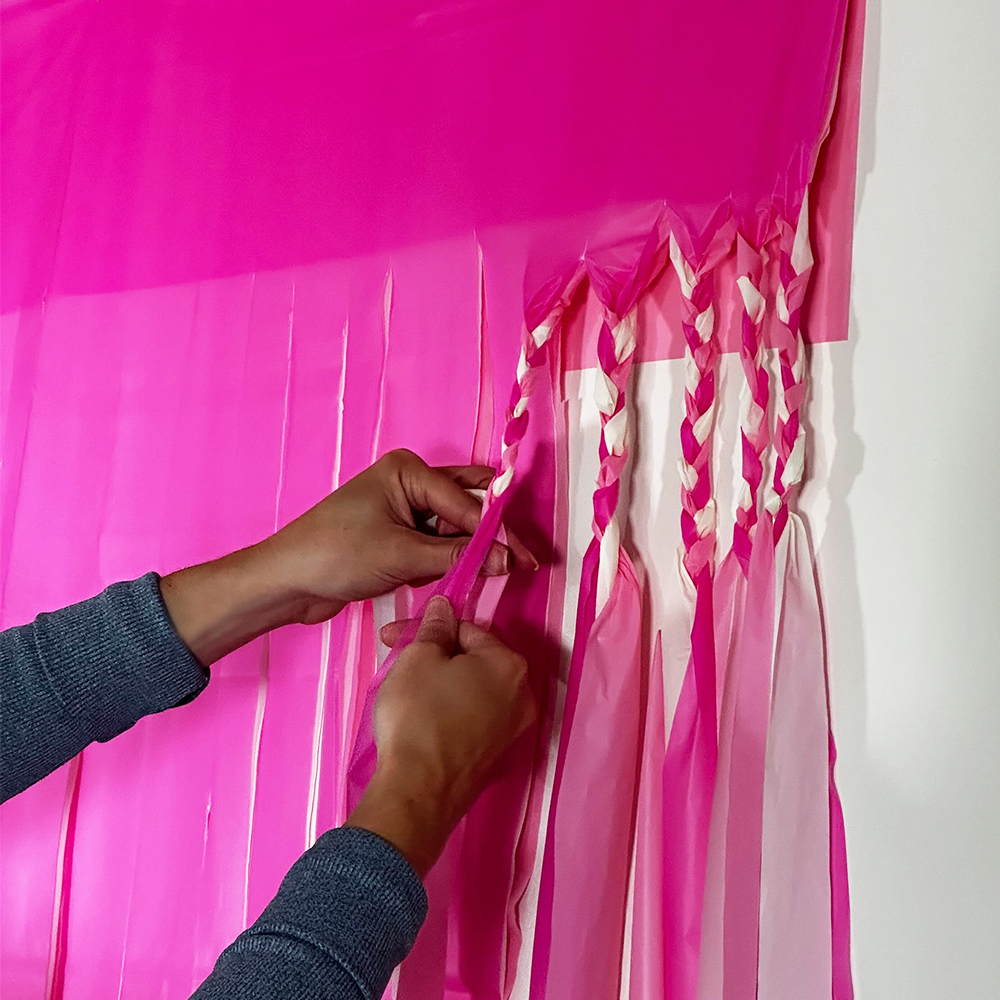
3. BRAID
Take your layered strips one group at a time and braid them. You only have to braid a small amount. Repeat until all strands are braided.
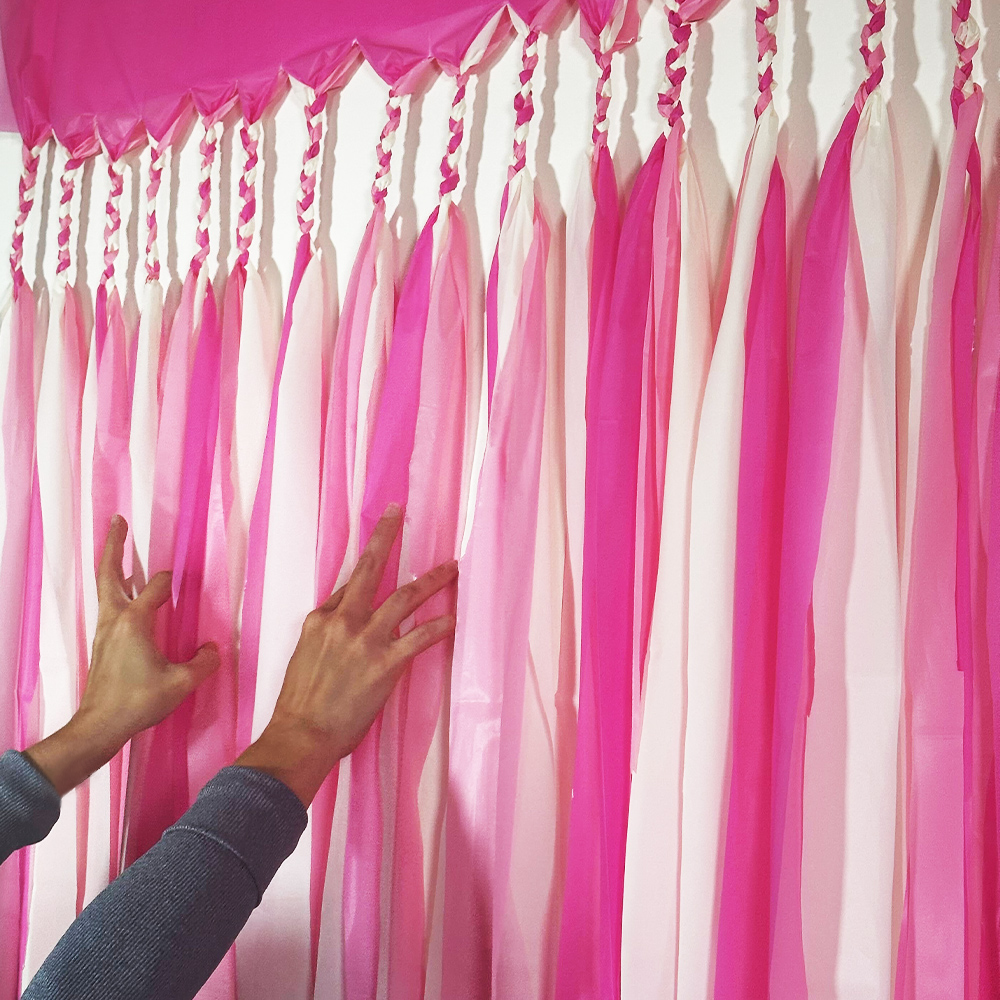
4. FLUFF
Give the strips a little fluff and comb through. Voila! Your DIY photo booth backdrop is ready to be the ultimate visual centerpiece of your next party!
This DIY fringe photo backdrop is versatile. It’s adorable. It’s simple. It’s fun and it is affordable! The focal point you imagined for your celebration just got easier!

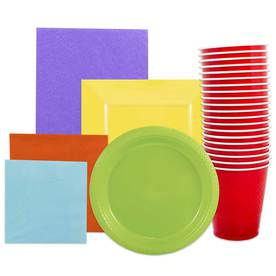
Don’t let the expense of professional photo booths hold you back, explore our selection of table covers and take the first step towards crafting a picture-perfect backdrop with JAM's products.
Check out our video on TikTok and Instagram to see this creation come to life!
Don't miss out on any more creative content.
Follow us on TikTok and Instagram to stay up to date on our latest DIY At Home With JAM projects.


How to Create Your Own Fringe Photo Booth Backdrop Using Plastic Table Covers
Creating your own fringe photo booth backdrop using plastic table covers is a fun and cost-effective way to add a unique touch to any event. Whether you're hosting a birthday party, wedding, or corporate event, a fringe photo backdrop can elevate the atmosphere and provide a fun and interactive experience for your guests. By using plastic table covers, you can easily customize the colors and design to match your event's theme, making it a versatile option for any occasion. With a few simple materials and a bit of creativity, you can create a stunning backdrop that will be the highlight of your event.
Benefits of Using Plastic Table Covers for Your Fringe Photo Booth Backdrop
Plastic table covers offer a wide range of benefits when used to create a fringe photo booth backdrop. They are affordable, easy to find, and come in a variety of colors and patterns, allowing you to customize the backdrop to suit your event's theme. Additionally, plastic table covers are lightweight and easy to work with, making them a practical choice for DIY projects. They are also durable and can withstand the wear and tear of a lively event, ensuring that your backdrop remains intact throughout the duration of the occasion.
Use Cases for Your Fringe Photo Booth Backdrop
A fringe photo booth backdrop created using plastic table covers can be used for a wide range of events, including weddings, birthday parties, baby showers, and corporate functions. It can serve as a fun and interactive element that encourages guests to take memorable photos and create lasting memories. Additionally, the backdrop can be customized to match the theme of the event, adding a personalized touch that enhances the overall ambiance.
Alternatives to Using Plastic Table Covers for Your Fringe Photo Booth Backdrop
While plastic table covers are a popular choice for creating a fringe photo booth backdrop, there are alternative materials that can be used to achieve a similar effect. Tissue paper, crepe paper, and fabric are all viable options that offer different textures and visual appeal. Depending on the desired aesthetic and budget, exploring alternative materials can provide additional creative opportunities for crafting a unique backdrop.
Tips for Using Plastic Table Covers to Create Your Fringe Photo Booth Backdrop
When using plastic table covers to create a fringe photo booth backdrop, consider layering multiple colors to add depth and visual interest. Experiment with different fringe lengths and densities to achieve the desired look, and secure the covers to a sturdy frame or wall to ensure stability. Additionally, consider incorporating additional decorative elements, such as balloons or string lights, to enhance the backdrop and create a festive atmosphere.
Enhancing Your Event with a Fringe Photo Booth Backdrop
Adding a fringe photo booth backdrop to your event using plastic table covers is a creative and budget-friendly way to elevate the guest experience. Whether you're celebrating a special occasion or hosting a corporate gathering, a customized backdrop can serve as a focal point that encourages interaction and creates lasting memories. By exploring different color combinations, textures, and design elements, you can create a backdrop that reflects the unique personality of your event and leaves a lasting impression on your guests.