One of the most memorable (and most messy) parts of a wedding is the bride and groom's exit from the ceremony, when they are showered in bird seed, bubbles, or confetti. There are a lot of creative ways to package the confetti for your guests, but for a more crafty, DIY feel, try making these simple, stylish DIY Wedding Confetti Cones.
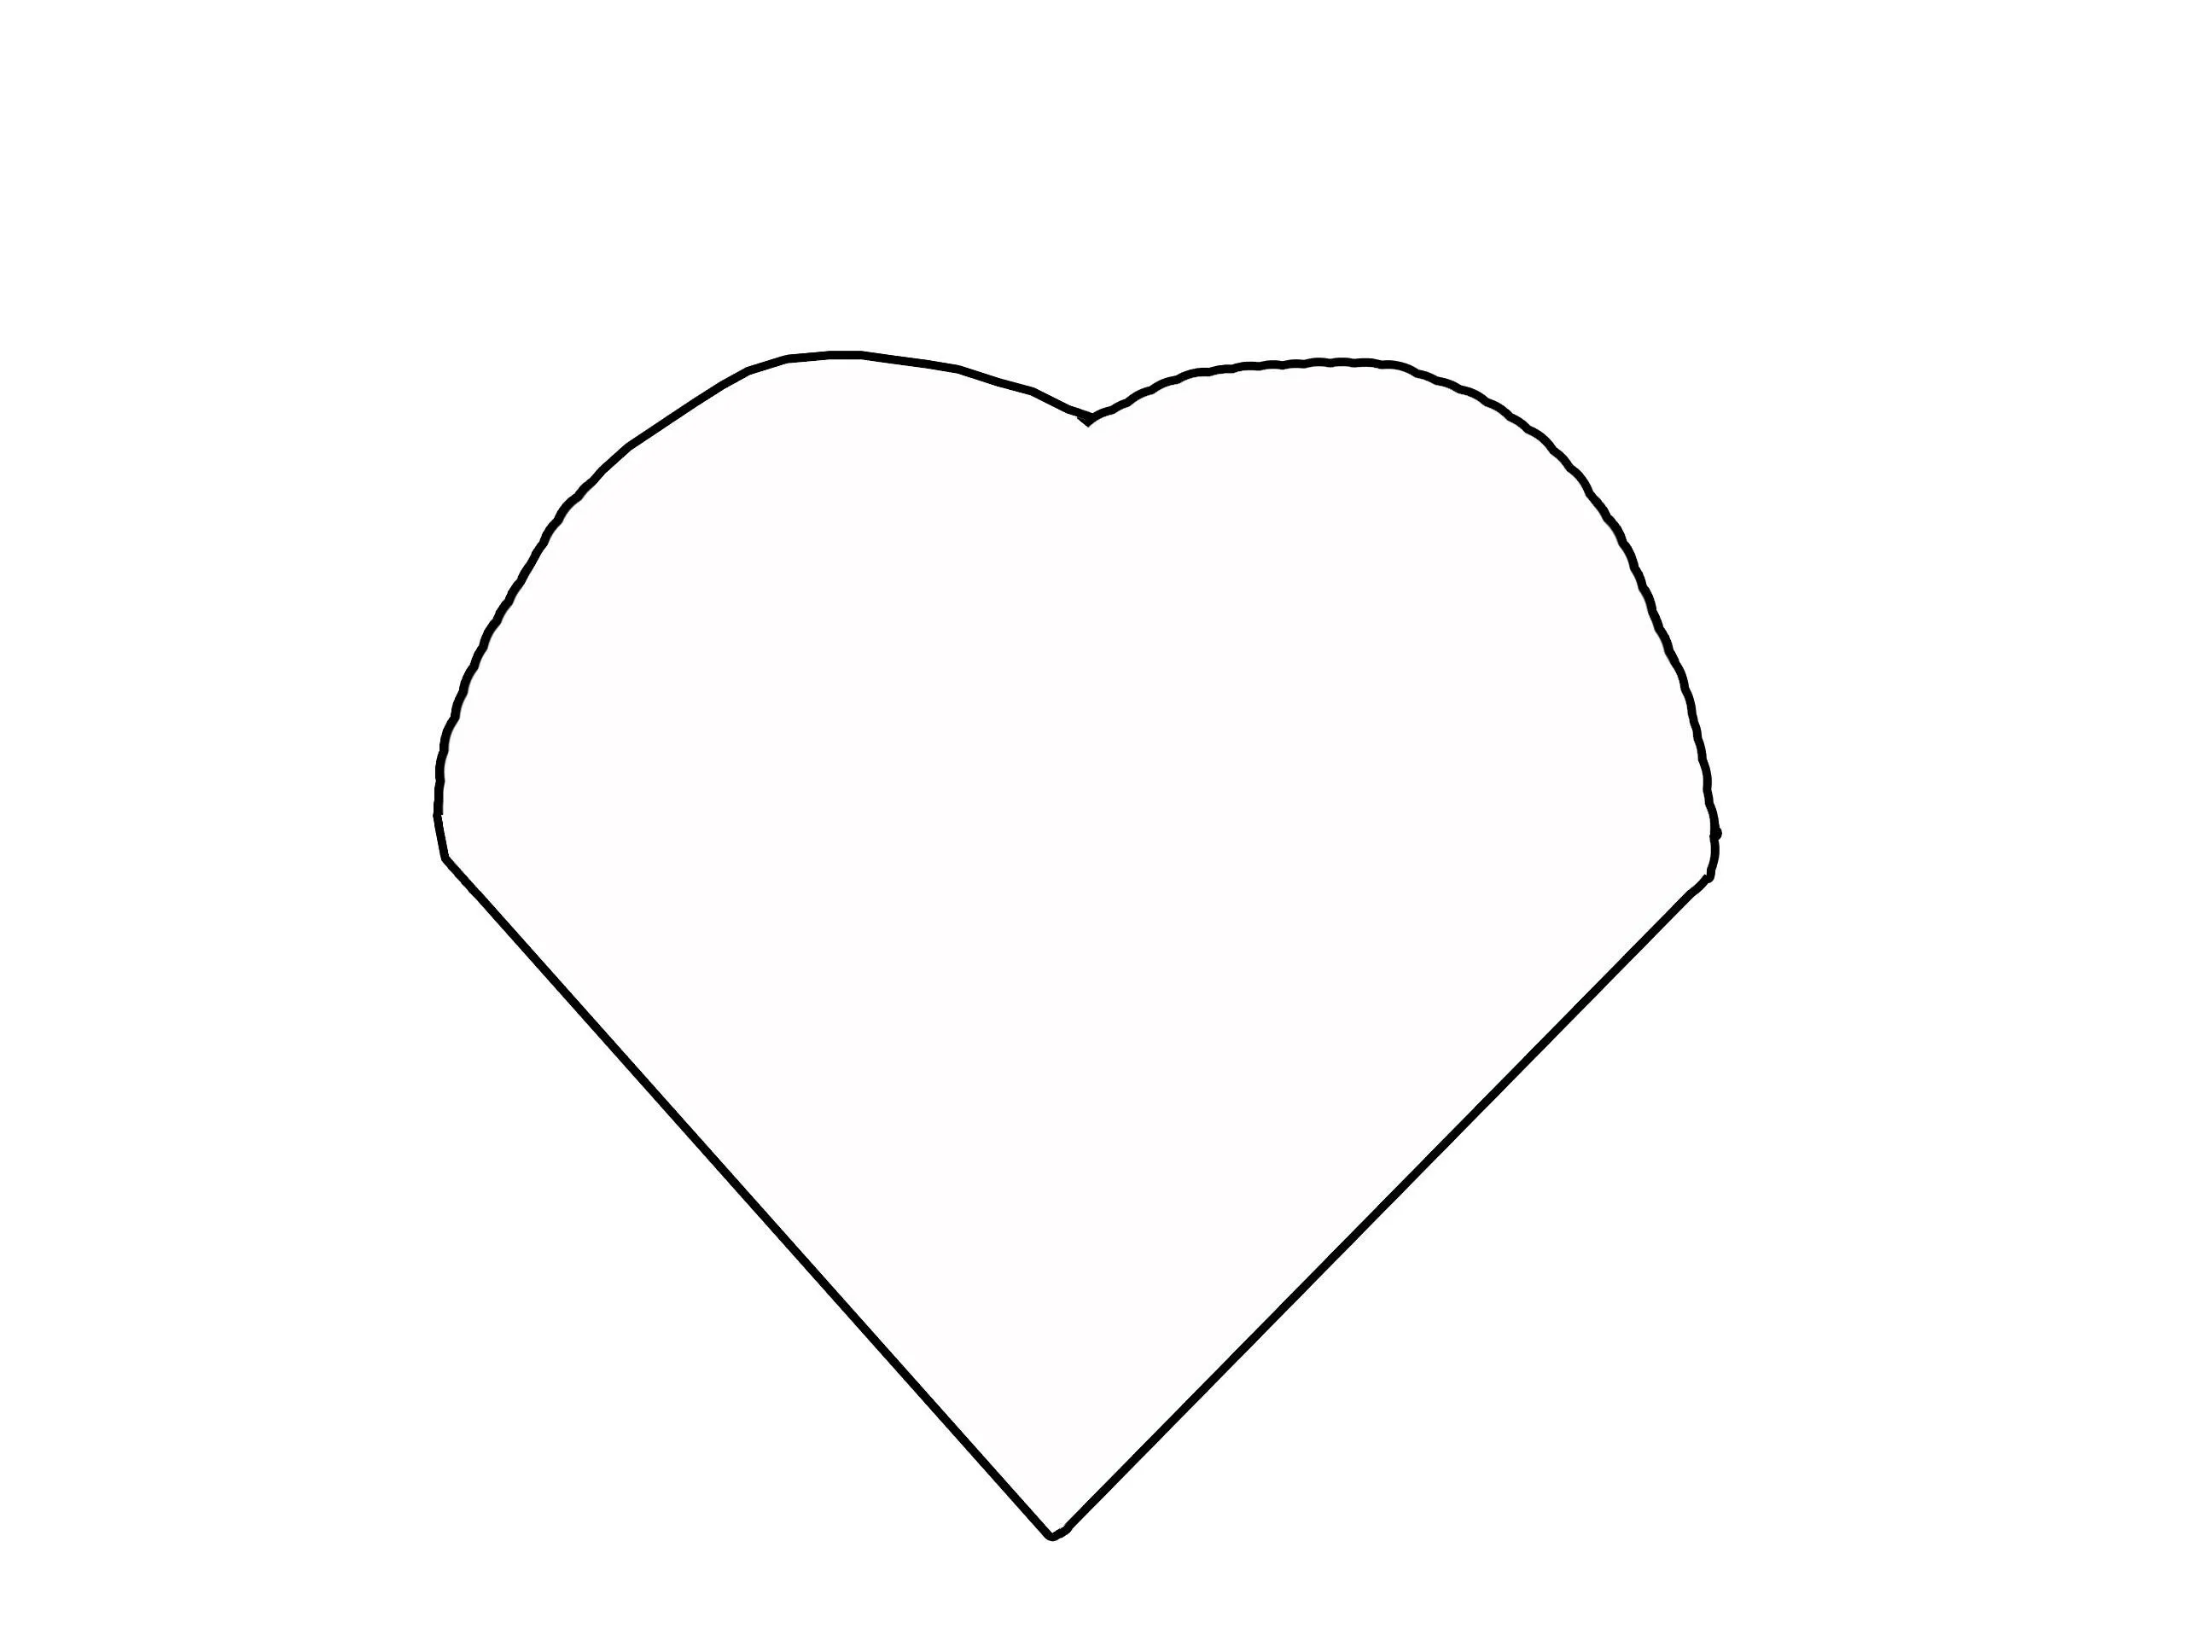
Load your printer with your colored cardstock. Next, click the cone template below and print the template directly onto the blank cardstock. The template will fit on one sheet of cardstock, but we will use the extra for the confetti a little later. Once you have printed out all of your cones, the next step is to cut them out.
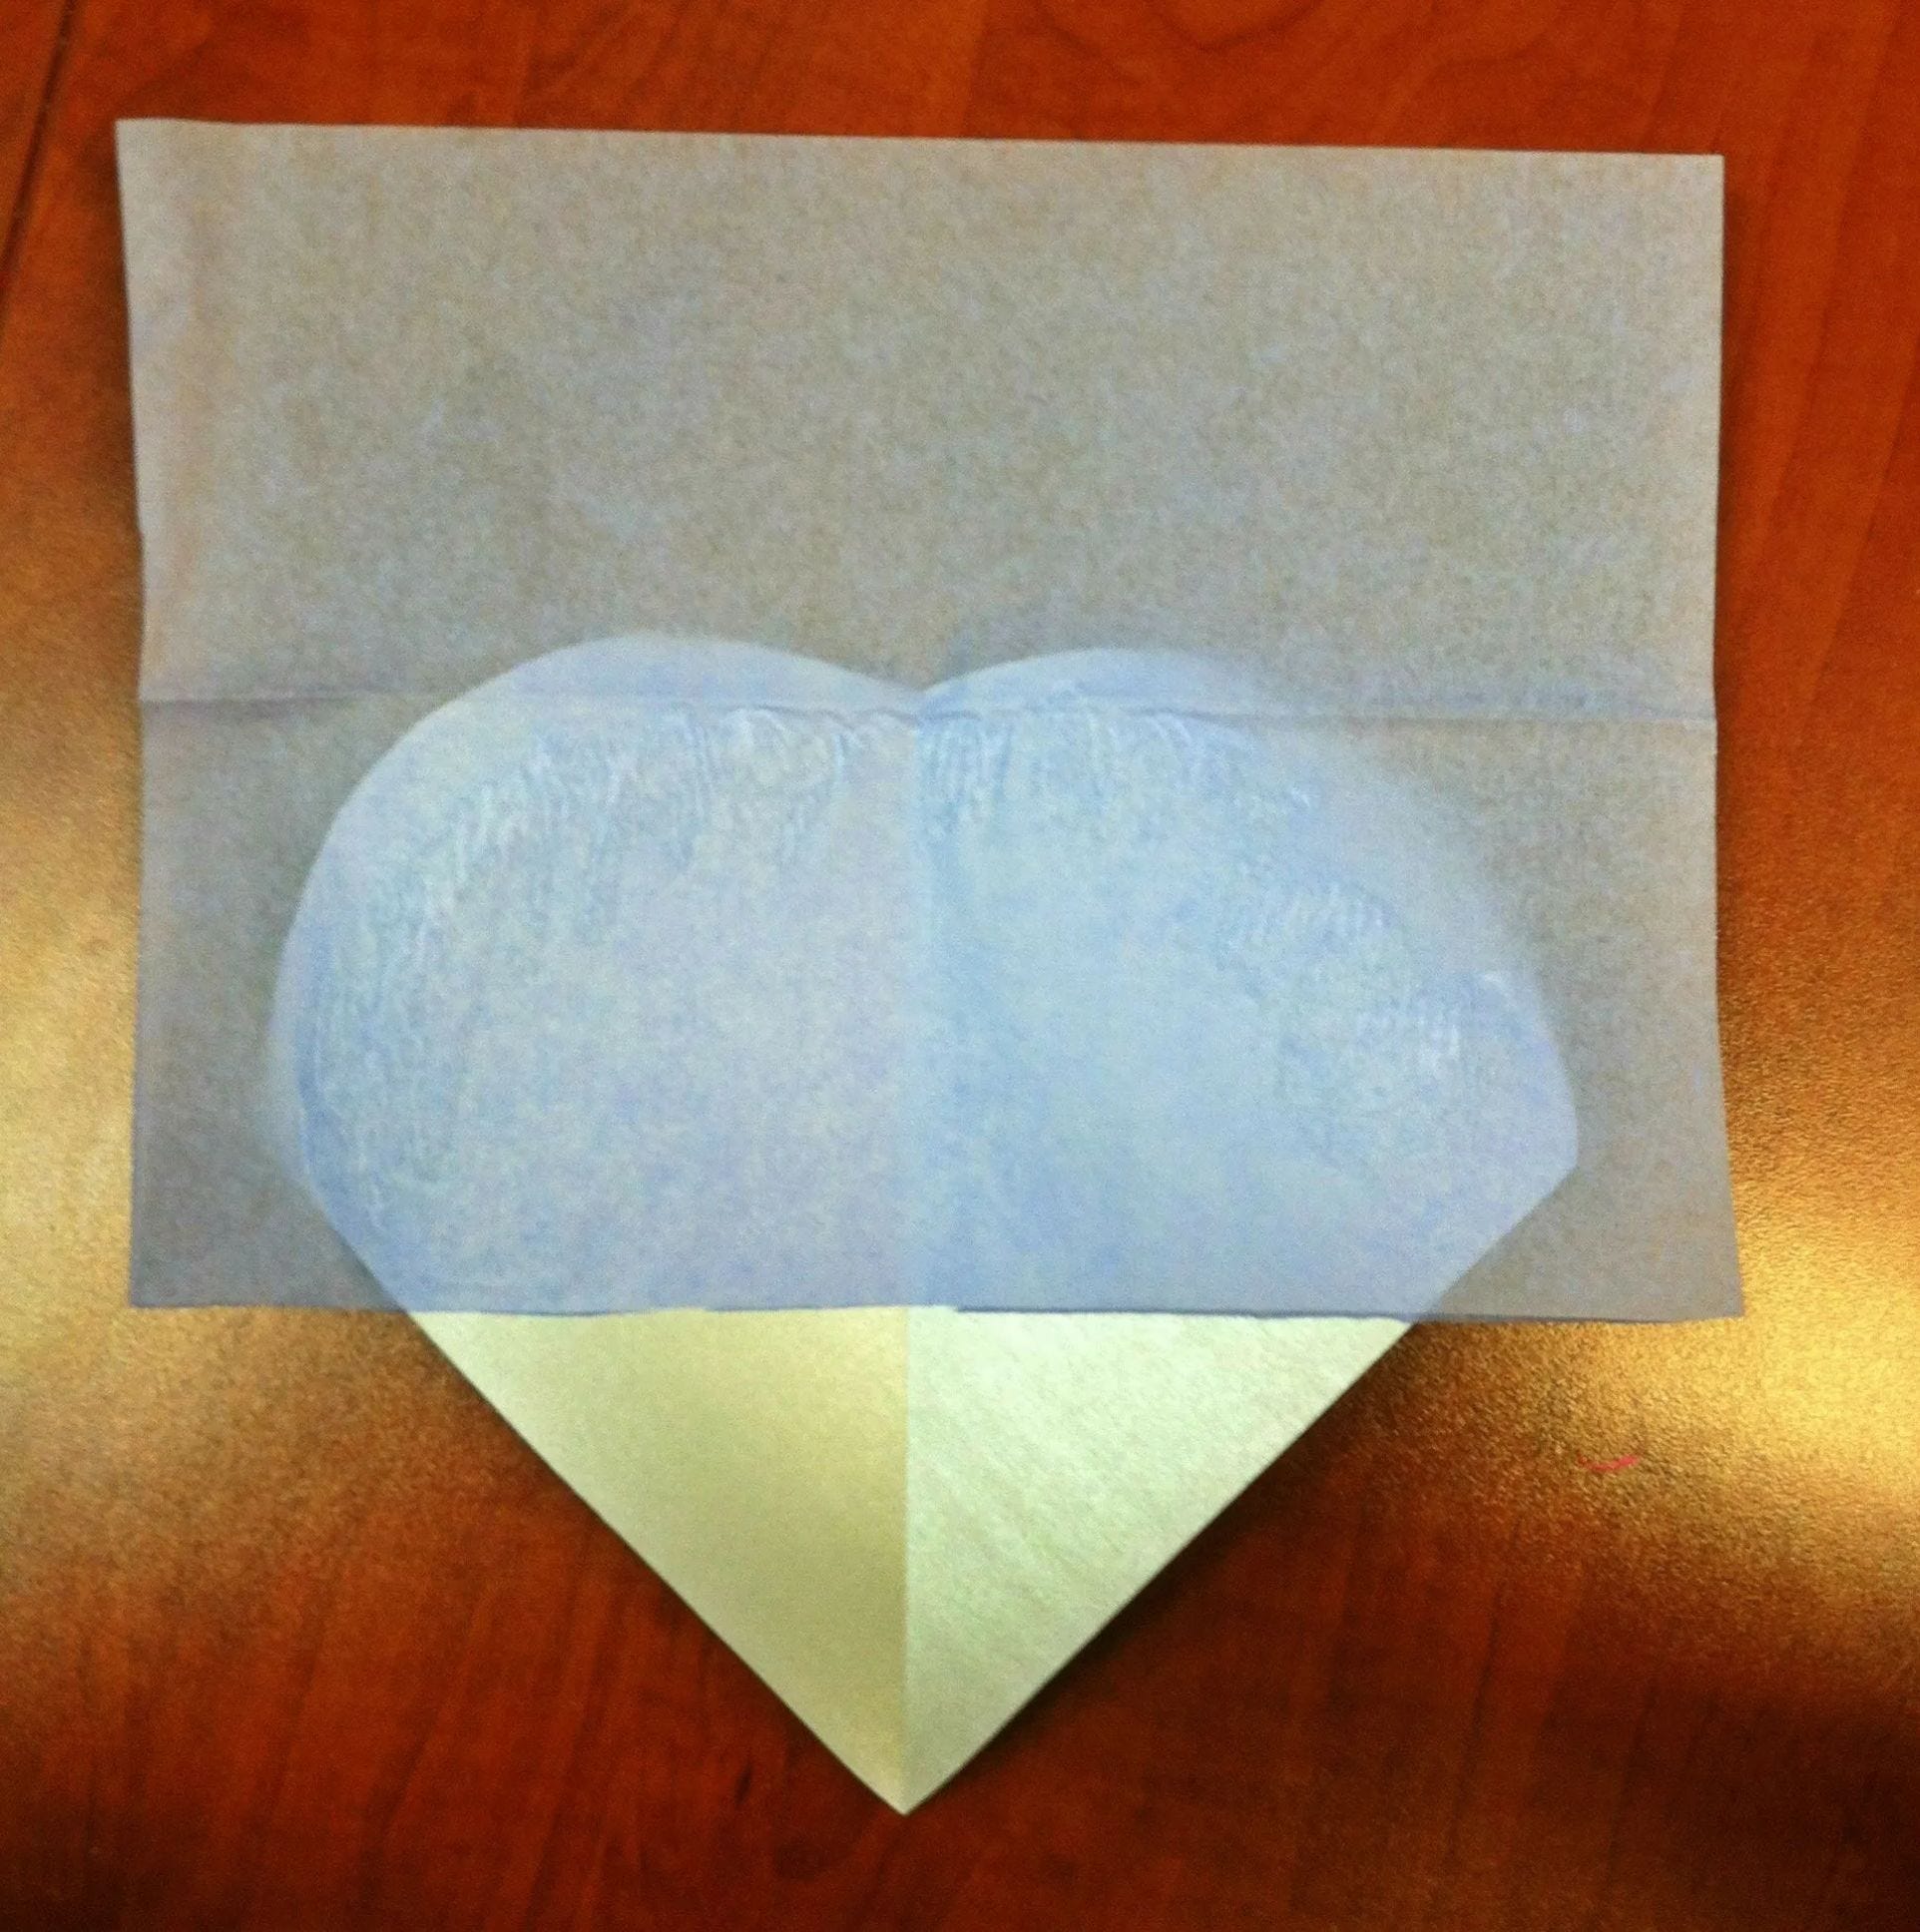
STEP 2 - ADD THE TISSUE
Once you have cut out all of your cones, it's time to add the tissue paper. Lay out your tissue paper and cut it into squares about 8" x 8". Each cone gets one sheet of tissue paper. Lay on top of the heart shaped cone and secure with glue. Trim off any excess pieces on the sides.
STEP 3 - CREATE THE CONE
To create the cone is easy. Fold the heart shape in half. This makes it easier when rolling the cone. Place a piece of tape along the edge of one side of the heart (not at the top but along the long straight side). Then roll the other non taped side of the cone onto the tape. This should create your cone.
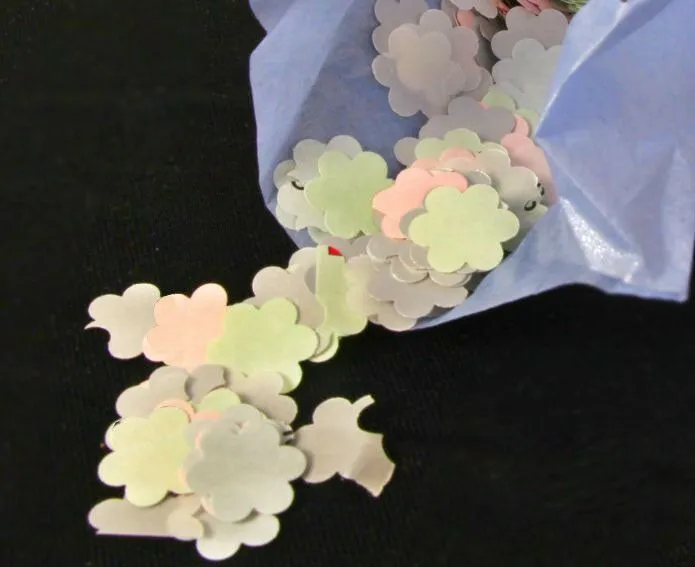
STEP 4 - CREATE THE CONFETTI
To create the confetti, take the scraps of paper from the cone template and using your hold punch, punch out confetti pieces. We used our 1/2" flower hole puncher for a flower confetti, but a regular circle hole punch will work just as well. Next, place the confetti into the cone.
*Bonus Tip- If you don't want to punch out thousands of confetti pieces simply stuff the bottom of the cone with left over tissue paper to fill the cone half way. Then lay confetti over top. It gives it a more full look when tying your ribbon.
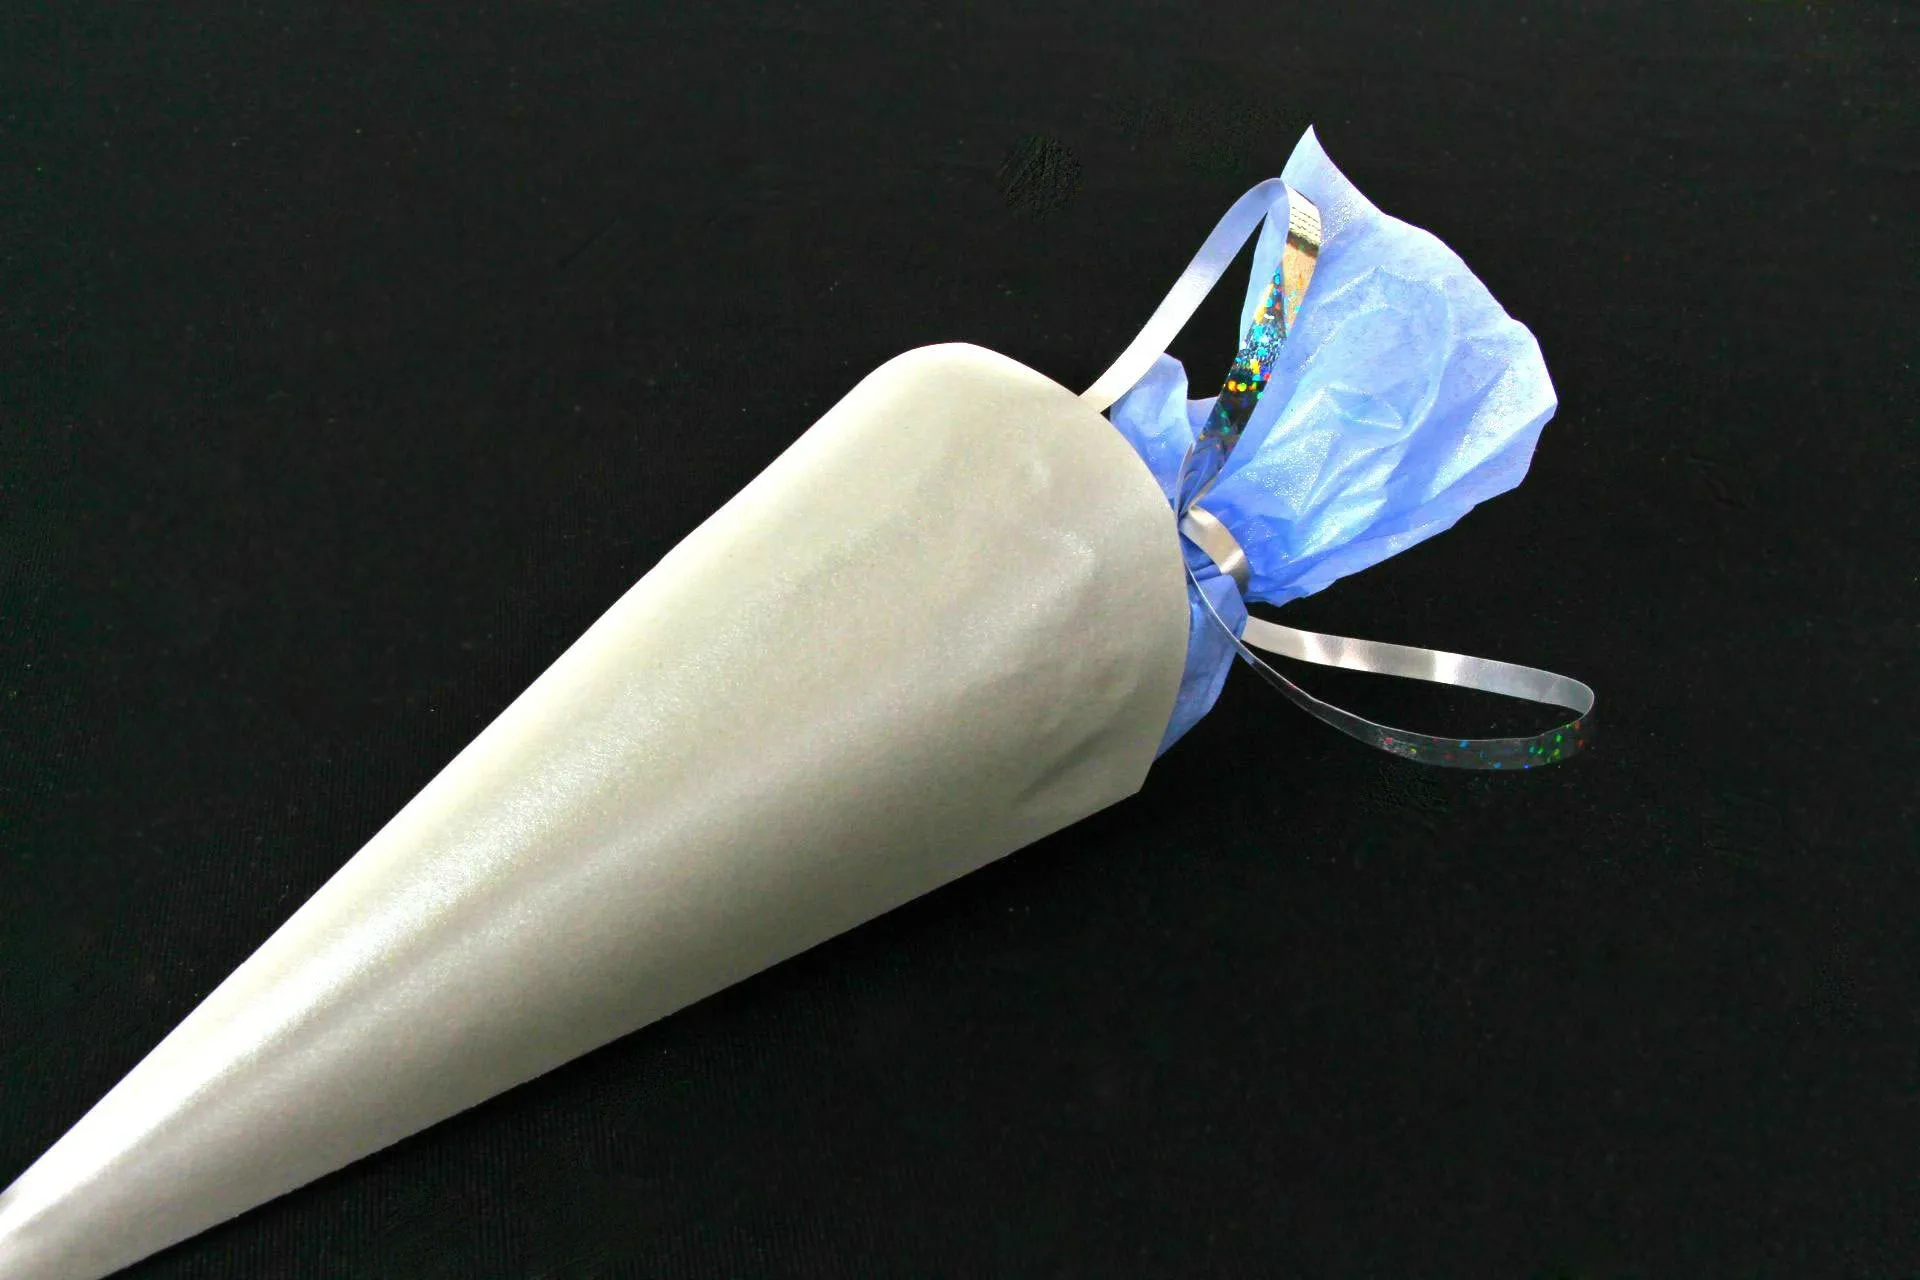
STEP 5 - TIE IT ALL TOGETHER
The last step is to tie a piece of ribbon around the top of the tissue paper. We cut pices about 8" long so we could have extra ribbon hanging off.
Want more wedding DIY's? Check out our Eco-friendly goodie bag
DIY Wedding Confetti Cones: Creative Ideas for Your Celebration
Key Summary:
Learn how to make beautiful confetti cones for your special day.
This article will provide tips and tricks for creating personalized confetti cones.
Perfect for any wedding celebration, these DIY confetti cones add a special touch to your event.
Weddings are a time for celebration and joy, and what better way to add a personal touch to your special day than with DIY confetti cones? In this article, we will explore the creative ideas and step-by-step instructions for making beautiful confetti cones for your wedding. From materials needed to personalization ideas, we've got you covered to ensure your confetti moment is a memorable one. Let's dive in and get ready to add a touch of creativity to your celebration!
Materials Needed
When creating DIY confetti cones for your wedding, you will need a few key materials to get started. These include paper or cardstock, scissors, glue or tape, and of course, confetti. You can purchase these materials at your local craft store or online. Consider choosing paper or cardstock that matches your wedding theme or colors for a personalized touch.
Step-By-Step Guide
Creating confetti cones is a fun and easy DIY project that can add a special touch to your wedding. To get started, cut your paper or cardstock into a cone shape and secure it with glue or tape. Fill the cone with confetti and seal the top. You can add embellishments like ribbons or stickers for an extra decorative touch. Be sure to follow our detailed instructions for a successful DIY project.
Personalization Ideas
Personalizing your confetti cones is a great way to incorporate your wedding theme or colors. Consider adding your initials or wedding date to the cones for a custom look. You can also choose confetti in colors that match your wedding palette. Get creative with different patterns or designs to make your confetti cones unique to your celebration.
Display and Distribution
Once you have created your beautiful confetti cones, it's time to think about how you will display and distribute them at your wedding. Consider placing them in a decorative basket or tray for guests to grab as they enter the ceremony or reception. You can also have ushers hand them out to guests before the confetti moment. Be sure to have a designated area for guests to dispose of the cones after use to keep your venue clean.
Who Should Consider Using This Product
DIY Wedding Confetti Cones are perfect for:
Brides and grooms looking to add a personal touch to their wedding celebration
Couples who enjoy crafting and DIY projects
Those who want to create a memorable confetti moment at their wedding
Individuals who want to save money on wedding decorations
Anyone looking for a fun and creative wedding project
Best Times to Utilize This Product
Consider using DIY Wedding Confetti Cones:
During the wedding ceremony exit for a festive send-off
As part of the reception decor for a colorful and fun touch
For bridal showers, engagement parties, or other pre-wedding events
As a unique and personalized wedding favor for guests
Anytime you want to add a touch of whimsy and celebration to an event
Examples of How to Incorporate This Product
Here are some use case examples for DIY Wedding Confetti Cones:
Wedding Ceremony Exit
Create confetti cones in your wedding colors for guests to toss as you make your grand exit
Add a personalized touch by including your names and wedding date on the cones
Display the cones in a decorative basket or tray for guests to grab on their way out
Ensure a picture-perfect moment by coordinating with your photographer for stunning exit photos
Enjoy the festive atmosphere created by the confetti as you celebrate your new marriage
Reception Decor
Use confetti cones as part of your table centerpieces for a pop of color and fun
Coordinate the confetti colors with your wedding theme for a cohesive look
Place a cone at each guest's seat for them to use during key moments like the first dance or cake cutting
Encourage guests to participate in the celebration by tossing confetti during special moments
Create a festive and joyful atmosphere with the addition of DIY confetti cones throughout your reception
What Sets Our Product Apart
Our DIY Wedding Confetti Cones stand out from the rest because of their customizable nature. With the ability to personalize the cones to match your wedding theme or colors, you can create a unique and memorable confetti moment. The step-by-step guide provided ensures that your DIY project is a success, making it easy for anyone to create beautiful confetti cones for their special day. Additionally, our product offers creative ideas for personalization, allowing you to add your own touch of creativity to your celebration. With our DIY Wedding Confetti Cones, you can make your wedding day truly one-of-a-kind.
Various Ways to Use Our Product
Wedding Ceremony Exit
One of the most popular ways to use our DIY Wedding Confetti Cones is during the wedding ceremony exit. Create confetti cones in your wedding colors for guests to toss as you make your grand exit. Add a personalized touch by including your names and wedding date on the cones. Display the cones in a decorative basket or tray for guests to grab on their way out. Ensure a picture-perfect moment by coordinating with your photographer for stunning exit photos. Enjoy the festive atmosphere created by the confetti as you celebrate your new marriage.
Reception Decor
Another great way to incorporate our DIY Wedding Confetti Cones is as part of your reception decor. Use confetti cones as part of your table centerpieces for a pop of color and fun. Coordinate the confetti colors with your wedding theme for a cohesive look. Place a cone at each guest's seat for them to use during key moments like the first dance or cake cutting. Encourage guests to participate in the celebration by tossing confetti during special moments. Create a festive and joyful atmosphere with the addition of DIY confetti cones throughout your reception.
Tips for Maximizing Your Experience
To get the most out of your adventure with our DIY Wedding Confetti Cones, consider the following tips:
Start early to allow plenty of time for creating and personalizing your confetti cones.
Get creative with your designs and decorations to make your confetti cones truly unique.
Involve your bridal party or family members in the DIY process for a fun and collaborative experience.
Coordinate with your wedding planner or coordinator to ensure a seamless display and distribution of the confetti cones.
Capture the special moments created by the confetti cones with your photographer to cherish for years to come.
Bringing Your Wedding Vision to Life
As we wrap up our exploration of DIY Wedding Confetti Cones, it's clear that these personalized creations are a perfect way to add a touch of whimsy and celebration to your special day. By following our step-by-step guide and incorporating personalization ideas, you can create beautiful confetti cones that reflect your unique style and wedding theme. Whether you use them for your ceremony exit, reception decor, or as wedding favors, DIY confetti cones are sure to make a memorable impact on your celebration. So, get creative, have fun crafting, and enjoy the magical moments that these confetti cones will bring to your wedding day!