Springtime Sky Part 2: DIY Sky Themed Paper Wall Art
- By Andrew Jacobs
- May 12, 2017


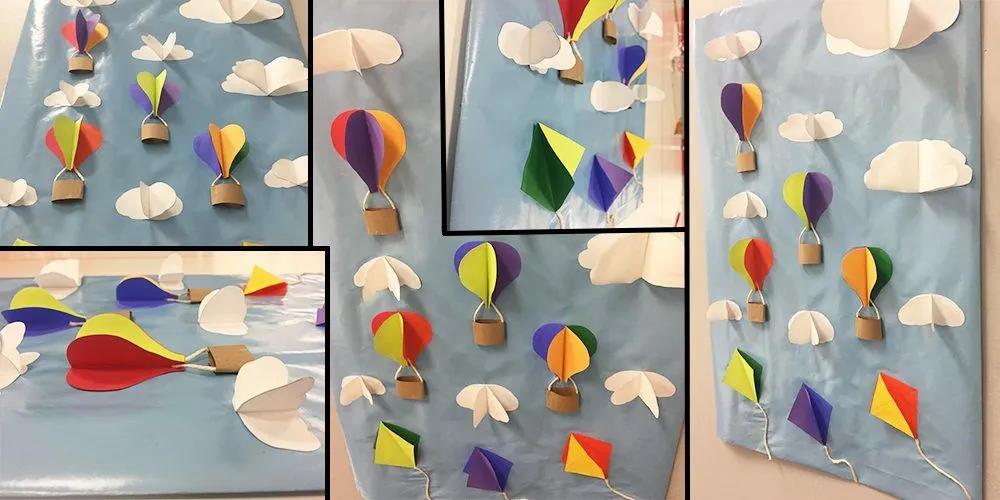
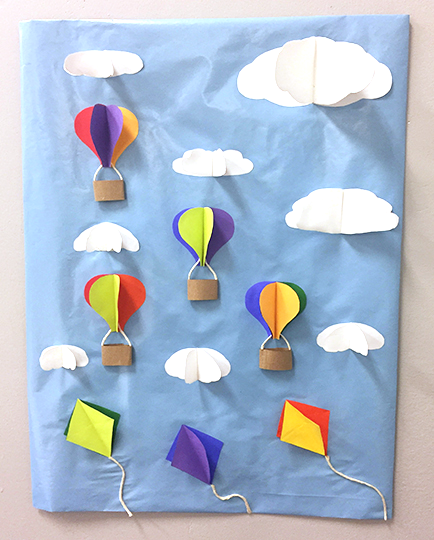
In our last springtime themed DIY post, I showed you how to make a 3D hanging hot air balloon our of our colorful paper. Today, you will learn how to make an adorable wall hanging to match! This 3D wall hanging features hot air balloons, and kites floating through a blue spring sky. You can use this wall art to decorate nurseries, playrooms, kitchens, craft rooms, or any space that could us a little brightening up!
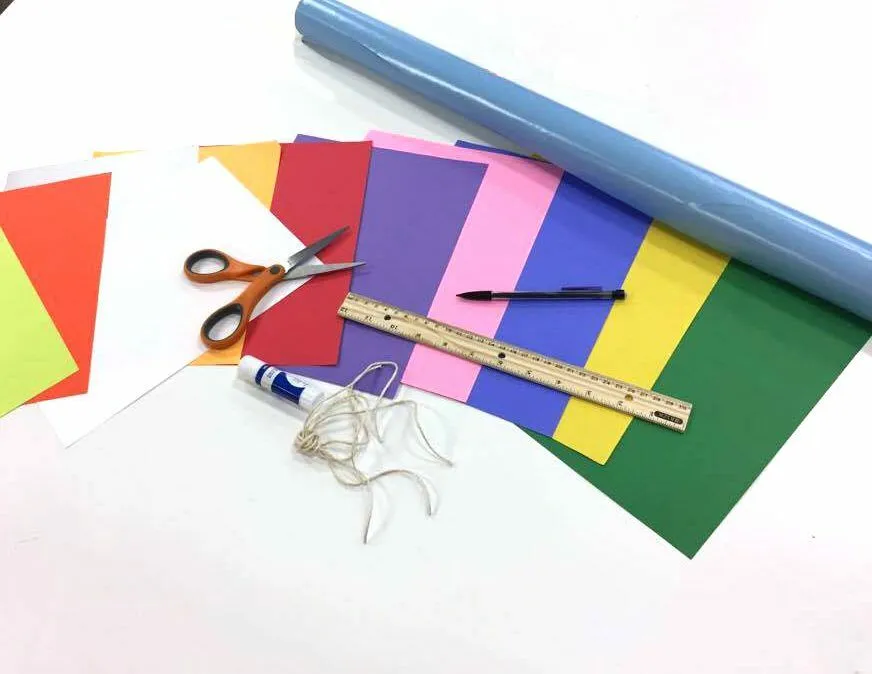
For this craft, you will need:
- Several colors of Brite Hue Recycled Paper
- Brown Kraft Paper
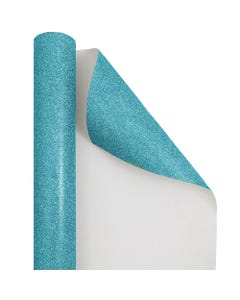
- Baby Blue Glossy Wrapping Paper
- Ruler
- Pencil
- Scissors
- White Glues stick
- Liquid Glue (not pictured)
- Clear Tape (not pictured)
- Brown or ivory kraft twine
Step 1:
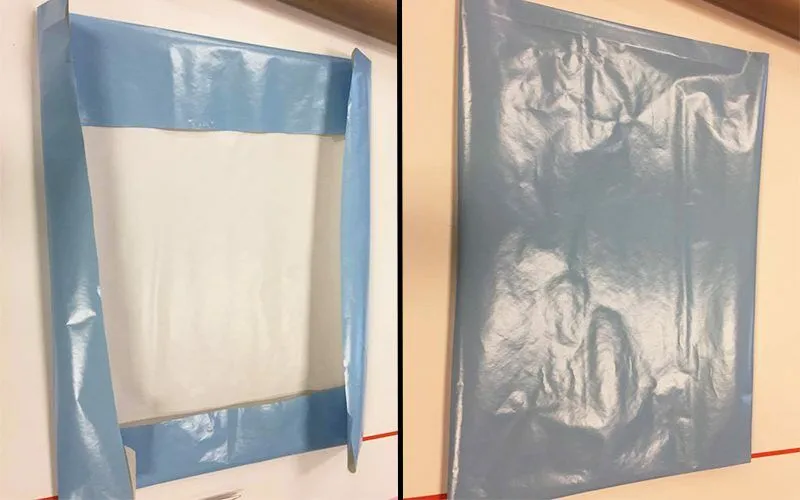
Let's start with the background. Unroll a section of Baby Blue wrapping paper slightly larger than the size of the wall hanging you want to create. Cut off this section from the roll and flip it blue side down. Now fold the edges inward and tape the them to the back so that all edges appear rounded from the front. Use your ruler to help fold straight lines. Flip the paper back over so that the blue side faces up and set it aside.
Step 2:
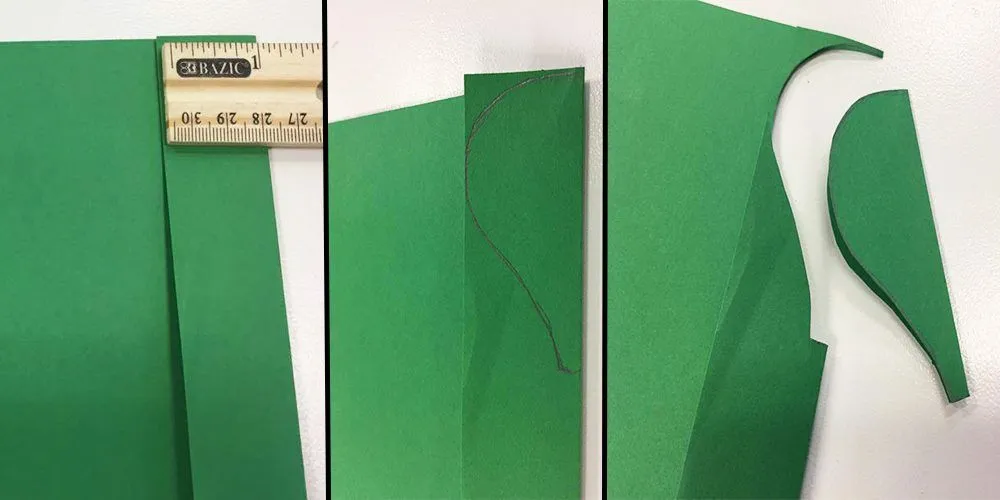
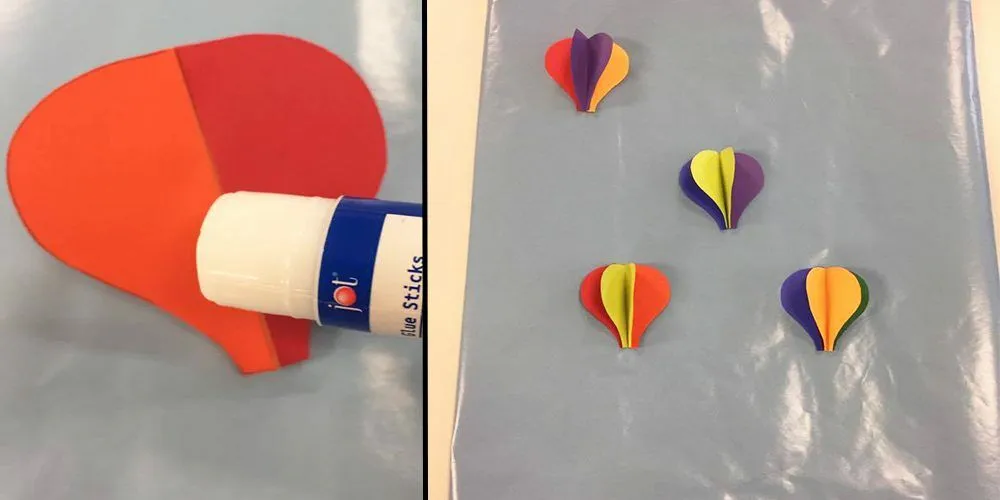
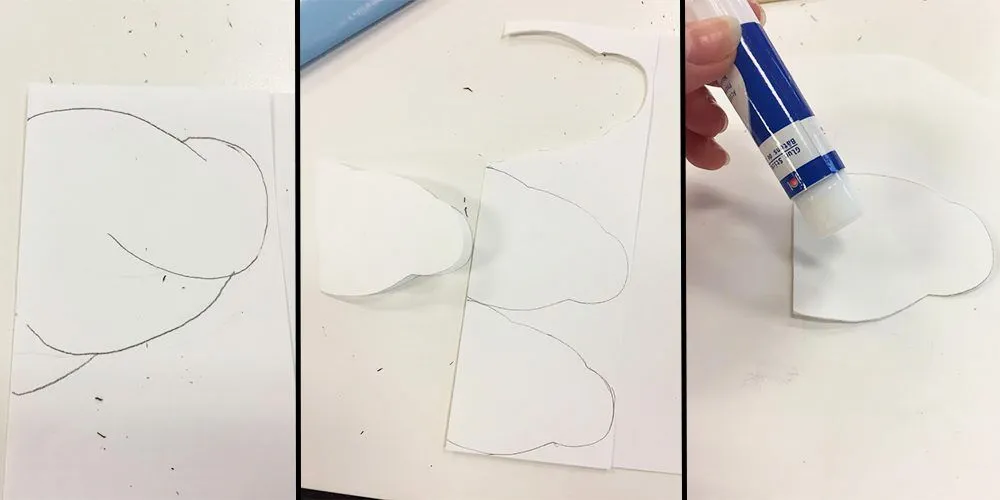
Now it's time to create those mini hot air balloons! Each balloon consists of three colors, so to begin, choose three colors you would like to combine for your first balloon. Take a sheet of paper of your first color (brite hue green is pictured here) and fold one of the long edges inward about 1 inch. Next, draw half a balloon shape onto the folded section with a pencil. I drew my balloons free hand. You may use a small round object to trace the top of the balloon if you wish. Cut out the shape. You know have a full balloon shape of a single color.
Step 3:
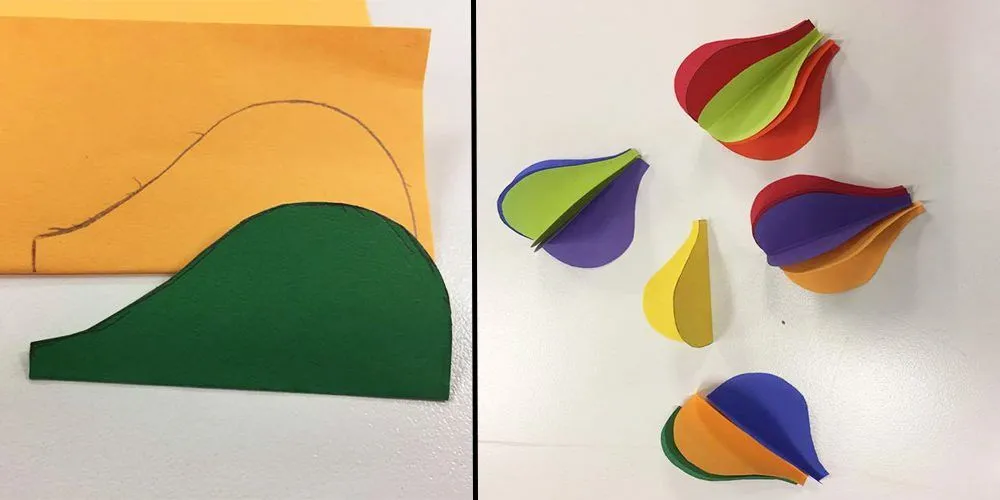
Keep your first cut out piece folded, use it to trace each balloon piece you need. Remember, three pieces are needed to create each balloon. For our wall art, we made 4 balloons, and therefore used 12 pieces. Once all pieces are traced, cut them out the your scissors.
Step 4:
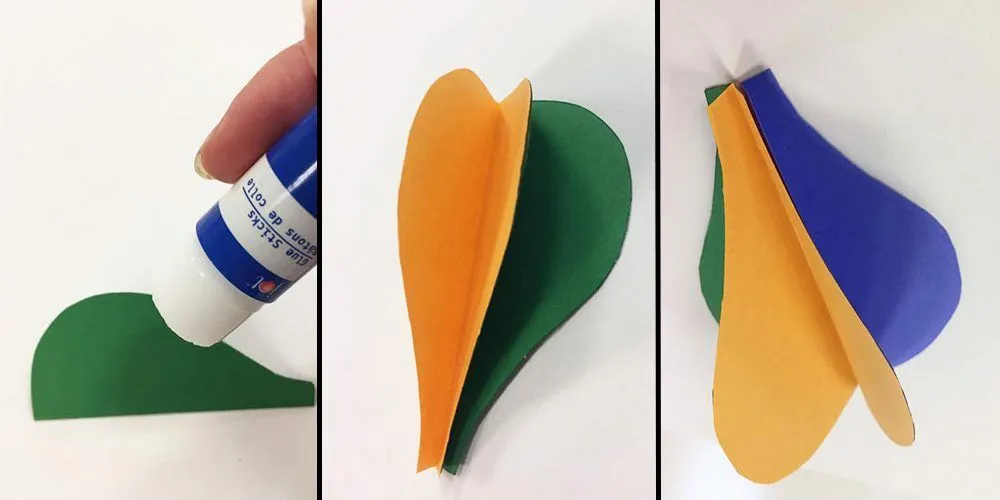
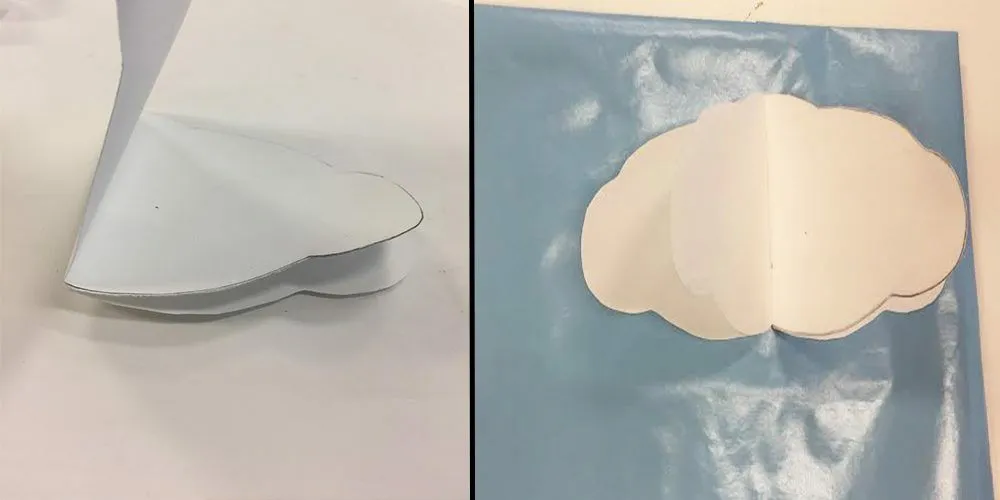
To create your first balloon, lay down your first balloon piece, and glue the upward facing half with your glue stick. Place the next folded piece on top of it so that they are perfectly aligned and press down. Repeat this with the next piece. Allow a few seconds for drying. The body of your first balloon is now done! (To see this concept on a larger scale, see part one). Repeat this step to create the rest of your balloons!
Step 5:
Now it's time to adhere your balloons to their blue sky background. Decide where onto your background you want each balloon to be placed. With your glue stick, apply glue generously to the background in the spot where you want to place your first balloon (or to the back of the balloon, as pictured). Press the balloon down onto the glued spot so the the bottom two flaps are securely and fully glued down. Repeat this with all of your balloons.
Step 6:
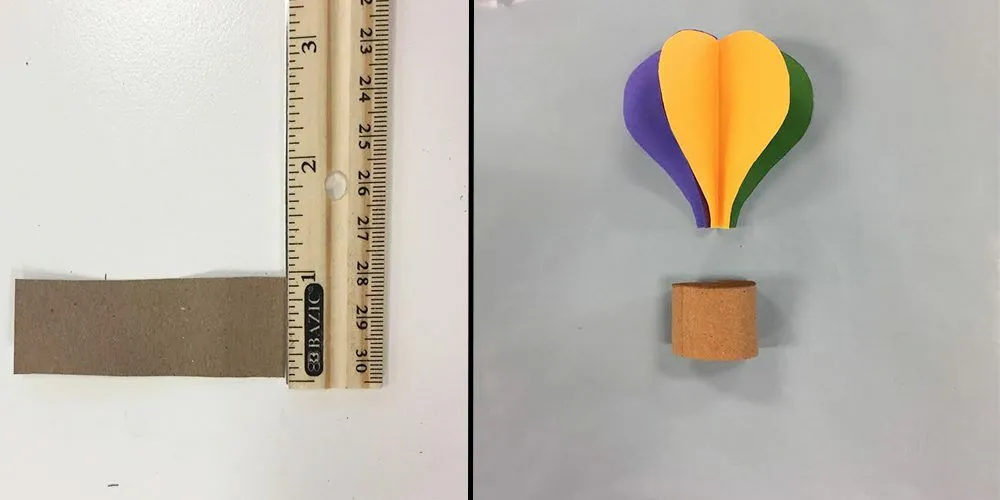
Hot air balloons aren't much good without the baskets for passengers to ride in. To create mini "baskets" for your balloons, take your brown kraft paper and measure a number of 1 inch strips equal to the number f balloons you have made. Cut out these strips. Roll each strip into a circle, gluing them at the ends with our glue stick.
Step 7:
Now, take your kraft twine and measure a length of it that will reach from the basket to the balloon.Cut two strings of this length for each basket. Take your liquid glue and glue two of these strings to either side of your rolled circles in the inside.
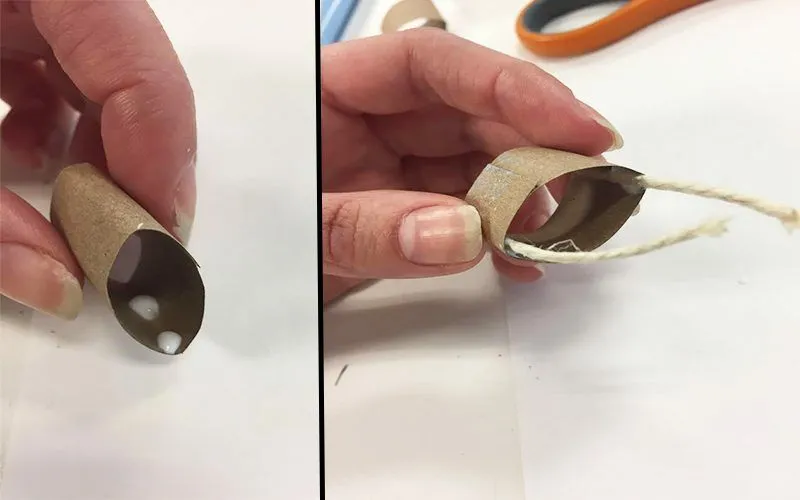
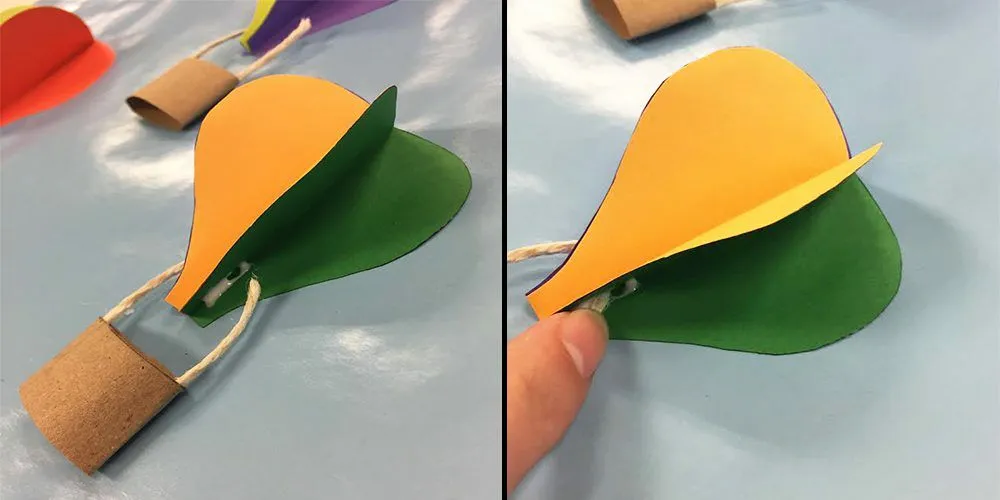
Enough string should be coming out of the top of the baskets to reach the bottom of the balloons when the baskets ate placed under them. Glue the baskets to the background with your glue stick, and the tops of the strings to your balloons with the liquid glue.
Note: Hold twine down in liquid glue for 10 seconds to ensure secure attachment before letting go.
Step 8:
Time to create some clouds! For this step, take a sheet of white paper and fold one long edge inward so that its length across is a half of the length of the cloud you want to create. Take your pencil and draw half of a cloud onto the folded section. Cut out this shape and trace it twice directly below. Cut out all pieces and glue, stack, and unfold the pieces in the same way you did with your balloon pieces to create a cloud!
Glue it to the desired spot on your background using your glue stick. Create as many clouds in as many sizes and shapes as you would like!
Step 9:
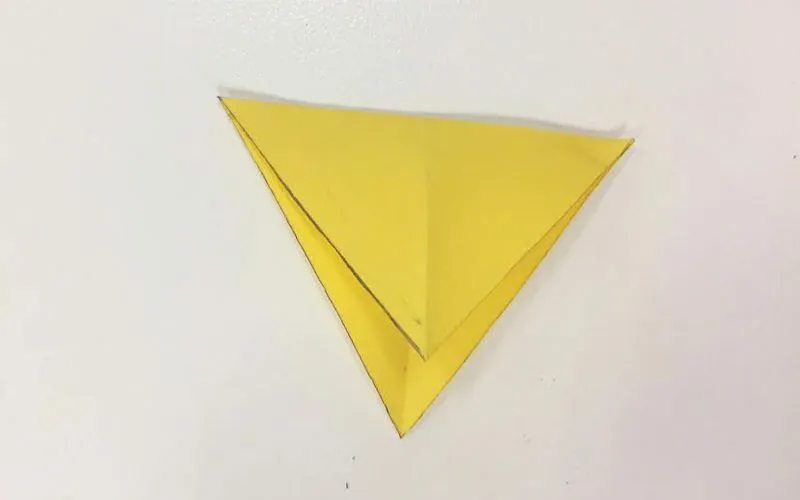
After your done with your clouds, you may also add some kites to your sky scene! While balloons are made of of three colors, and the clouds of only one, you will use 2 colors, but still 3 pieces for each kite. Choose one color for the sides of the kite and one for the center. The center color will be the most visible. Fold the long edge of your first sheet of paper over as you did to create your balloon and cloud sections. On this folded over area, use your ruler and pencil to draw an obtuse triangle as shown below:
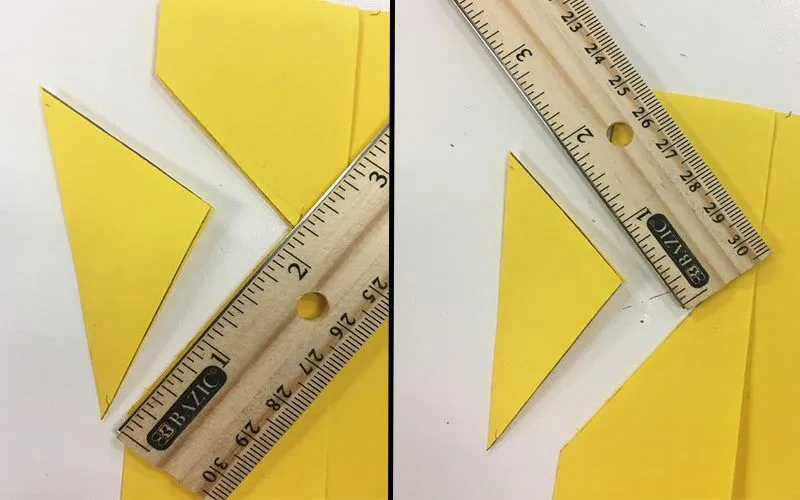
Cut out this triangle and use it to cut out the other two needed for your kite.
Step 10:
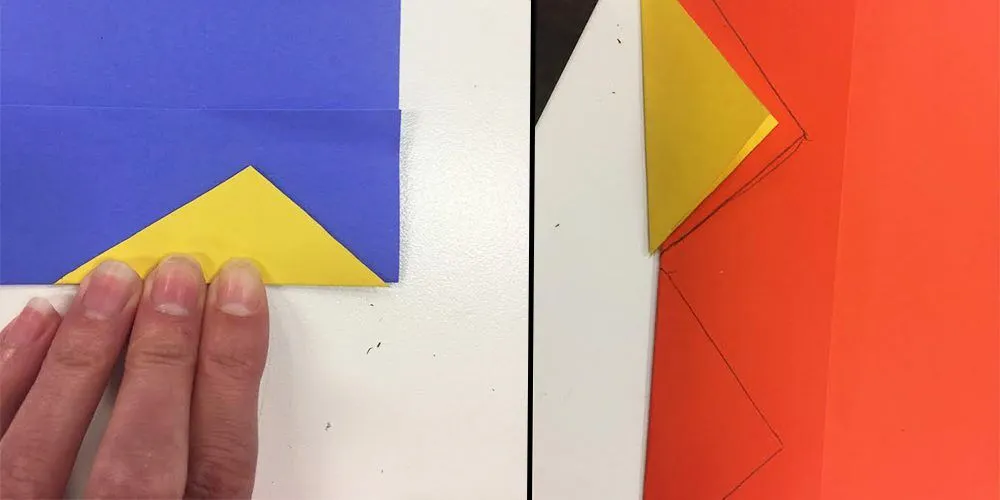
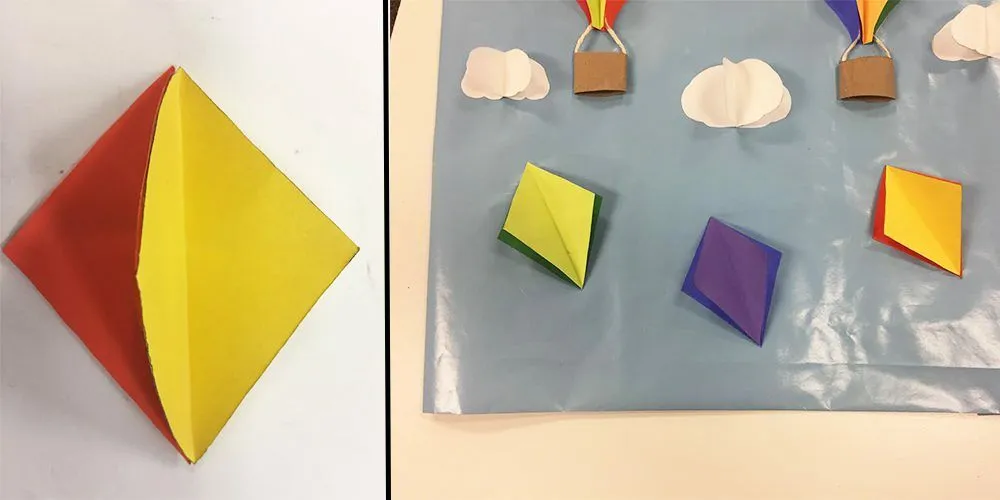
Now you have 3 diamond shapes that will become your first kite. Take your center-colored piece from this group and carefully fold the top of this piece to create a cease with the corners at the sides at each end. Unfold the piece There should now be two visible creases in a cross shape.
Step 11:
Now fold each your kite pieced down the middle creases and stack and glue them together as your did with the balloons and clouds. Repeat steps 9-11 for all kites you desire to add to your sky scene. Glue kites in place with your glue stick at an angle to give the illusion that that are flying in the air.
Step 12:
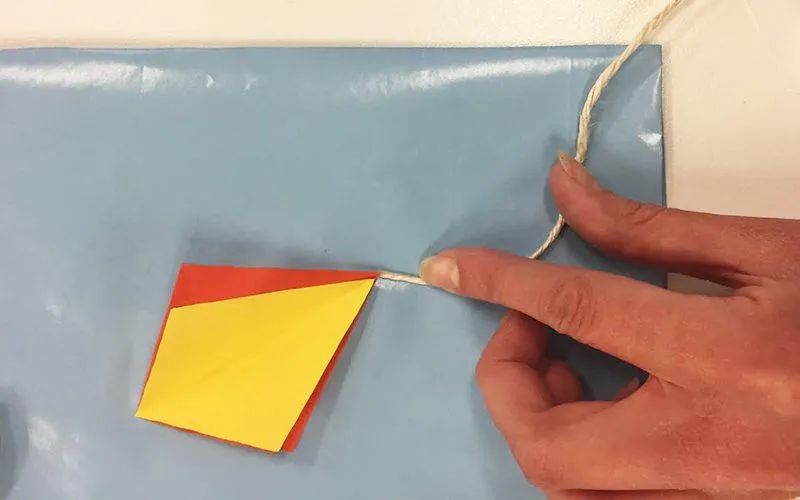
Next, you will add some kite strings! Measure an cut some strands of your kraft twine to reach from the bottom of each kite to the bottom of your background. Generously apply your glue stick to the area were each string will appear. Hold down each string in its desired placement for 10 seconds and release.
Your beautiful sky scene is now complete! Hang this cheery and bright
wall art anywhere to view and enjoy!