JAM's Fun and Easy DIY Scrapbooking Tips
- By Andrew Jacobs
- May 23, 2017
JAM's Fun and Easy DIY Scrapbooking Tips
If you're a picture taker, you're probably always on the lookout for new and fun ways to display and preserve your photographed memories. If you have never tried scrap booking before, then perhaps it's time you gave it a go! The tips in this post will help you get started. If scrap booking is something you have been doing for a while, this post is for you too! These tips may help you discover new techniques to better develop your craft! Scrap booking is a great way to keep your photos from events, vacations, holidays, and more in a place where they can be artfully displayed and easily viewed! The tips below are designed to help you create an aesthetically pleasing scrapbook that will help you make sure your memories look great and last a long time! Let's start at the beginning with a decision you must make before any scrapbook page can come together.1. How to choose the right paper
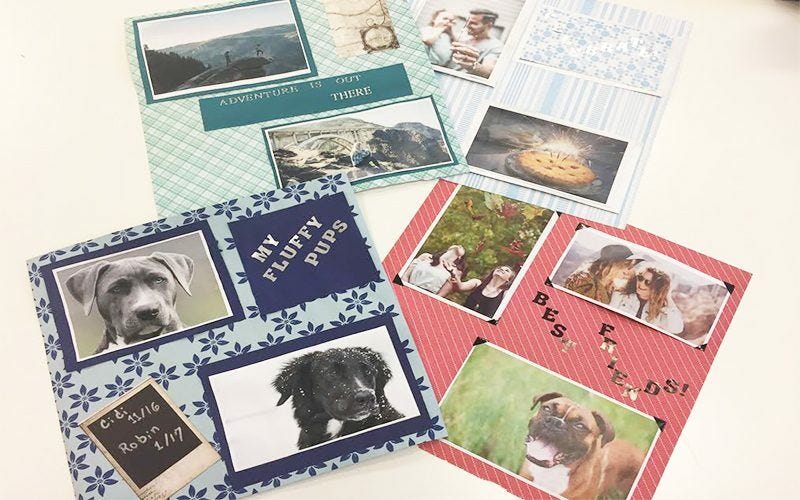
The paper you use on each page of your scrapbook will depend entirely on the photos you wish to display on that page. Take a look at your photos and choose a color or object that you wish to emphasize. For instance, let's say you have a photo of your dog and your dog has blue eyes. Placing this picture on a blue background will make the dog's eye color pop, creating a coordinated and pleasant appearance! Always choose paper based on a color of theme within the photos, but make sure that the paper and photos do not both have the same dominant color. This will create an over saturated look. Note: The blue flower-patterned paper above was cut from JAM's Handmade Blue with Blue Flower Wrapping paper Roll! The thick weight and natural texture of this gift wrap make it perfect for doubling as scrapbook and craft paper. Have Fun with your scrap booking materials and see what resourceful alternatives to conventional materials you can find!2. How to arrange your pictures in the best way possible
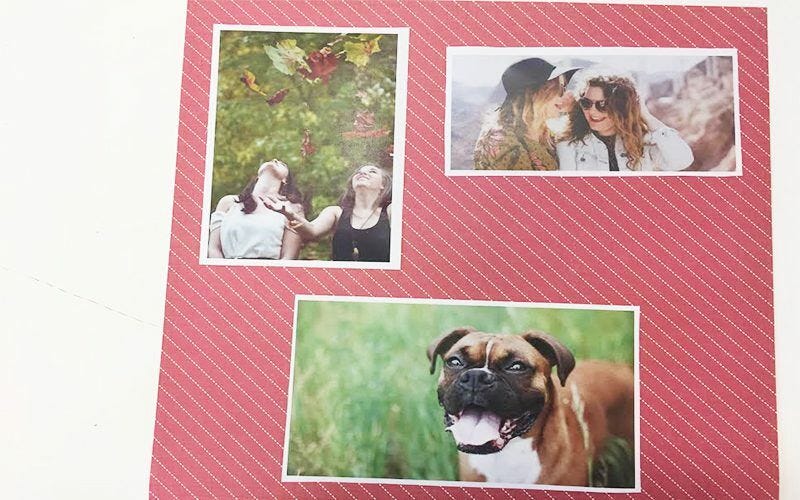
Always lay out your photos onto the paper you will be using before gluing them down or using any adhesive. This way, you can consider how your final product will look before it is finalized. When it comes to arranging your photos, you want each photo to have a fair amount of space around it, but you also want to avoid creating large gaps. Remember that empty placed that the photos doesn't cover any later be covered by page embellishments!3. How to choose the right borders
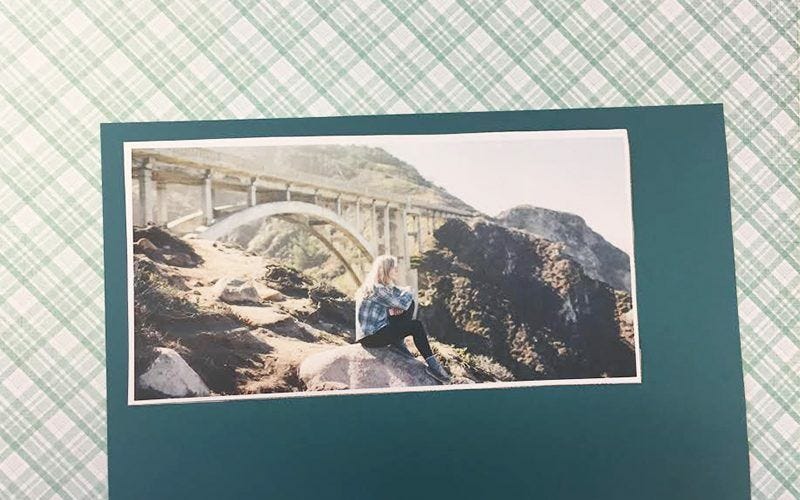
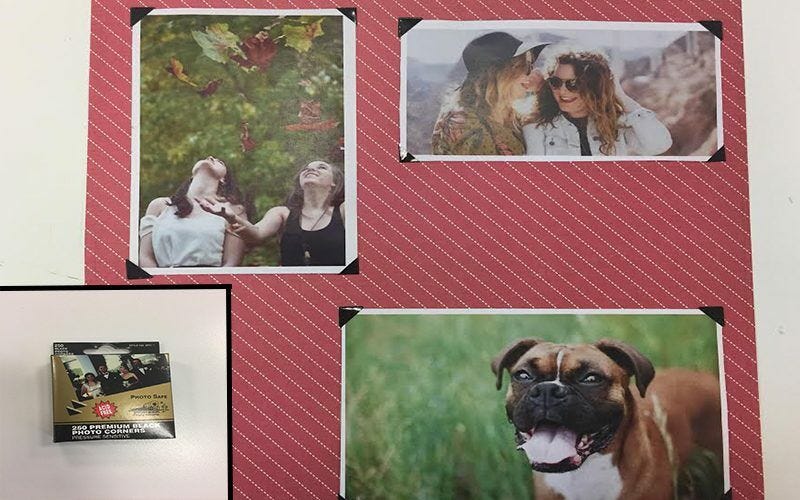
Border colors should compliment both the photos and the background color. The ideal border is either the complimentary color to your main background color (for reference, here is a color wheel) or it is a slightly darker shade of a color featured in the background. The best way to choose a border color is to place paper of the color your are thinking you are using for your borders near or on top of your background paper and seeing how it looks! For a fun alternative to paper borders, try self-adhesive black photo corners! These triangular self-adhesive corners have a classic look and slide over each corner of your photos and allow you to mount them securely to the page.4. How to choose the right stickers and other accessories
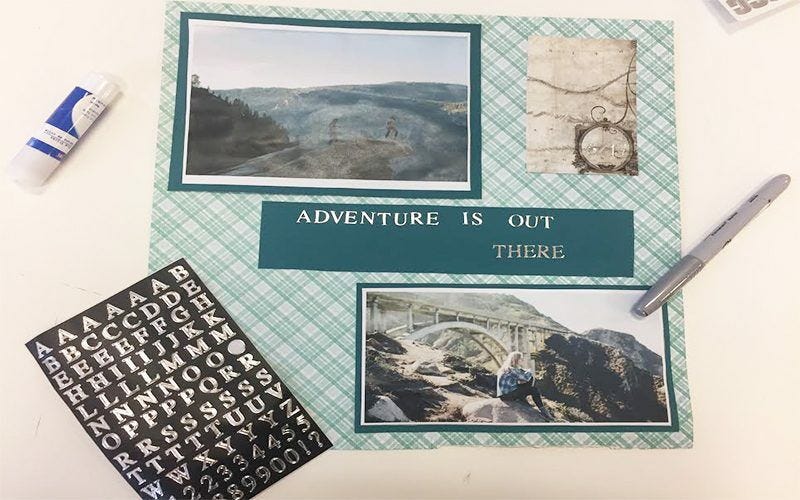
Stickers and embellishments that you use on your scrapbook pages should fit the themes of the pictures being presented! For instance compass and map themed embellishments are perfect to go along with pictures of travel or your last vacation. Each sticker and embellishment should also match, compliment, or create a highlighting effect in color. To get the most out of documenting your memories, use self-adhesive letter stickers to write applicable phrases, titles, dates and more!

5. How to make sure your scrap book pictures are protected and preserved
For each page of your scrapbook, you should use a full clear plastic page protector of the same size as the page. These page protectors usually open at the top so that the pages may be slid in easily. The second piece of advice I will give on this matter is self-explanatory: put your scrapbook pages into a scrapbook! Choose one that reflects your personality or the theme of your photos and put those pages into it for memories that will last a lifetime. When your scrapbook is finished, it easily be shared with friends and family! Anytime you want to reminisce or to show off the hard work you have out into your pages, simply remove the scrapbook from the shelf and proudly display your decorated memories!What are JAM's Fun and Easy DIY Scrapbooking Tips?
JAM's Fun and Easy DIY Scrapbooking Tips are a collection of creative and innovative ideas for making your scrapbooking experience enjoyable and stress-free. Whether you're a beginner or a seasoned scrapbooker, these tips offer a fresh perspective on preserving your memories in a fun and easy way. From choosing the right materials to organizing your layout, JAM's tips cover a wide range of topics to help you create beautiful and meaningful scrapbook pages.
The Benefits of Using JAM's Fun and Easy DIY Scrapbooking Tips
By following JAM's Fun and Easy DIY Scrapbooking Tips, you can enhance your scrapbooking skills and unleash your creativity. These tips provide a structured approach to scrapbooking, making it easier for you to design and assemble your pages. Additionally, JAM's tips can help you save time and money by offering efficient and cost-effective solutions for your scrapbooking projects. With these tips, you can create personalized and visually appealing scrapbook pages that truly reflect your unique style and personality.
Use Cases for JAM's Fun and Easy DIY Scrapbooking Tips
JAM's Fun and Easy DIY Scrapbooking Tips can be applied to a variety of scrapbooking projects, including family albums, travel journals, and special occasion keepsakes. Whether you're documenting a milestone event or simply capturing everyday moments, these tips can help you bring your memories to life in a creative and meaningful way. Additionally, JAM's tips are suitable for all ages and skill levels, making them accessible to anyone who wants to explore the art of scrapbooking.
Alternatives to JAM's Fun and Easy DIY Scrapbooking Tips
While JAM's Fun and Easy DIY Scrapbooking Tips are comprehensive and user-friendly, there are alternative resources available for scrapbookers. These may include online tutorials, craft books, and workshops that offer different perspectives and techniques for creating scrapbook pages. It's important to explore various sources of inspiration and education to find the methods that best suit your individual preferences and goals.
Tips for Using JAM's Fun and Easy DIY Scrapbooking Tips
When implementing JAM's Fun and Easy DIY Scrapbooking Tips, it's important to approach each tip with an open mind and a willingness to experiment. Don't be afraid to personalize the tips to fit your own creative vision and style. Additionally, consider incorporating new materials and embellishments to add depth and character to your scrapbook pages. Finally, remember that the most important aspect of scrapbooking is to have fun and enjoy the process of preserving your memories.
Additional Resources for JAM's Fun and Easy DIY Scrapbooking Tips
In addition to JAM's Fun and Easy DIY Scrapbooking Tips, there are numerous resources available to further enhance your scrapbooking experience. These may include online communities, craft stores, and social media groups where you can connect with other scrapbookers and gain inspiration. By exploring these resources, you can expand your knowledge and skills, and continue to grow as a scrapbooking enthusiast.


