DIY Tissue Paper Fans and Pompom Flowers for Cinco De Mayo
- By Andrew Jacobs
- May 3, 2018
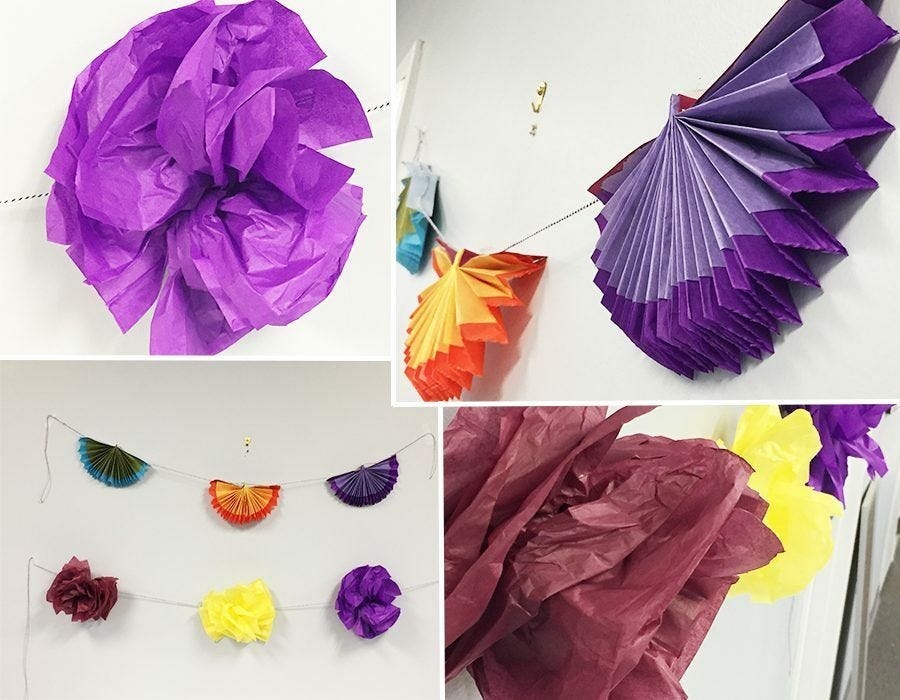
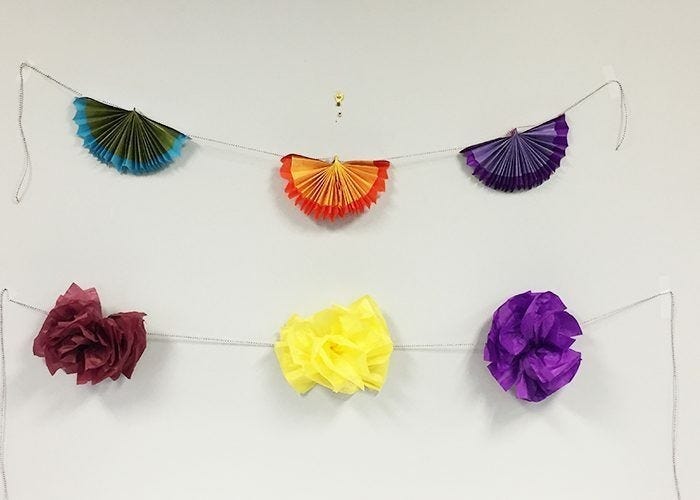
This coming Saturday is Cinco de Mayo! Cinco de Mayo (which translates into English literally as "The 5th of May") is a holiday that commemorates the victory of Mexico over France at the Battle of Puebla in 1862. It is celebrated today in the United states by many Mexican Americans and others who choose to recognize the tradition. If you're celebrating Cinco de Mayo this year, you will need some colorful decorations! Here, you will find easy instructions to make two kinds of fun Cinco de Mayo decorations out of colorful tissue paper! First, we will take a look at how to make the simple pompom flowers shown in the lower half of the image below. These pompoms can be used as wall decorations, centerpieces, or as a garland as shown here!
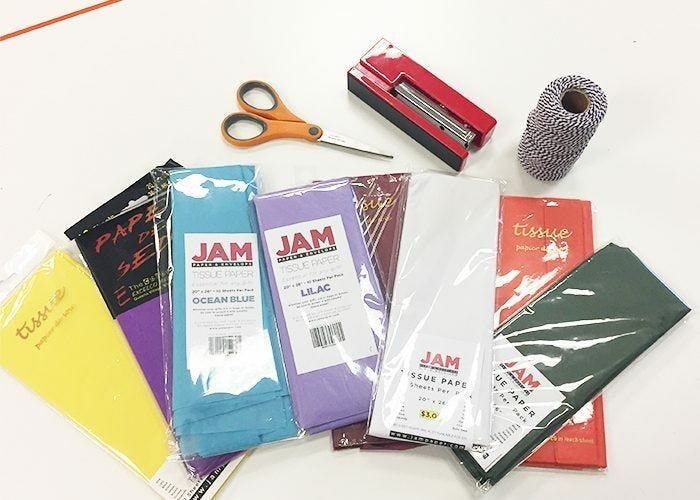
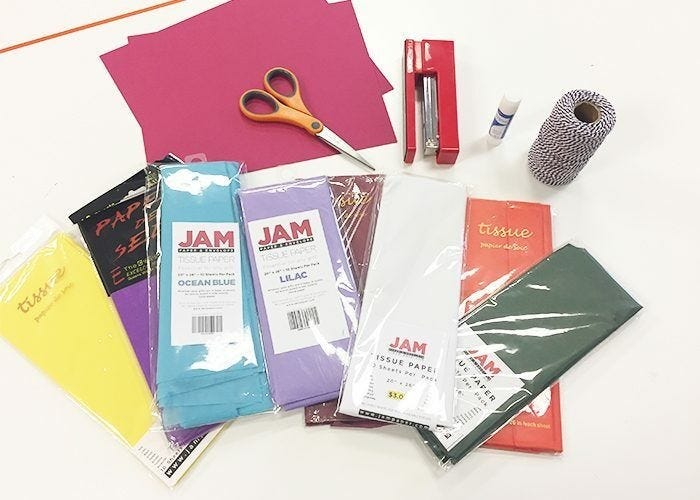
To make these pompoms, you will need:
Tissue Paper in any colors your choice
Scissors
A stapler
Twine (for garland)
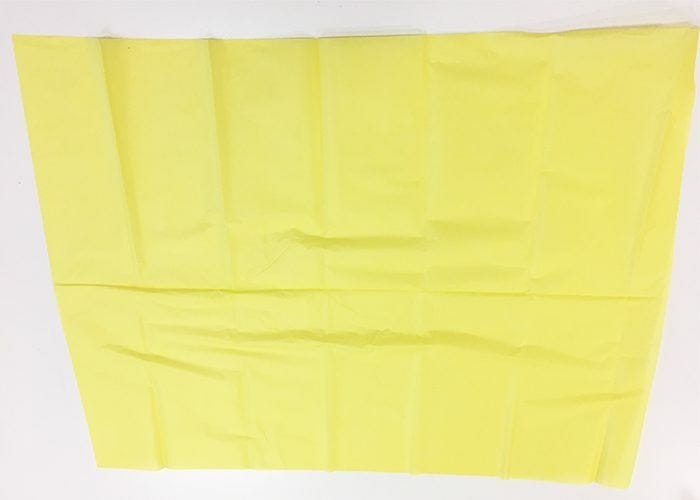
Step 1:
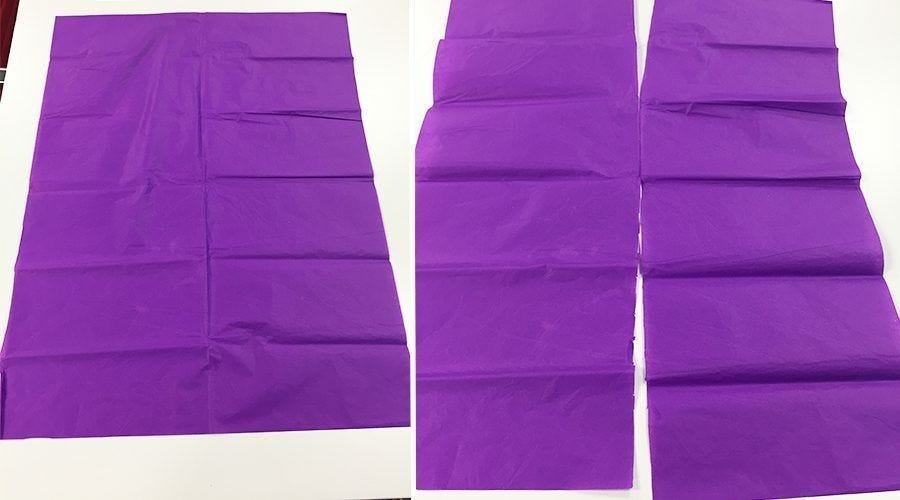
Start with a full sheet of tissue paper laid out flat on your work surface. Fold it in half longways. Fold it in half twice more so that you have a rectangle shape as shown below.
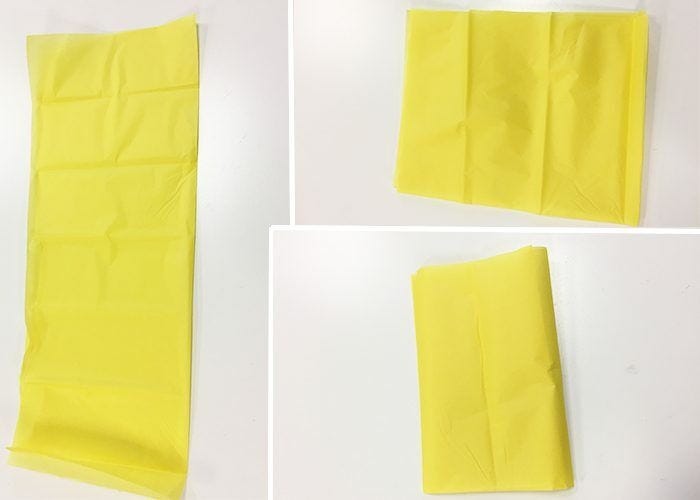
Step 2:
Take your scissors and cut the folds of your tissue paper to that each layer of the rectangle becomes an individual sheet. This will leave you with 8 rectangular sheets of tissue paper that have been rendered from your original single sheet.
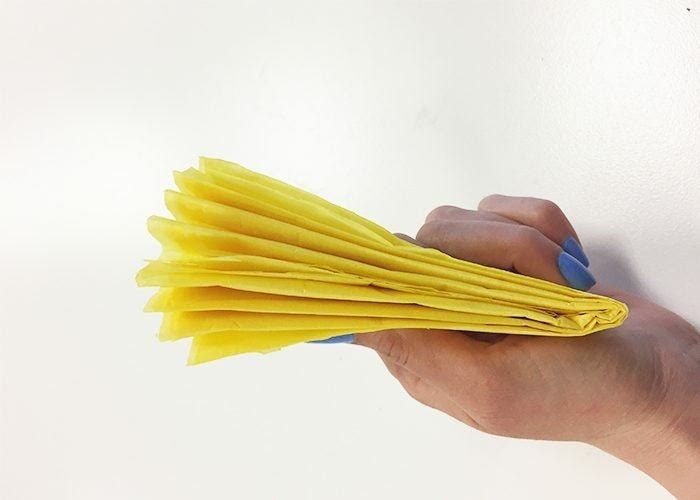
Step 3:
Make sure that the sheets you have cut are aligned with each other and place the pile in front of you with one of the longer sides on the bottom. Make alternating accordion folds in the tissue paper while holding it together and shown here:

Step 4:
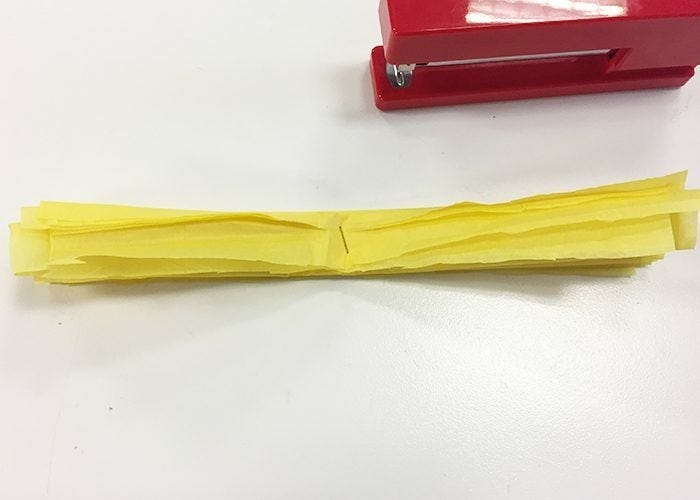
Fold your strip of accordion folded tissue paper in half and make a crease in the middle.
Undo the fold you just made and place a staple along the crease so that all the layers of the paper are secured together in the middle.

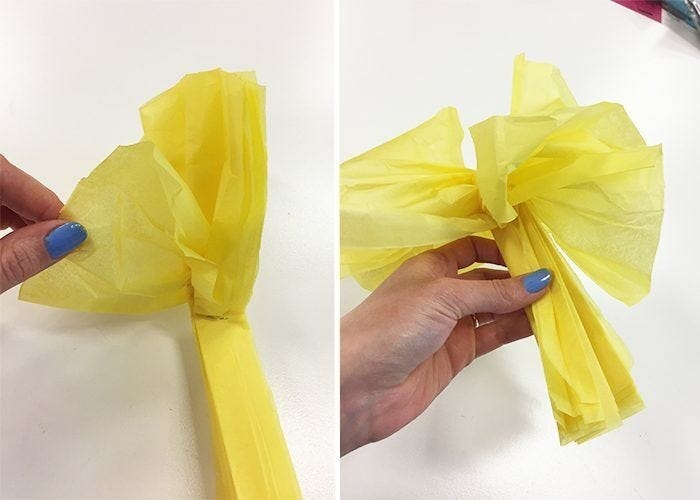
Step 5:
Now comes the fun part! Staring on one side of the staple, pull each individual sheet of tissue paper upward and out of the accordion fold. Pull gently so that you do not rip the paper. Shape the sections on either side with your hands so that they stick out like flower petals.
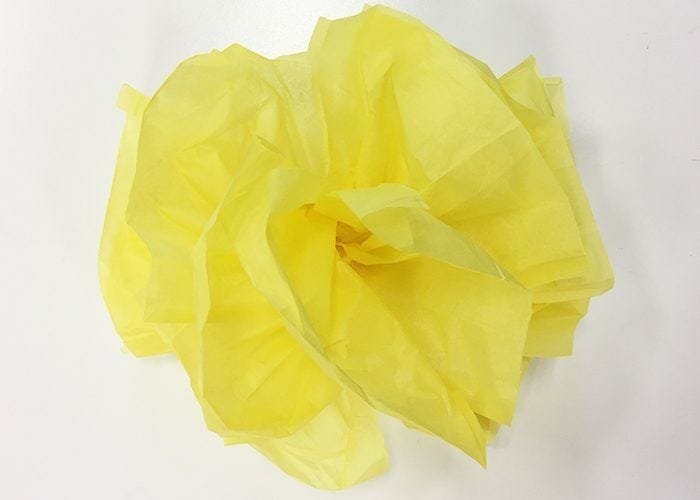
Your finished pompom should look something like this, but each one will be unique!
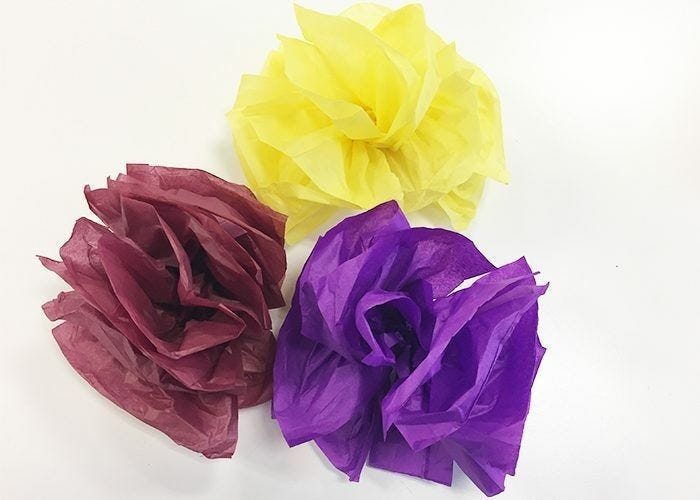
For my pompom flowers, I used yellow, burgundy, and purple tissue paper.
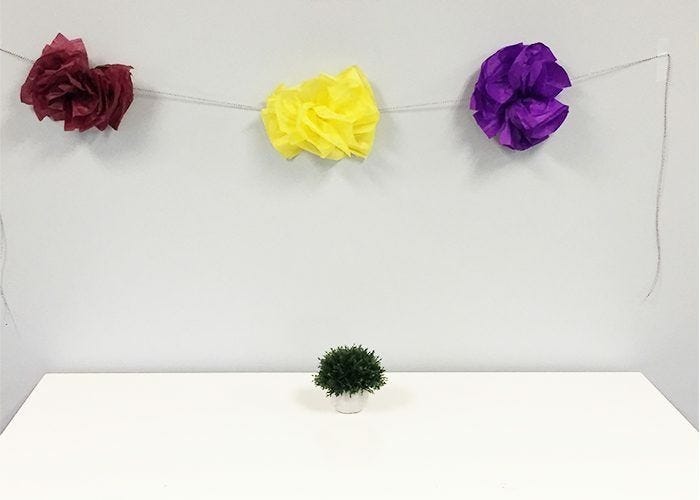
Step 6 (Optional):
Measure a length of twine to accommodate all of the pompoms that you have made. Use clear tape to attach the bottom of each pompom to the twine. You now have a garland that you can hang up in your house or at your party!
Now I will show you how to make those beautiful fans you saw above! To make these fans, you will need:
Tissue Paper
Scissors
A stapler
Heavy card stock
A glue stick
Twine (for garland)
Step 1:
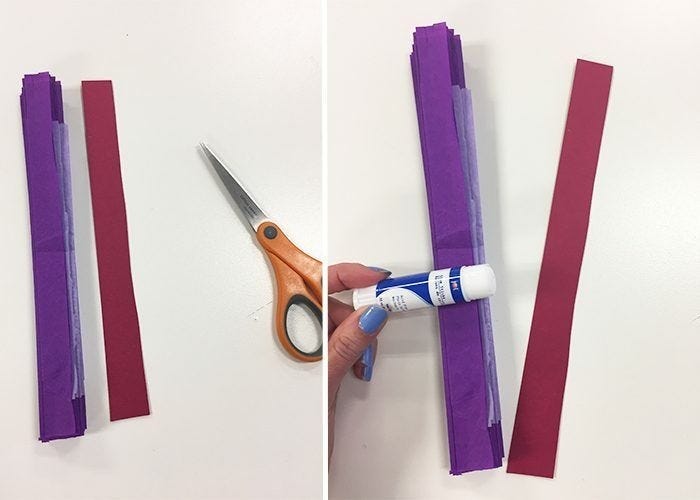
Take one full sheet of tissue paper and cut it on half longways. Place the two halves on top of each other. If desired, you may secure these two layers together by lightly applying some glue with your glue stick.
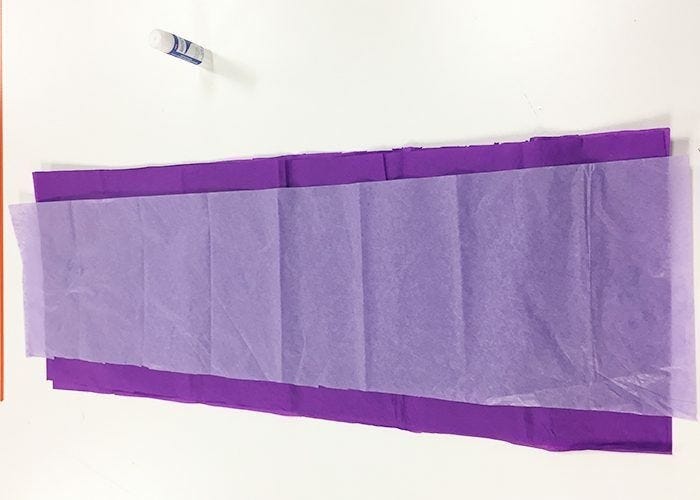
Step 2:
Choose another color of tissue paper that complements or coordinates with your base color. Cut a strip of this tissue paper that is slightly narrower than the strip you created in step 1. Again, you may secure this layer onto the lower layers with you glue stick if you wish.
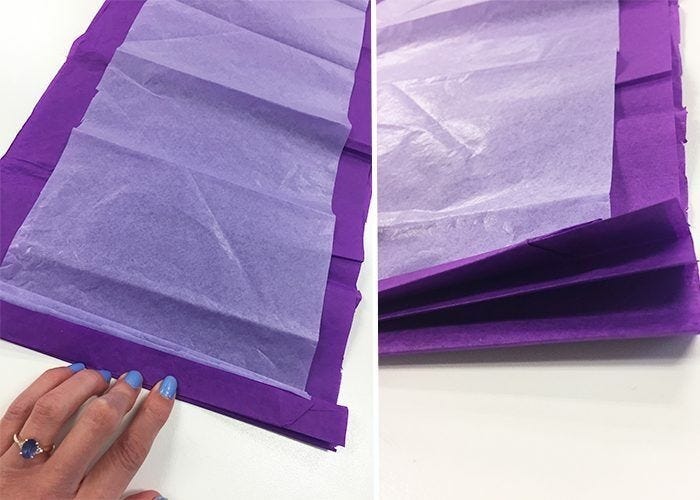
Step 3:
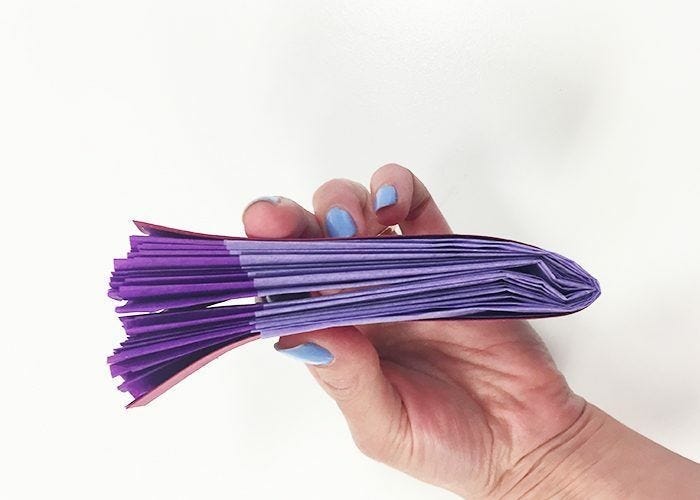
Starting at one of the shorter ends and working upwards to the other shorter end, make alternating accordion fold in the paper. It should look like this.
Step 4:
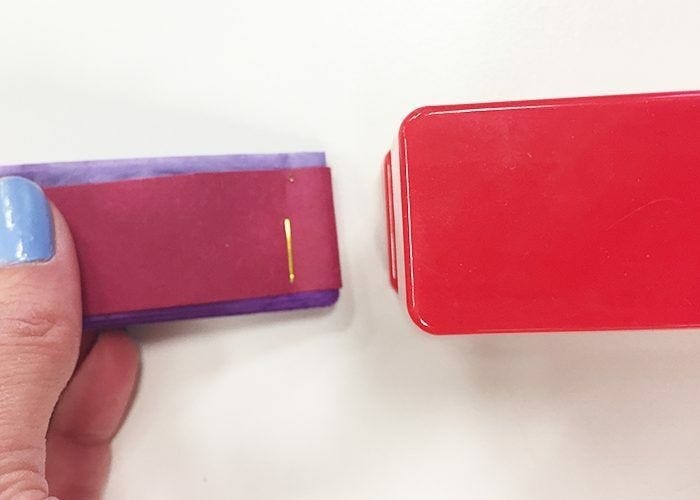
Take a piece of heavy card stock that matches or coordinates with your fan in color. Cut a strip of this card stock that is the same size as the folded up tissue paper. With your glue stick, glue this card stock strip to one side of the folded tissue paper.
Step 5:
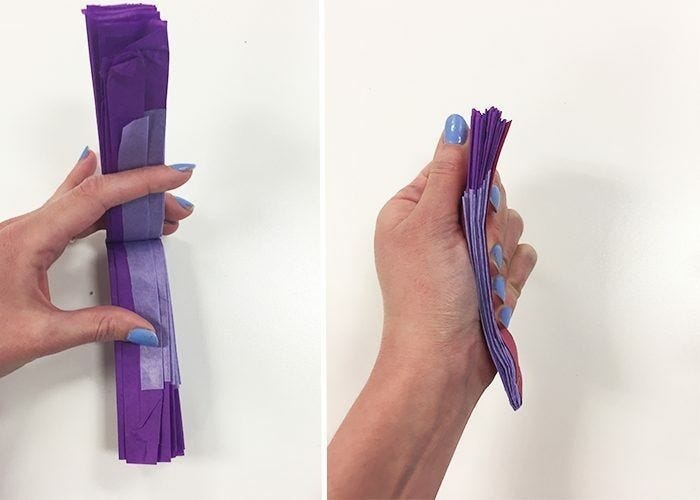
With the card stock side on the bottom, fold the tissue paper in half as shown below.
Take your stapler and staple the bottom crease of the fold so that a fan shape is created.
Step 6:
Open up this fan shape so that the gap between the two sides is exposed. Use your glue stick to apply glue to the inside of this gap and then press the sides together to close the gap. Your fan is almost done!
Step 7:
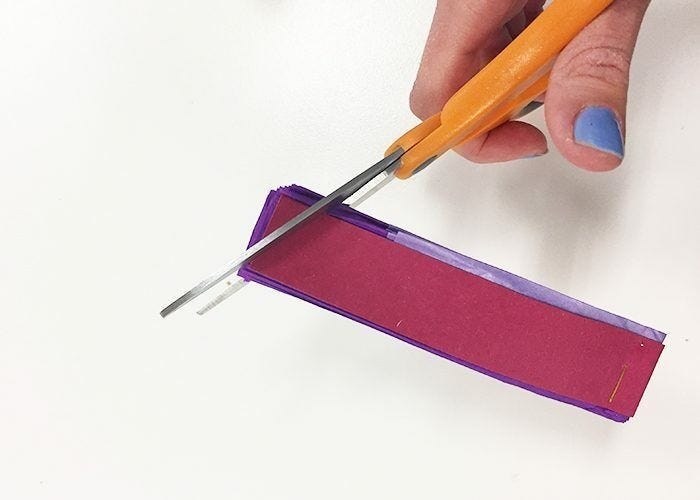
Keeping the fan closed and the sides pressed together, take your scissors and cut of the top front corner at and angle as shown here.
Step 8:
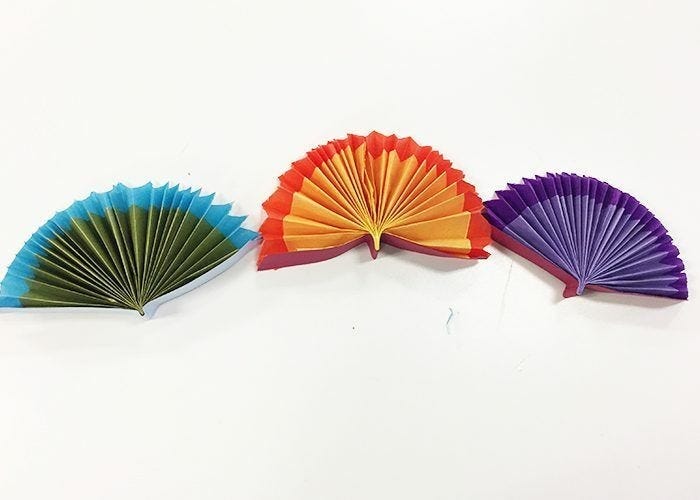
Unfold your fan!

For my fans I used purple, lilac, blue, gold, yellow, and orange tissue paper.
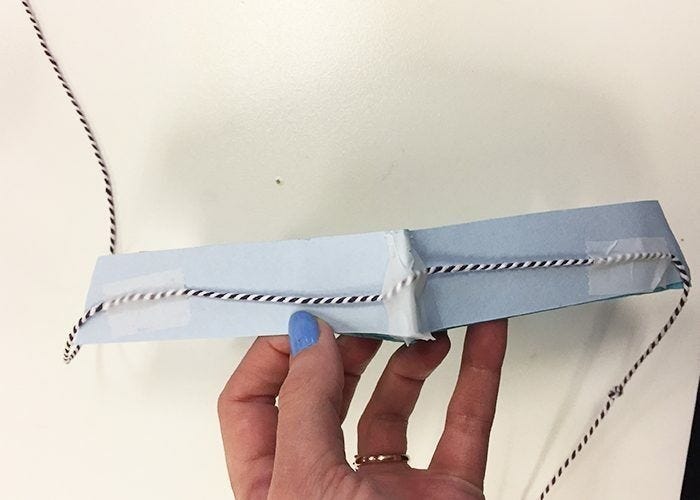
One you have finished making all the fans that you wish to make, you can use twine to make them into a garland. Simply use clear tape to tape the bottoms of the fan (where the card stock strip is) to a length of twine. We recommend taping it in three places as shown here.
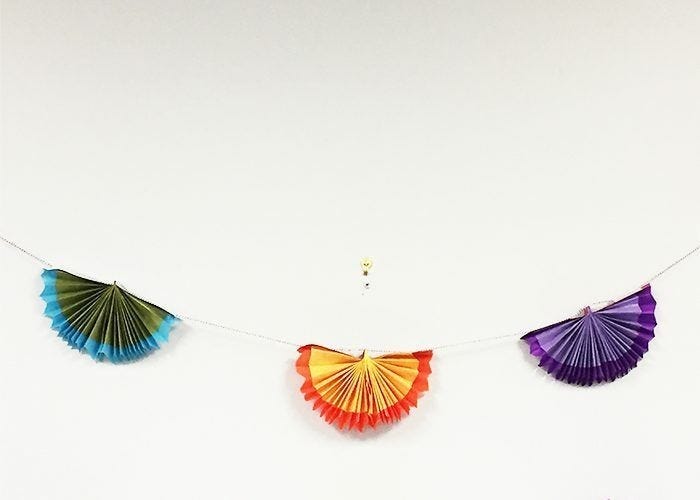
Your fan garland will look something like this.
Your decorations are complete and you are now ready for your Cinco de Mayo celebration! If you tried these crafts at home, tell us about it in the comments below!