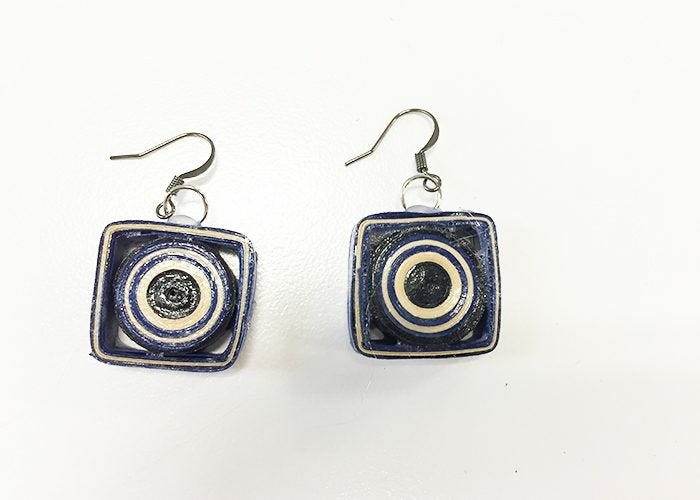
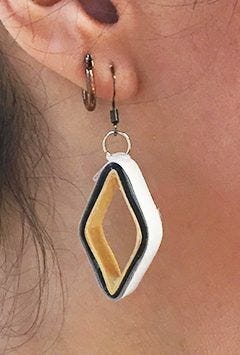
Make Your Own Personalized Paper Earrings
- By Andrew Jacobs
- Jun 7, 2018
Make Your Own Personalized Paper Earrings
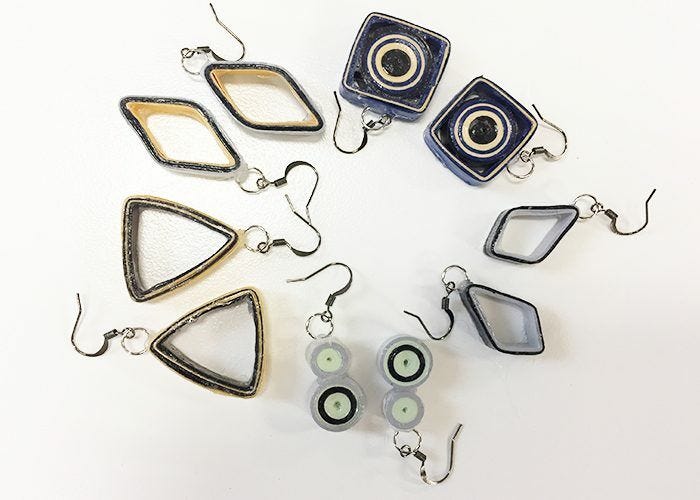
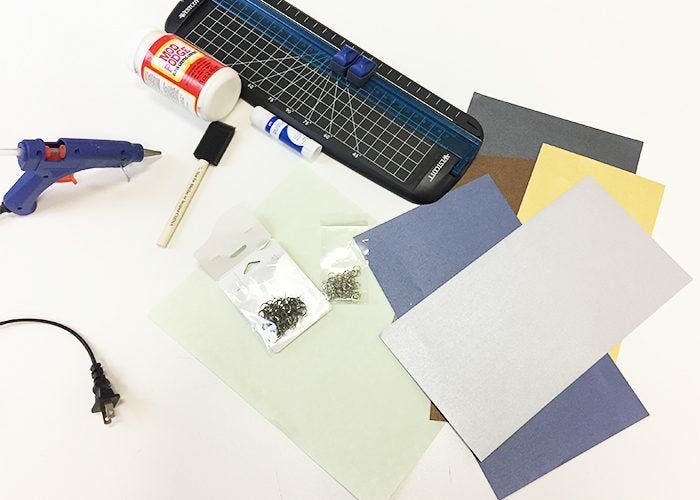
Summer is almost in full swing, and if you're like many of us, you take advantage of this season change as an opportunity to revamp your wardrobe! This can include anything from a new dress, to a new lip color, to new jewelry! It's always even more fun when you can create new fashion items yourself, and when you can freshen your look without breaking the bank! That's where we come in. With this paper earring craft, you'll be able to make beautiful, personalized earrings for your summer outfits! To make these earrings, you will need:- Stardream Metallic Paper in the colors of your choice (Here, I used Gold, Silver, Anthracite, and Sapphire.)
- Recycled Parchment Paper (Green Parchment is featured here.)
- A Paper Slicer
- Glue Stick
- Mod Podge
- Foam Brush
- Hot Glue
- Earring Hooks
- Earring Rings
- Imagination
Step 1:
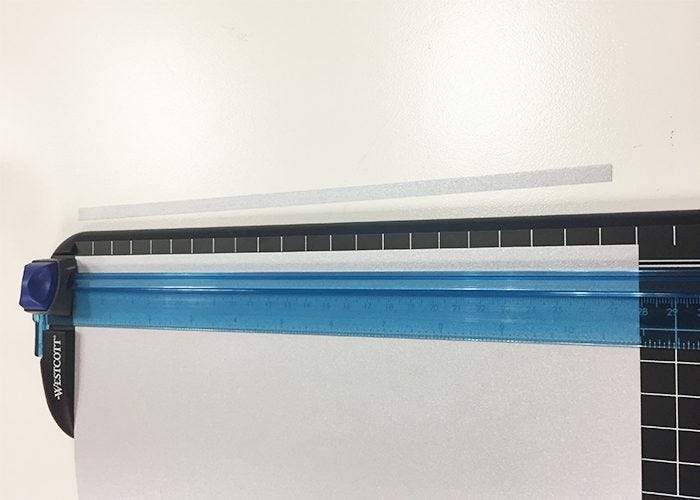
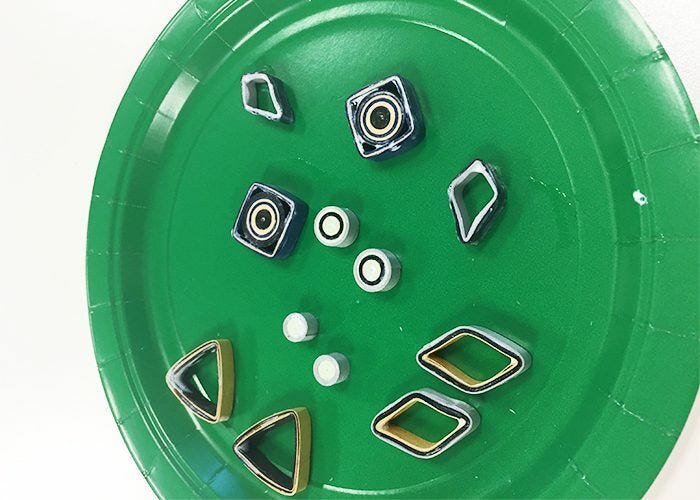
Choose two or three colors of paper with which to make your pair of earrings. Using the paper slicer, cut thin strips of each color that are even in width. The strips used here are 1/8 of an inch wide.
Step 2:
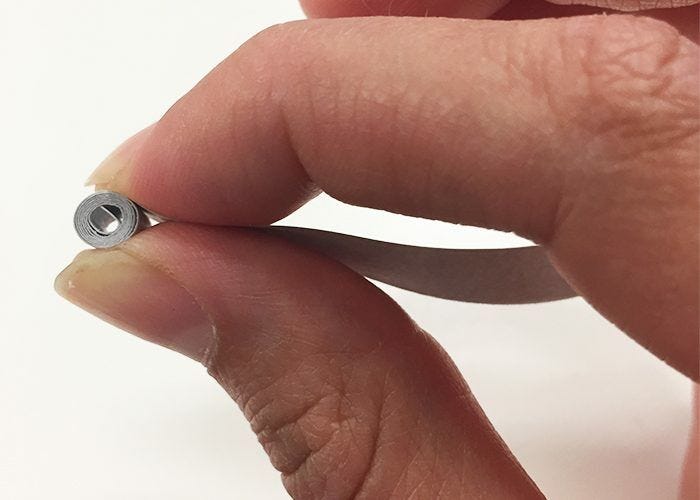
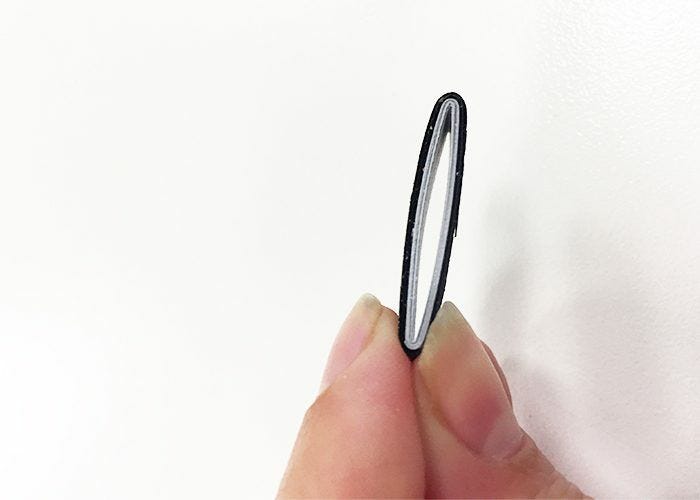
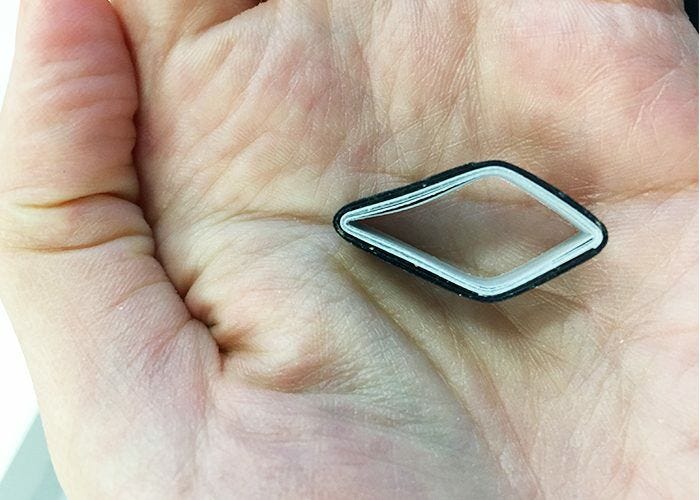
Using your hands, wrap one strip of this paper into any shape of your choice. You can fold into a diamond shape or square,or roll it into a circle. No matter the shape that you create, make sure the layers of the strip are wrapped tightly together. Use your glue stick to glue the end of the strip to the rest of the shape.
Step 3:
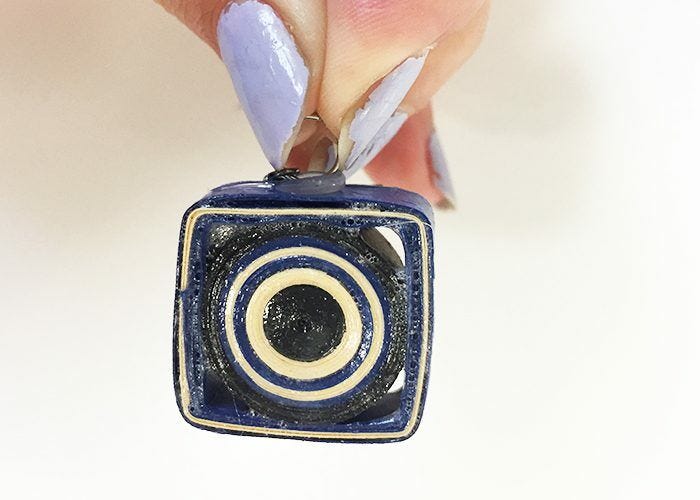
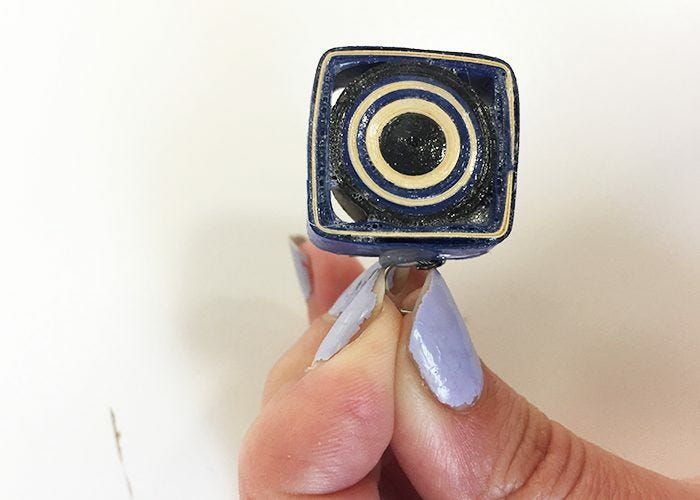
Now, taker another one of your strips of paper and wrap it around the shape you made in step 2. Use your glue stick to glue the end down. Repeat until you have the full shape of the earring you want.
Step 4:
Repeat steps 2 and 3 to make a matching earring.
Step 5:
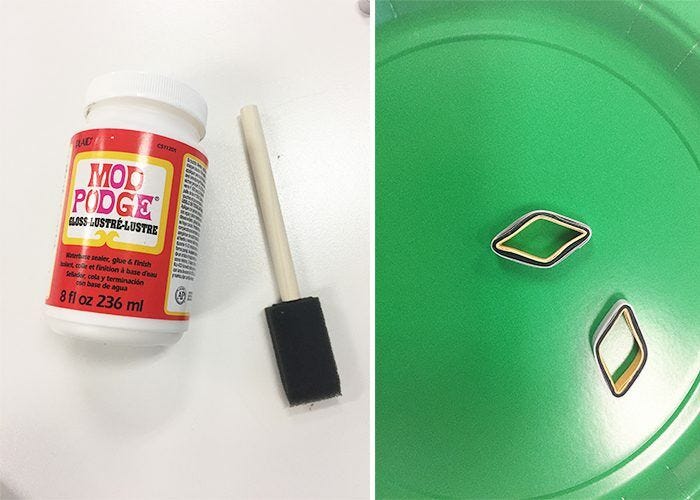
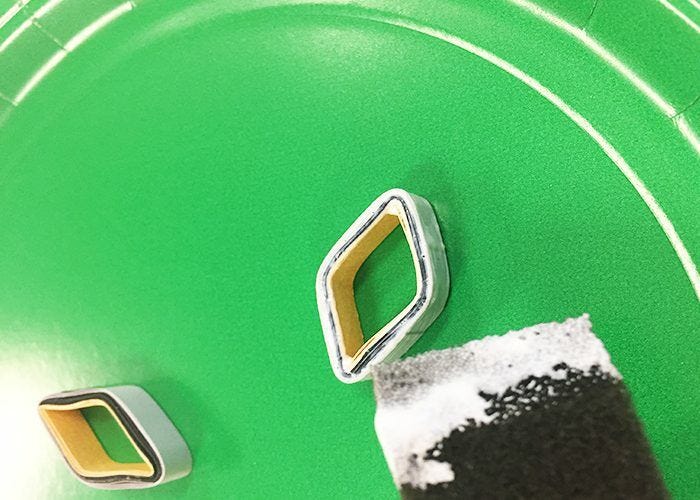
Next, using your foam brush, apply two to three coats of Mod Podge to each earring. You will have to let them dry between coats. Please allow at least 6 hours for each coat to dry.
Step 6:
After the earring pieces have dried, use your glue gun to adhere one earring ring to the top of each one. Do this by applying one small drop of hot glue and holding the earring ring into the glue for at least 30 seconds.
Step 7:
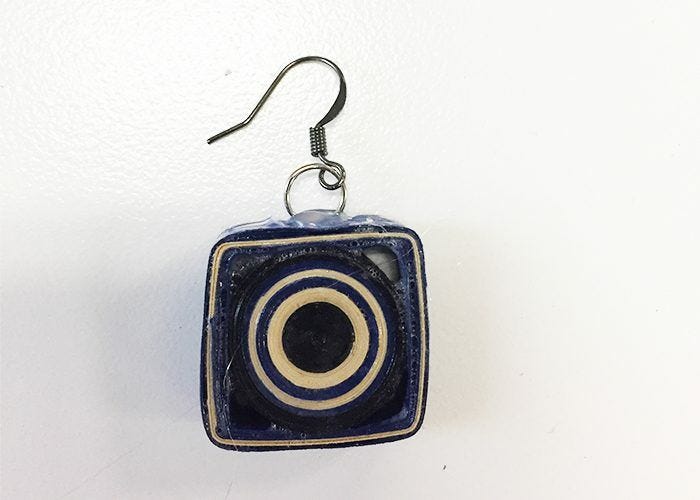
Now apply an earring hook to each earring. To do this, find the place where each metal earring rings separates and pull it apart gently with your hands. Slide the earring hook on and then press the ring back together.
Once your earring hooks are on, you're all done! The only step left is to put on the earrings and to show them off yo your friends!
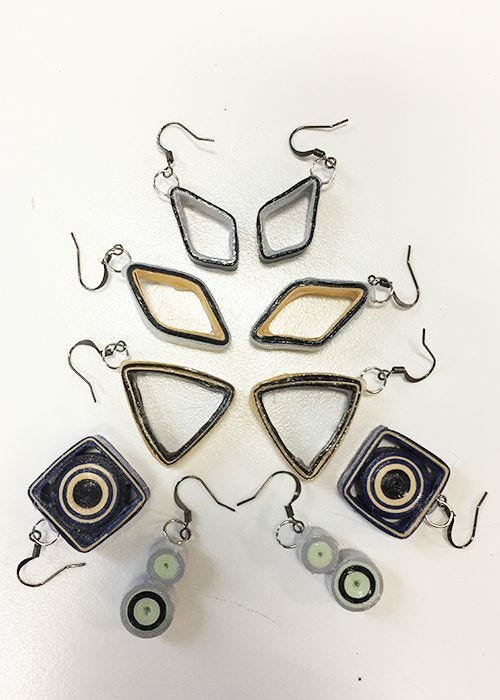
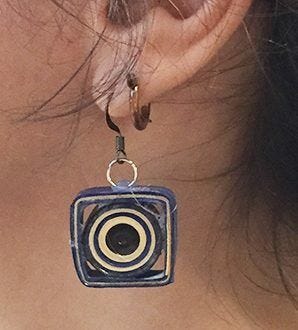 If you tried this craft, we would love to hear about it! Let us know how it went in the comments below. Happy crafting! We hope these earrings help you create a summer look that you love!
Creating Your Own Personalized Paper Earrings
If you're looking for a unique and creative way to express your personal style, making your own personalized paper earrings is a fantastic option. Not only is it a fun and rewarding DIY project, but it also allows you to showcase your individuality through wearable art. By using high-quality paper and a few basic jewelry-making supplies, you can design and craft one-of-a-kind earrings that are sure to turn heads. Whether you're a seasoned crafter or just starting out, this project is a great way to unleash your creativity and add a personal touch to your accessories collection.
The Benefits of Personalized Paper Earrings
Personalized paper earrings offer a range of benefits, including the ability to customize the design, color, and size to perfectly suit your style. Additionally, creating your own earrings allows you to make sustainable and eco-friendly choices by using recycled or upcycled materials. This DIY project also provides a sense of accomplishment and pride in wearing something you've made yourself, and it can be a great conversation starter when others admire your unique accessories.
Use Cases for Personalized Paper Earrings
Personalized paper earrings are versatile and can be worn for a variety of occasions, from casual outings to formal events. They also make thoughtful and personalized gifts for friends and loved ones, allowing you to tailor the design to match their individual tastes and preferences. Whether you prefer bold statement earrings or delicate, dainty designs, personalized paper earrings can be customized to suit any style.
Alternatives to Personalized Paper Earrings
If you're interested in creating your own earrings but prefer alternative materials, there are plenty of options to explore. Consider experimenting with polymer clay, fabric, or metal to craft unique and personalized earrings that reflect your personal style. Each material offers its own set of creative possibilities and can result in stunning, one-of-a-kind accessories.
Tips for Making Personalized Paper Earrings
When making personalized paper earrings, it's important to choose high-quality paper that is durable and resistant to wear and tear. Additionally, consider using a sealant or varnish to protect the earrings from moisture and ensure longevity. Experiment with different shapes, patterns, and embellishments to create earrings that truly reflect your personality and style. Finally, have fun with the process and don't be afraid to let your creativity shine through in your designs.
Exploring Different Paper Earring Designs
There are countless design possibilities when it comes to creating personalized paper earrings. From intricate origami-inspired shapes to vibrant, abstract patterns, the options are endless. Consider incorporating elements such as metallic accents, beads, or even small charms to add extra flair to your earrings. By exploring different design techniques and experimenting with various paper types, you can create a stunning collection of personalized paper earrings that are as unique as you are.
