DIY Royal Party Backdrop: Create a Stunning Backdrop Today
Key Summary:
- Learn how to create a stunning backdrop fit for royalty with our easy DIY tutorial.
- Perfect for your next special event.
- This article will provide step-by-step instructions, tips, and real-world use cases for creating a royal party backdrop.
Planning a party or special event? A royal party backdrop can add a touch of elegance and sophistication to your celebration. In this article, we will guide you through the process of creating your own stunning backdrop fit for royalty. From materials needed to step-by-step instructions, tips, and real-world use cases, you'll have all the information you need to make your event truly memorable. Let's get started on creating a backdrop that will leave your guests in awe!
Materials Needed
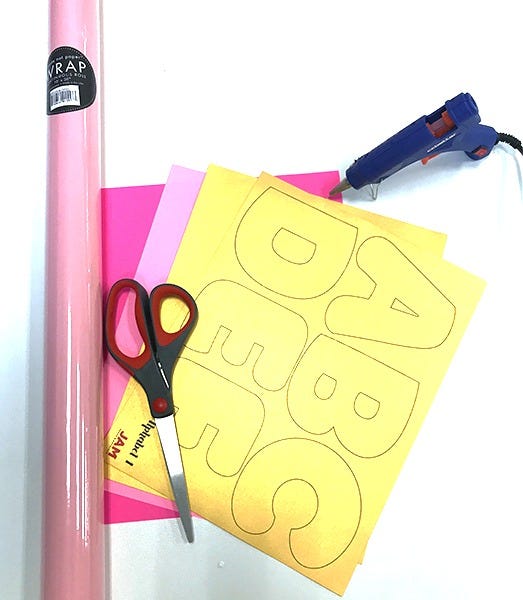
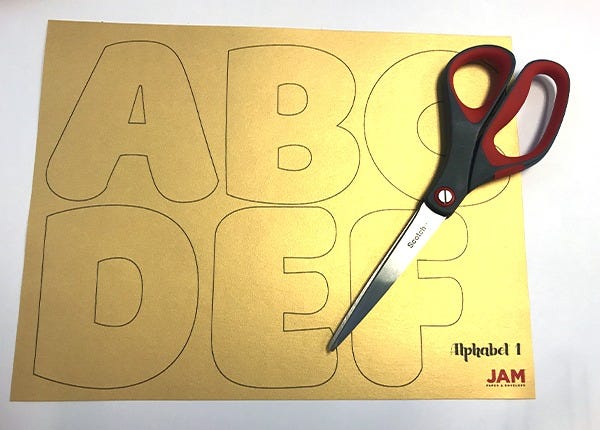
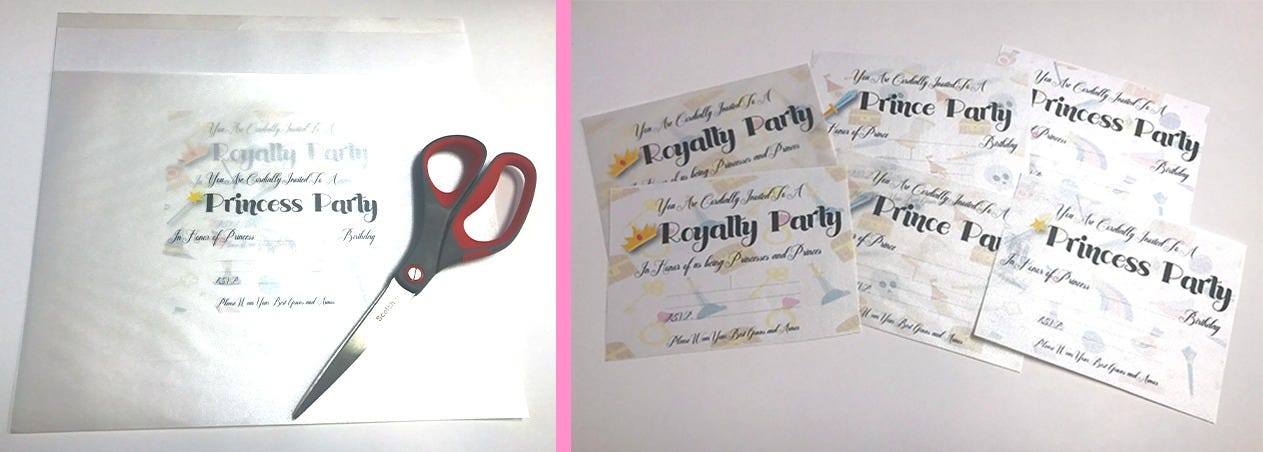
Before you begin creating your royal party backdrop, you will need to gather a few key materials. These may include:
- Large piece of fabric or backdrop material
- Foam boards or cardboard for structure
- Scissors, glue, and tape
- Decorative elements such as flowers, lights, or ribbons
Each material serves a specific purpose in creating a visually appealing backdrop that will set the tone for your event.
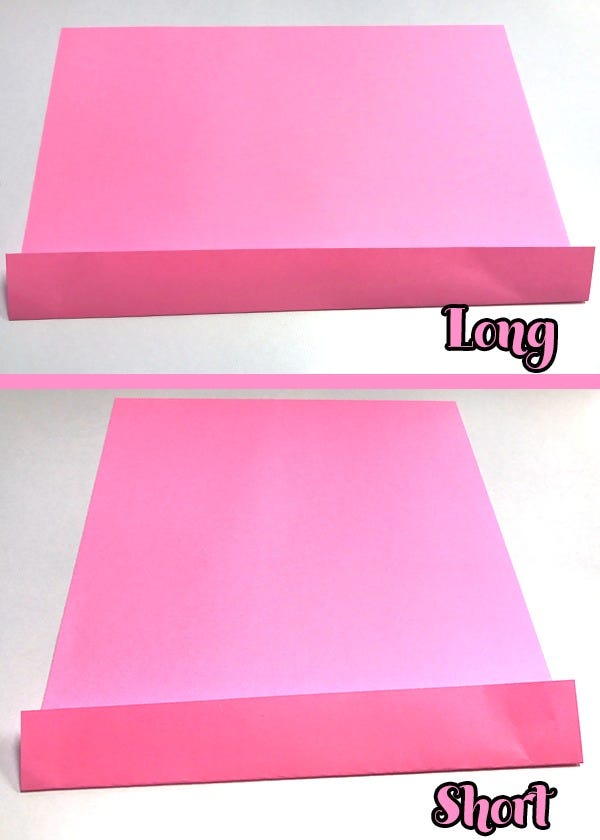
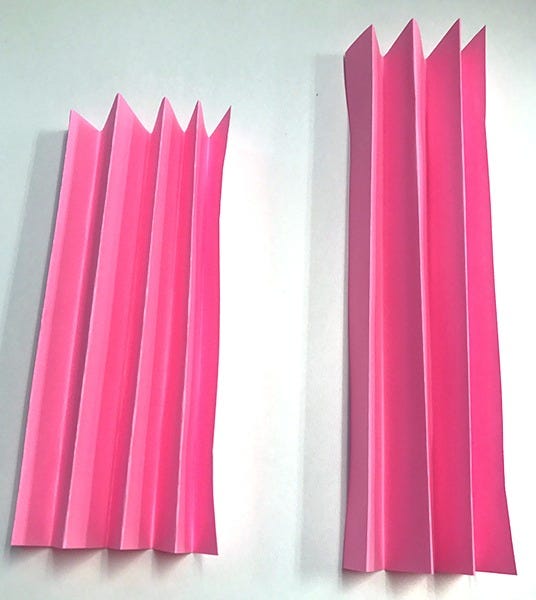
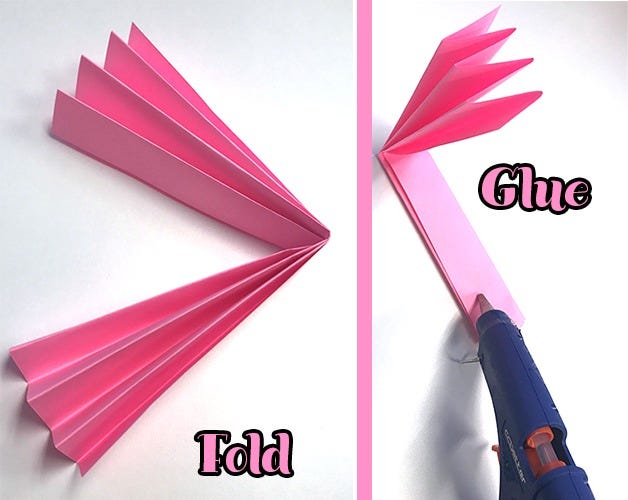
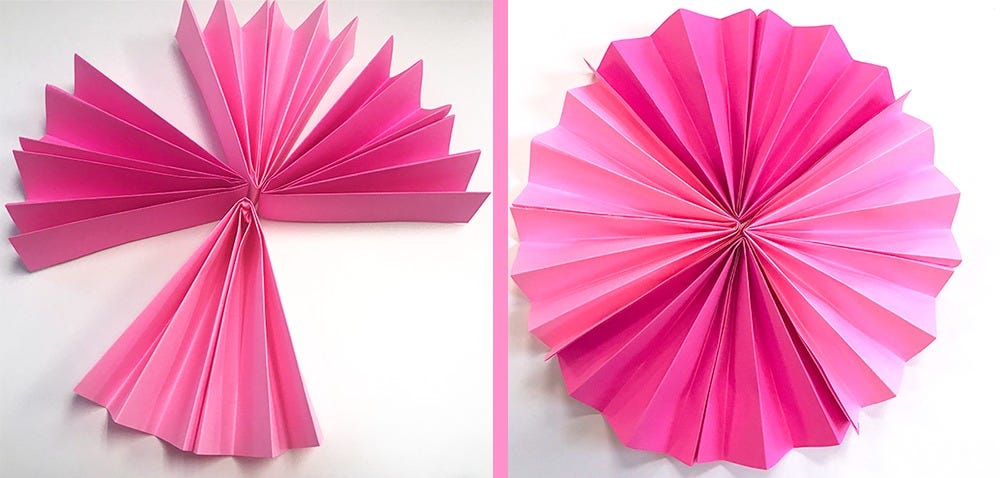
Step-by-Step Instructions
Creating a royal party backdrop may seem daunting, but with our step-by-step instructions, you'll be able to tackle the project with ease. Here's a breakdown of the process:
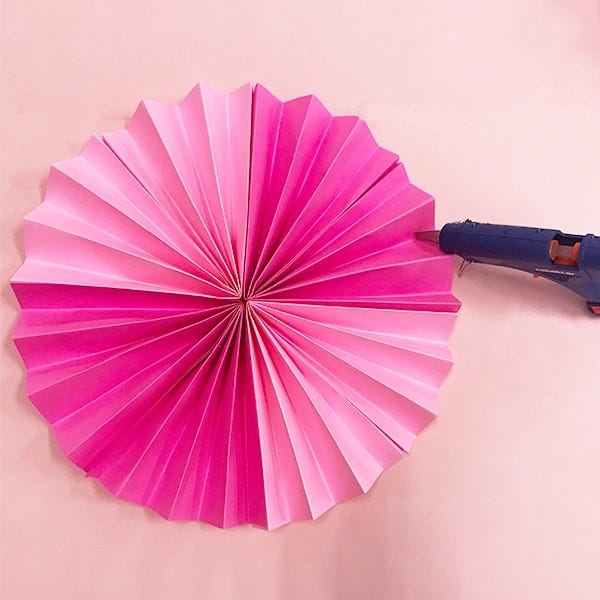
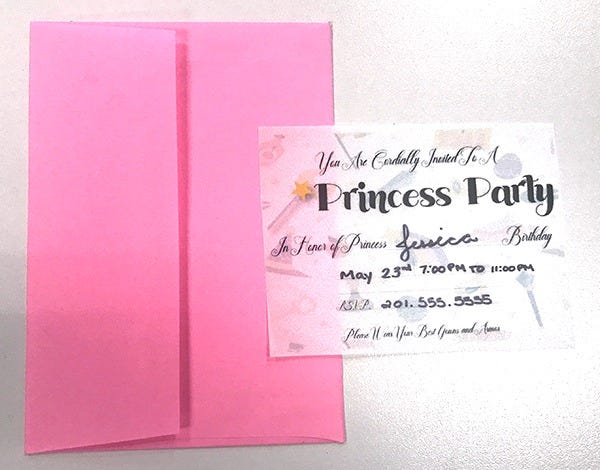
- Prepare your backdrop material and structure
- Attach decorative elements to the backdrop
- Secure the backdrop in place for your event
By following these instructions, you'll be on your way to creating a stunning backdrop that will impress your guests.
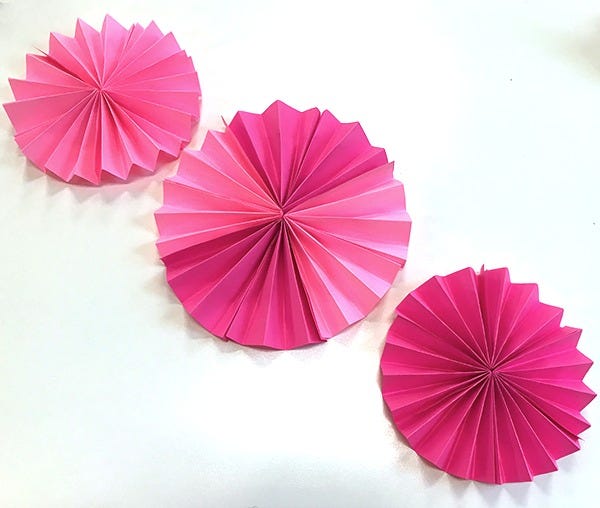
Examples of Events
A royal party backdrop is perfect for a variety of events, including weddings, birthdays, and corporate gatherings. Consider using the tutorial to create a backdrop for your next event to add a touch of luxury and sophistication.
Adapting the Tutorial
Whether you're hosting a small intimate gathering or a large-scale event, you can adapt the tutorial to fit your needs. Consider scaling the backdrop size or adjusting the decorative elements to suit the venue and theme of your event.
Examples of the Topic in Action:
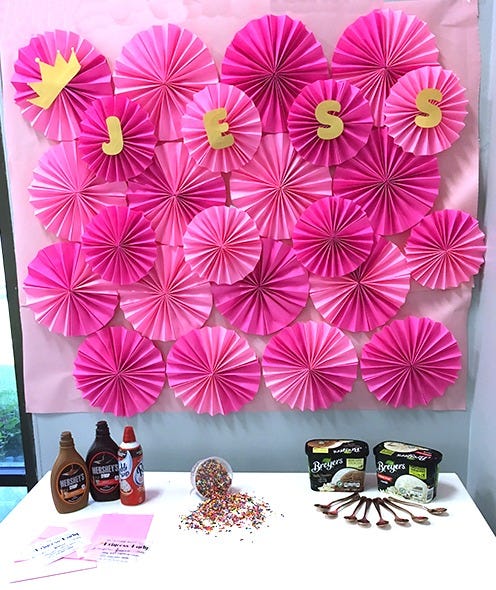
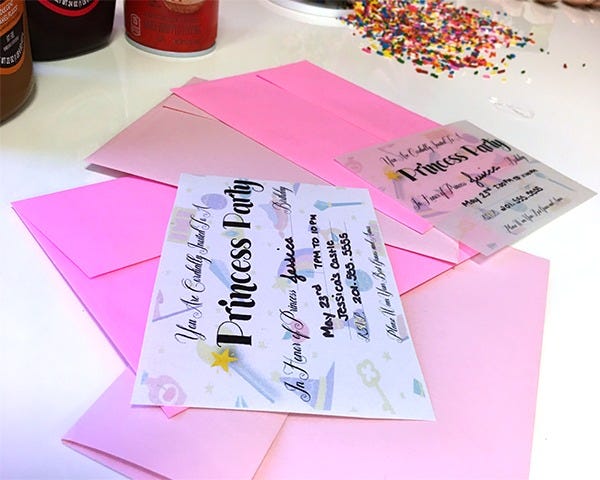
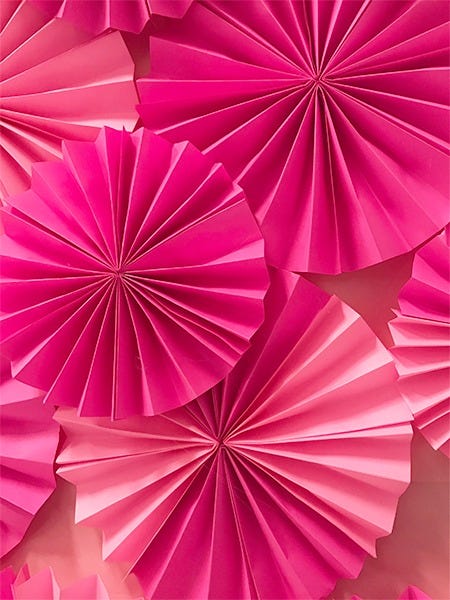
Take a look at these real-life examples of royal party backdrops created using our DIY tutorial. These before and after photos showcase the transformation that a stunning backdrop can make at any event. See for yourself the impact of a well-designed backdrop on the overall ambiance of the celebration.
Conclusion:
Creating a royal party backdrop is a fun and rewarding DIY project that can elevate any event. With the right materials, instructions, and a touch of creativity, you can design a backdrop fit for royalty. We encourage you to give it a try and share your creations with us. Let your imagination run wild and create a backdrop that will leave a lasting impression on your guests!
Who Can Benefit from this Product
Whether you are planning a wedding, birthday party, baby shower, or corporate event, this DIY royal party backdrop tutorial is perfect for:
- Event planners looking to add a touch of elegance to their events
- DIY enthusiasts who enjoy creating custom decorations
- Individuals hosting special occasions on a budget
- Anyone looking to impress their guests with a stunning backdrop
Best Times to Utilize this Product
There are specific occasions and events where using a royal party backdrop can make a significant impact. Consider using this product:
- For weddings to create a romantic and luxurious atmosphere
- During milestone birthday celebrations to add a touch of glamour
- At corporate events to enhance the professional and sophisticated ambiance
- For baby showers to create a memorable and Instagram-worthy backdrop
Scenarios for Implementing this Product
Here are some use case examples of how you can incorporate a royal party backdrop into your events:
- Wedding Reception: Create a stunning backdrop for the sweetheart table or photo booth
- Birthday Party: Use the backdrop as a focal point for the cake cutting ceremony or gift table
- Corporate Event: Enhance the stage or presentation area with a custom backdrop featuring the company logo
- Baby Shower: Design a backdrop with pastel colors and baby-themed decorations for the gift opening area
What Sets Our Product Apart
Our DIY royal party backdrop tutorial stands out from the rest due to its comprehensive step-by-step instructions, detailed materials list, and customizable design options. We provide tips and tricks to make the process easier and offer real-world use cases to inspire your creativity. With our product, you can create a backdrop that is truly fit for royalty and will leave a lasting impression on your guests.
List of Event Types for Our Product
Our DIY royal party backdrop tutorial is versatile and can be used for a wide range of events, including:
- Weddings
- Birthday parties
- Baby showers
- Corporate gatherings
Each event type offers a unique opportunity to showcase your creativity and design a backdrop that suits the occasion perfectly.
Maximizing Your Experience with Our Product
To get the most out of your adventure with our product, consider customizing the backdrop to match your event theme or style. Add personal touches, such as photos, quotes, or colors, to make the backdrop truly unique and memorable.
Share your creations with others and collaborate with friends or family members to create a stunning backdrop together. By working together, you can exchange ideas, pool resources, and create a backdrop that exceeds your expectations.
Bringing Your Vision to Life:
Now that you have all the tools and knowledge needed to create a stunning royal party backdrop, it's time to bring your vision to life. Whether you're planning a wedding, birthday party, or corporate event, this DIY tutorial will help you add a touch of elegance and sophistication to your celebration. Get creative, have fun, and watch as your guests are amazed by the beauty of your custom backdrop. Start creating your masterpiece today!