DIY Mini Canvas Sunset Tutorial
Key Summary:
- This article will provide a step-by-step tutorial on how to create a DIY mini canvas sunset, perfect for beginners and seasoned crafters alike.
- Materials needed include mini canvases, acrylic paints, paintbrushes, and optional embellishments.
- Step-by-step instructions will cover preparing the canvas, painting the background, adding details, and finishing touches.
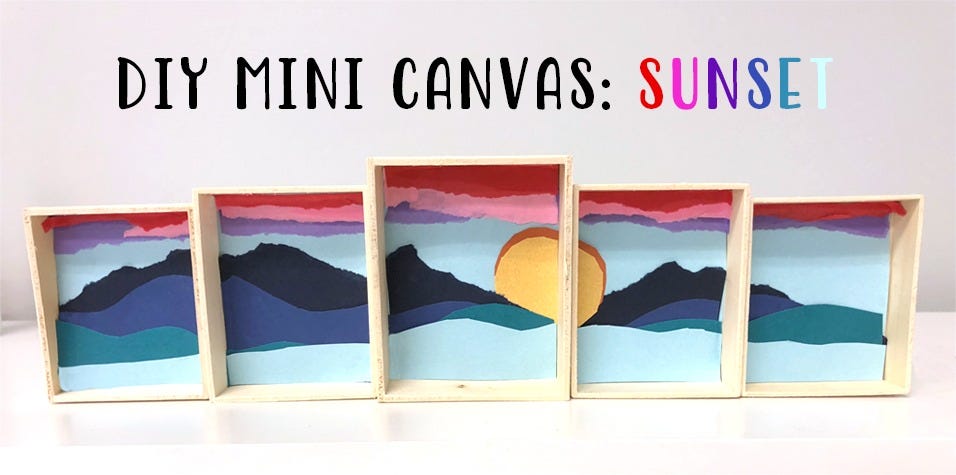
With the rising trend of DIY crafts, creating mini canvas art pieces has become increasingly popular. In this article, we will explore the appeal of creating mini canvas sunsets as a relaxing and creative activity. Whether you are a beginner or an experienced crafter, this step-by-step tutorial will guide you through the process of creating your own mini canvas sunset masterpiece. From preparing the canvas to adding final touches, you will learn valuable techniques and tips to enhance your painting skills and unleash your creativity. Get ready to dive into the world of DIY mini canvas art and discover the joy of creating beautiful sunset scenes!
Materials Needed
Before starting your DIY mini canvas sunset project, gather the following materials: mini canvases, acrylic paints in various colors, paintbrushes in different sizes, water cup for cleaning brushes, palette for mixing colors, paper towels for blotting, and optional embellishments like glitter or stickers. These materials can be easily found at your local craft store or online, making it convenient to get started on your creative journey.
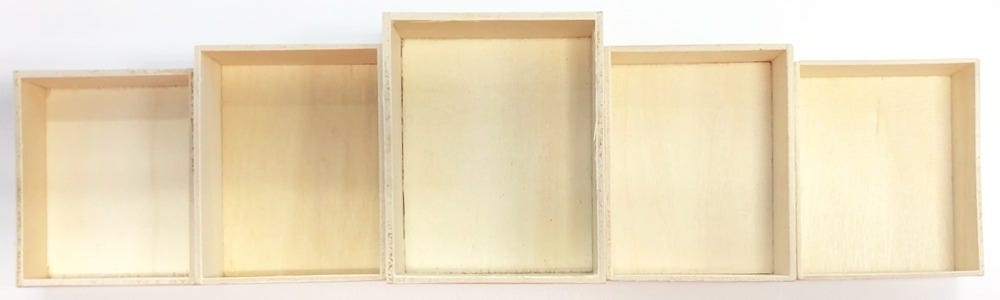
Mini Canvases
When selecting mini canvases for your project, choose ones that are small in size but sturdy enough to hold the paint. Mini canvases are perfect for creating small-scale art pieces and are ideal for beginners looking to practice their painting skills. Make sure to have multiple canvases on hand in case you want to create multiple sunset scenes or experiment with different techniques.
Acrylic Paints
Acrylic paints are versatile and easy to work with, making them a popular choice for DIY projects. Choose a variety of colors to create a vibrant sunset palette, including warm tones like red, orange, and yellow. Acrylic paints dry quickly, allowing you to layer colors and blend them seamlessly to achieve the desired sunset effect.
Step-by-Step Instructions
Now that you have gathered your materials, it's time to dive into the step-by-step instructions for creating your DIY mini canvas sunset. Follow these detailed guidelines to bring your sunset scene to life and unleash your creativity on canvas.
Preparing the Canvas
Before you start painting, it's essential to prepare the mini canvas properly. Begin by priming the canvas with a layer of gesso to create a smooth surface for painting. Allow the gesso to dry completely before setting up your workspace with all the necessary materials. Make sure to cover your work area with a protective sheet or newspaper to prevent any spills or stains.
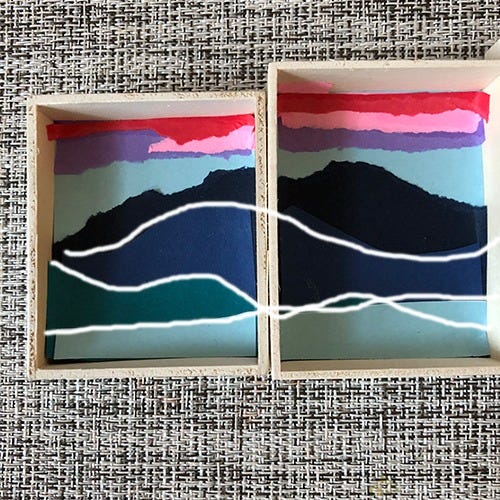
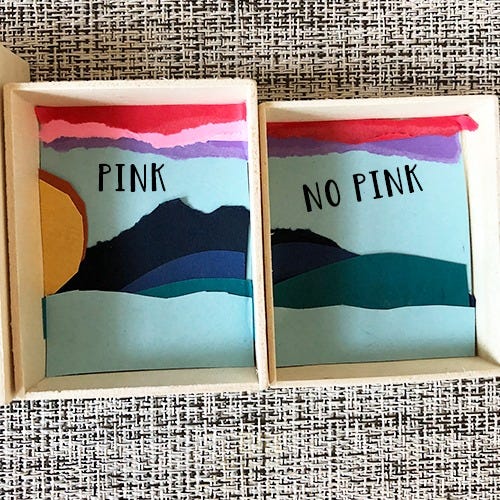
Painting the Background
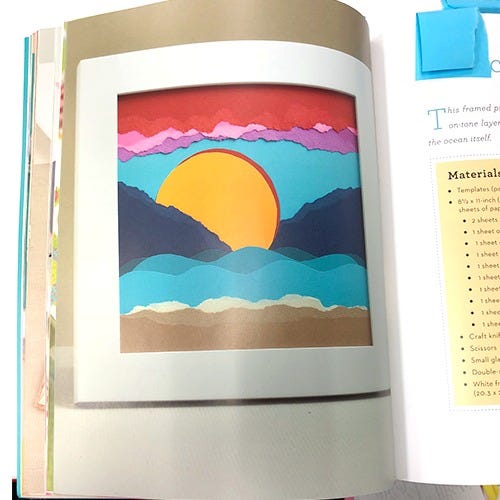
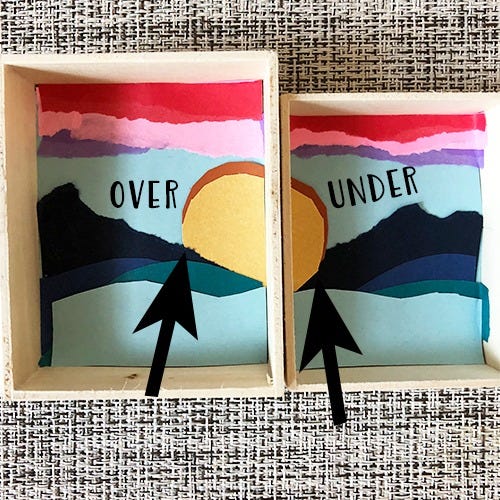
Start by painting the background of your mini canvas sunset with a base color, such as a light blue or pink to represent the sky. Use a large paintbrush to cover the canvas evenly and create a smooth gradient effect. Then, gradually add darker colors like orange and red to mimic the colors of a sunset. Blend the colors together using a dry brush or sponge to create a seamless transition between shades.
Who Should Try This Project
Creating a DIY mini canvas sunset is perfect for:
- Beginners looking to practice painting skills
- Experienced crafters seeking a relaxing and creative activity
- Art enthusiasts interested in exploring new techniques
- Individuals looking for a fun and rewarding DIY project
- Anyone wanting to add a personal touch to their home decor
When to Embark on This Creative Journey
You should consider creating a DIY mini canvas sunset:
- When you have some free time and want to unwind with a creative activity
- During a rainy day or when you're stuck indoors looking for something fun to do
- As a gift idea for a friend or loved one who appreciates handmade items
- When you feel inspired by the beauty of sunsets and want to capture that on canvas
- As a way to explore your artistic abilities and experiment with different painting techniques
Examples of Creative Uses for Your Mini Canvas Sunset
Once you've completed your DIY mini canvas sunset, you can:
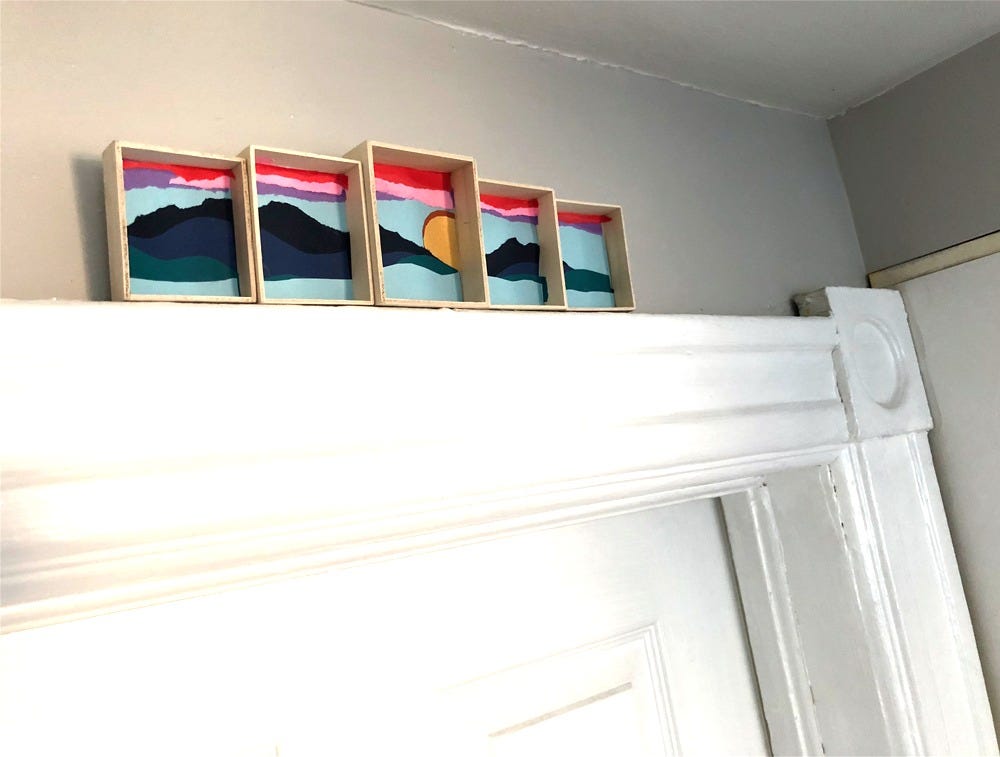
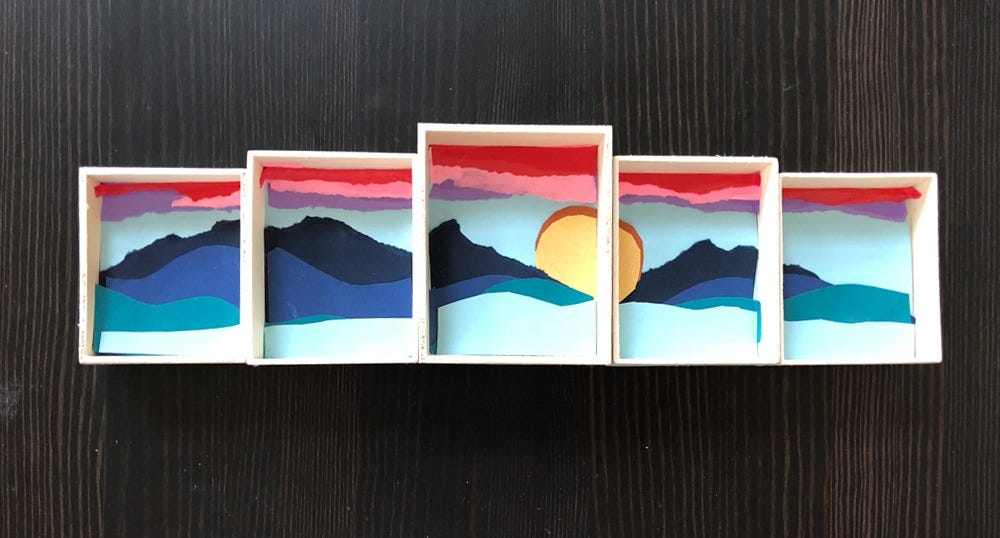
- Display it on a small easel as a charming piece of home decor
- Frame it and hang it on a gallery wall with other mini canvas art pieces
- Give it as a thoughtful gift for a birthday, holiday, or special occasion
- Sell it at a local craft fair or online marketplace as a handmade product
- Use it as a creative outlet to express your love for art and painting
What Sets Our Product Apart
Our DIY mini canvas sunset tutorial stands out from the rest due to its detailed step-by-step instructions that cater to both beginners and seasoned crafters. The materials needed are easily accessible, making it convenient for anyone to start their creative journey. Additionally, the tutorial provides tips and techniques for blending colors, creating textures, and adding depth to the painting, ensuring a beautiful finished product every time.
Techniques for Blending Colors
One of the key features that make our product special is the focus on teaching techniques for blending colors seamlessly. By following our step-by-step instructions, you will learn how to create a vibrant sunset palette with smooth transitions between shades. This skill is essential for achieving a realistic and visually appealing sunset scene on your mini canvas.
Ways to Make the Most of Your Adventure
To get the most out of your creative adventure with our DIY mini canvas sunset tutorial, consider the following tips:
Experiment with Different Painting Techniques
Don't be afraid to experiment with different painting techniques to add variety and interest to your mini canvas sunset. Try using different brush strokes, layering colors, or adding textures to create a unique and personalized artwork. The more you explore and push your creative boundaries, the more rewarding your painting experience will be.
Artistic Inspiration:
As we wrap up this tutorial on creating a DIY mini canvas sunset, it's clear that this project offers a perfect blend of relaxation and creativity for crafters of all levels. By following the step-by-step instructions and exploring your artistic abilities, you can bring a beautiful sunset scene to life on a mini canvas. Whether you display it as home decor, give it as a gift, or sell it as a handmade product, your mini canvas sunset will surely brighten up any space and inspire others to embark on their own creative journey. So grab your materials, unleash your imagination, and let the colors of the sunset guide your brush as you create a masterpiece that reflects the beauty of nature and the joy of crafting.