Create Your Own DIY Halloween Headbands
- By Andrew Jacobs
- Oct 12, 2016
Halloween is so much fun for kids and adults! Between candy and parties what could go wrong?! Everything!! Halloween can also be super stressful. What will I be? What’s appropriate? What is too much? Does school allow costumes this year? All these questions swirling around! When I was in elementary school we could dress up on Halloween – we even had Halloween parades around the school. Now there are rules about costumes and masks and you may not know what you can be. Here is a simple solution that anyone can use!! DIY Halloween Headbands. Yeah, I know, at first it seems sort of…lame. Who wants paper ears on their heads? But with our colorful JAM paper and our original templates, you will amaze everyone! These DIY Halloween Headbands can be used and made by anyone in three easy steps.
Amaze Everyone with DIY Halloween Headbands
Requirements
Vivid JAM Paper
Headbands (you can get these from the dollar store)
JAM Templates
Scissors
Tape
Glue
Markers

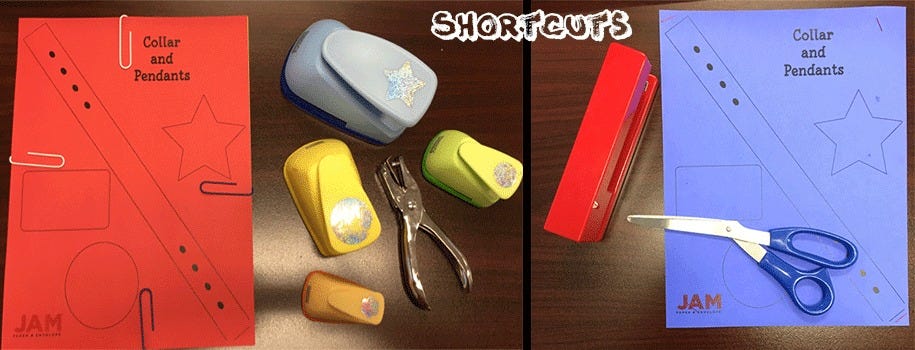
Now, because we had a bunch of DIY Halloween Headbands to make, it was a MUST to find some sort of shortcut. All the cutting can get tedious. For the shortcuts you will need a few more supplies, but you will save half the time!
Shortcut Requirements:
Hole Punchers
Twine
Stapler
Paperclips
Step 1:
Print out our unique templates made by us for you! Links will be at the bottom of the page.
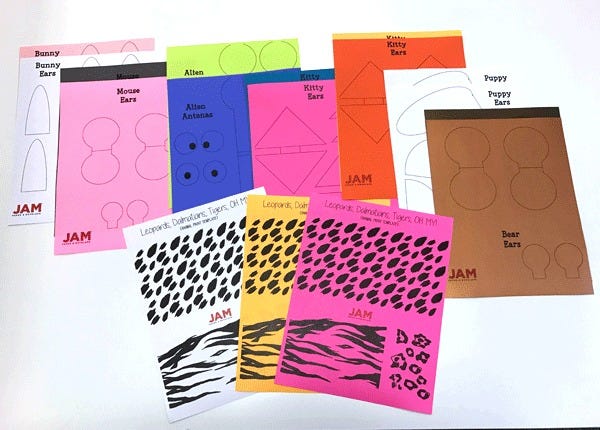
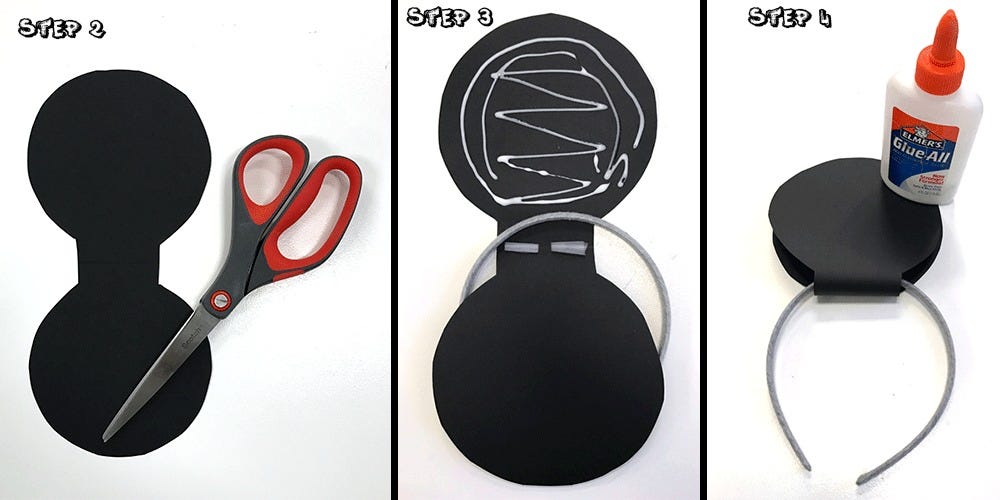
Step 2:
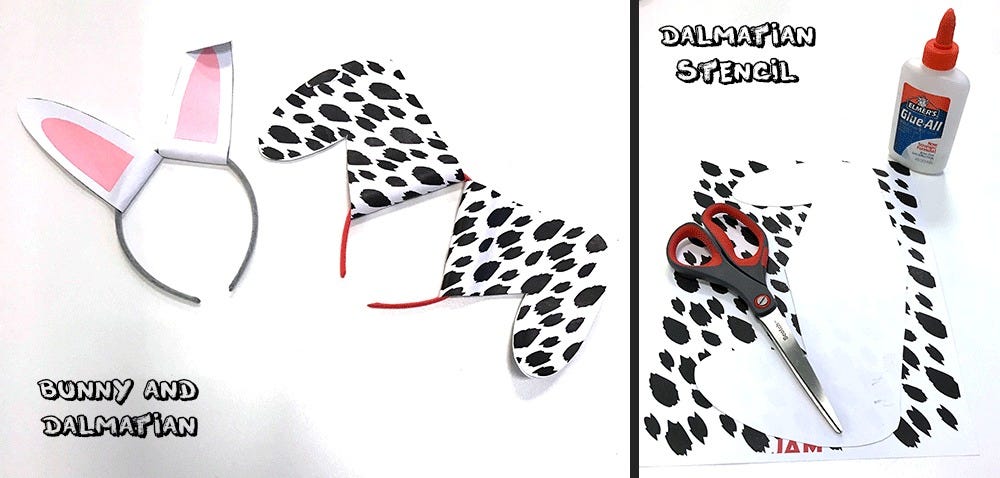
Cut out your template and any designs and patterns you may need. For the leopard you will need to cut out around each spot. For the tiger you can just cut out a triangle shape and paste it on to the cat ears.
Step 3:
Position your headband in the middle of the template. Put glue on one side. I put tape in the middle – it helps to get the ears in place but if you don’t have tape it’s not the end of the world.
Step 4:
Now fold the opposite side over! Do the same for the other ear and let it dry.
Designs
After your ears dry for a few minutes and they are stable (for the most part), you can put on your designs. For leopard ears you place the cut outs directly on the ears – same for the tiger. The Dalmatian is a little easier. Print out the Dalmatian pattern and cut out one dog ear and use it as a stencil.

Accessories
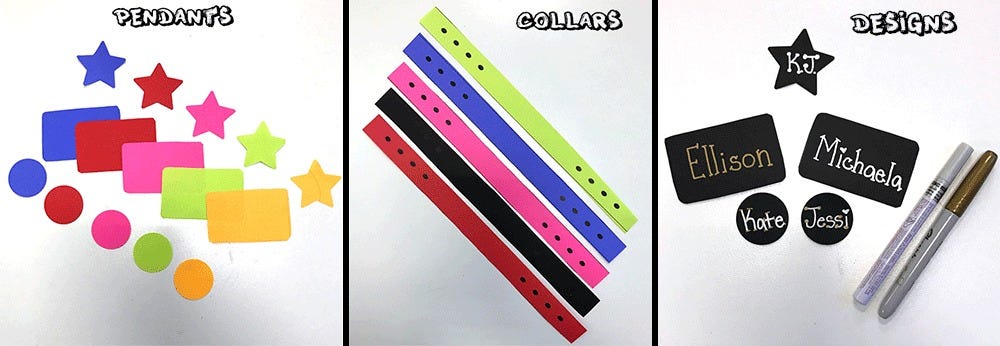
Once your headbands are done it’s time for accessories!! We have collars and pendants for the collars! This goes perfect with the Dalmatian but you can honestly use it with all the headbands. Use our amazing vibrant markers to write your name or initials.
Shortcut: you can use your hole punchers here. If you are running low on time, use shaped hole punchers! To cut out multiple collars at a time you can use our fancy JAM paper clips or simply use one of our colorful staplers to hold the papers together while you cut. The collar size works well for kids but for adults, we'll need a little help. Use your standard hole puncher to punch holes on both sides of the collar. Then cut two pieces of twine (or ribbon if you prefer) through either side. Then just make a bow around your neck.
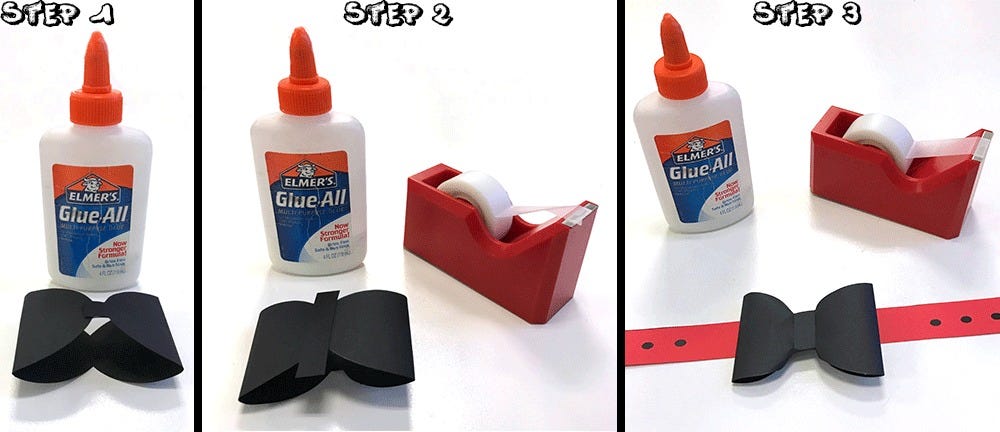
Minnie’s bow comes in two parts and only takes three steps! After cutting both parts out, put a dot of glue on one flap and connect it. Place the strip of paper in the middle and fold over. Tape in the back to secure the bow. Now you can put a small piece of tape on the bow and put it on the ears, collar, or wherever else you’d like! Don't forget you can use the bow multiple ways, like a bow tie seen below.
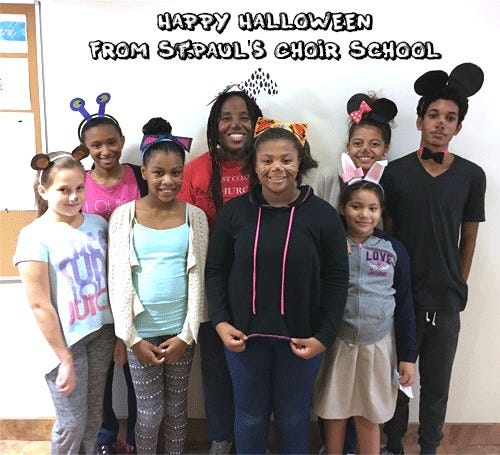
St. Paul's Choir School
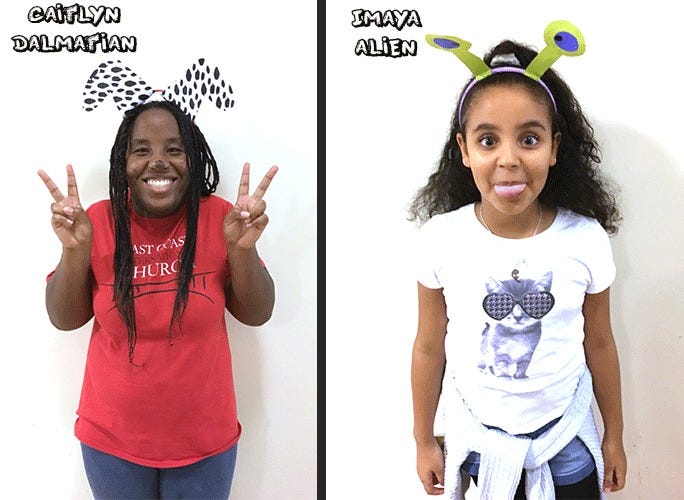
A few days a week I work with the St. Paul’s Choir School and they were lovely enough to model these DIY Halloween Headbands. Yes, they were totally welcome to keep the headbands!
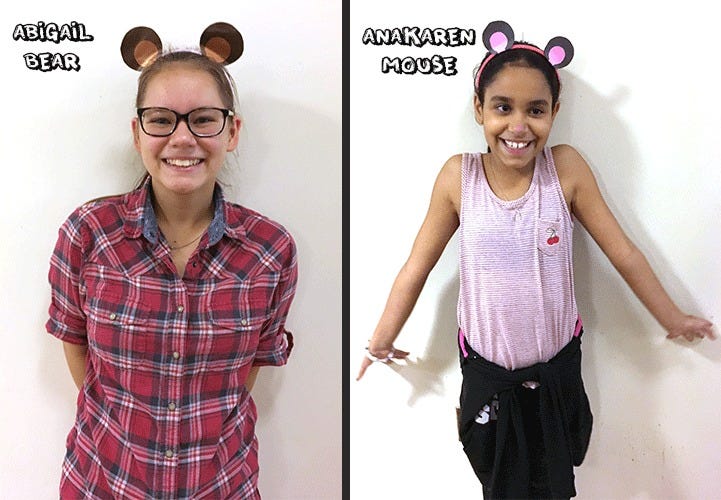
You’re all set!! Now you have your very own DIY Halloween Headband! Whatever you choose to be, make sure you own it and wear it with pride! For teachers, this is a nice and fun way to celebrate Halloween with your students! It doesn’t take long and the material needed goes a long way. This is also a great way to express yourself and use your creativity. Remember, anyone can use these. If you have a Halloween contest at work, this is a great way to show your crafting skills! Pair these DIY Halloween Headbands with the perfect and simple outfit and you are sure to win – or at least get an A for effort. Before I end this post I want to give a shoutout to my kids in the St. Paul’s Choir School. They were amazing and really worked well and quickly – the pictures came out amazing, we couldn’t do it without them! I’d also like to thank the director of the choir school, Mark Trautman, to allow us to use choir school time to get these fabulous pictures. Most importantly, I’d like to thank the parents for being so incredible and understanding to lend us their stunning children for this blog! Don't forget to share your pictures of your DIY Halloween Headbands on Instagram and Twitter!