


How Do I Wrap My Presents Perfectly?
- By Andrew Jacobs
- Dec 21, 2016
How do I wrap my presents perfectly?
Have you asked yourself that question in the past few days? Yeah, well I used to ask myself that too. I'll give you a little background. Even if you don't want it. When I first started working at JAM, I told everyone I would never be able to craft. Or represent JAM- Home’s fine products in a way that actually makes them look like how they are supposed to look. Since that time (almost two years), I’ve tried many projects. Projects that failed, succeeded, even things I did just to try and see what happens (that craft is now on the first page of google – yes I’m bragging). So when I thought wrapping gifts to promote our amazing Christmas paper was the best way to get more traffic, I hoped I’d be decent. Well, I found out I’m a WRAPPING PROFESSIONAL. And throughout the time I've wrapped, for fun, for social, for email promotions, for blogs, I've learned the answer to the question: how do I wrap my presents perfectly? Let me help you sad puppies out. First and most importantly you need ...
1. Patience/Time
Without patience, you’ll certainly mess up. It’s the number one rule. Take an hour out of the day to tell yourself you’re going to wrap presents. If not, you’ll expect to be done in a few minutes. And when something becomes stressful or unexpected, it's no longer fun. If you have a lot of family members or a lot of money for a lot of gifts, you’ll need about 180 minutes (trust me). So take your time, put your favorite Christmas movie on, relax, and wrap!
2. Muscles
Beauty is pain. SO PULL AS HARD AS YOU CAN. There should be no air or space, molecules or atoms, between the gift and the wrap. Circulation to your fingers is not necessary.
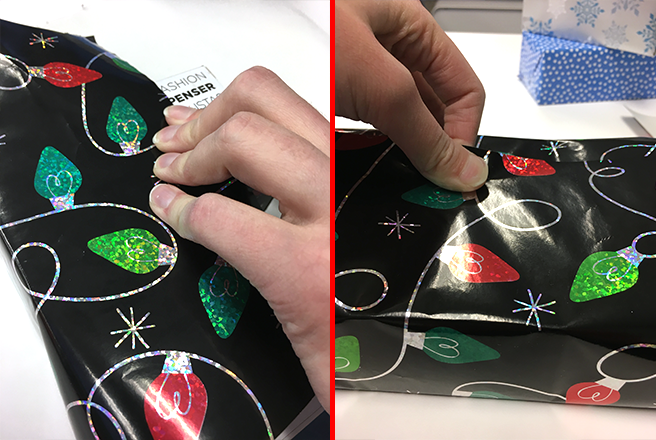
3. Creases
Hopefully you’re wrapping a box-like gift since it’s the easiest way to make creases (if not, contact me personally. I'm kidding sort of). When you are done tightening as much as possible (without ripping the wrap – which I’ve done a lot of times), crease your paper. This is great for us who have long nails. Take the tip of your nails to fold the two side of the wrap together. Just like that time in 3rd grade when you had to fold your paper perfectly in half for that spelling test. When you're younger, they call it cool things like fold it like a ‘hot dog’ or ‘hamburger’. But we're grown-ups now, so it gets tough. Now there's an object in the way and we just call it, well, folding. So stop the crease RIGHT where the box begins, and you'll get a beautiful gift instead of an A++ sticker or candy ... oh and a bill towards your credit card. Dang adulthood.
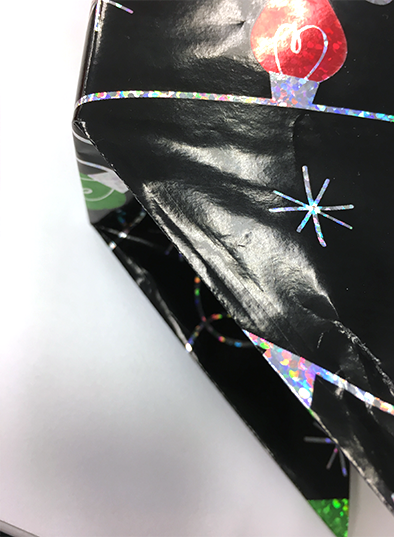
4. Cut Downs

A lot of people don’t think about this part. so pay attention. You’re never going to measure your gift perfectly when you first lay it out. There will almost always be extra wrap. On the sides when you have to do the ‘dreaded triangle’ fold, you probably mess up because there’s just way too much wrap. This will cause your gift to bulge out on the sides (think skinny). So cut down small strips, fold, and if you still have more wrap, cut again! Trust me, it’s so easy once there’s just enough. Goldilocks can back me up on that one…
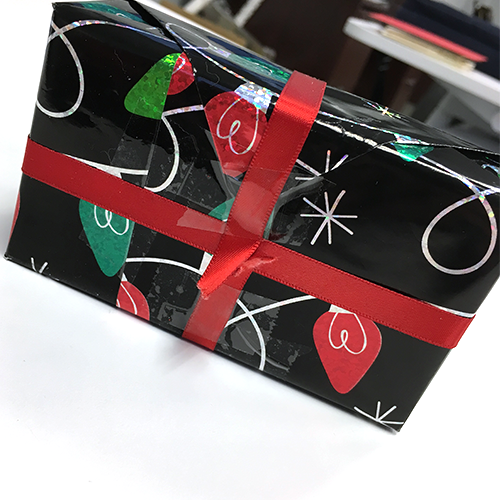
5. Tape
A LOT OF TAPE. It’s hard to keep your wrap from moving around, especially if it's glossy. The way to stop this is with this tool called tape. It’s this sticky material that won’t let your wrap slide around. And it’s also A LOT of fun to watch the person unwrap your almost indestructible gift wrap. Especially if it’s a gag gift. Ugh, the things I appreciate in life.
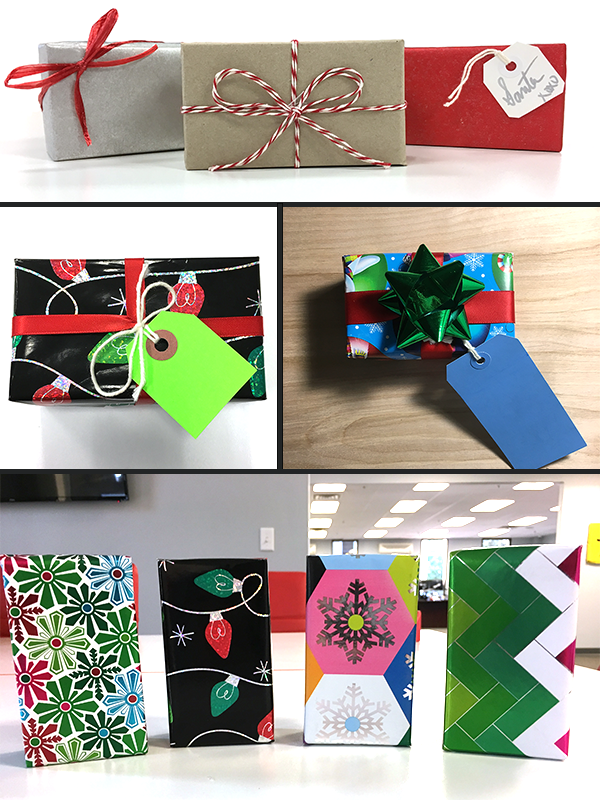
6. Accessories!
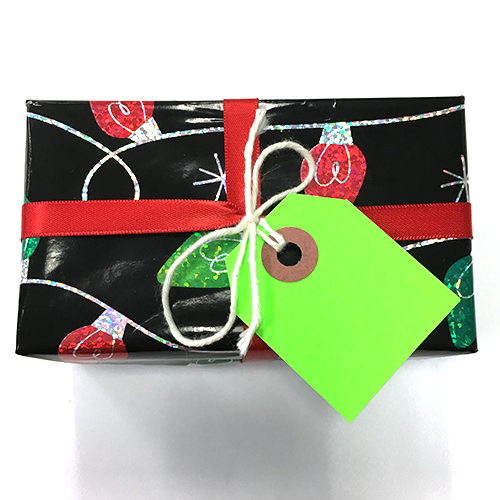
When you don’t like how something comes out (which happens even to the best of us), there are these things called ‘wrapping accessories’ aka gift bows, ribbon, and tags. Here I used scraps from a random wrapped gift (like those skinny strips you always throw away), ribbon'd and tagged it up! So if there’s a rip somewhere or a crease you hate, stick some accessories on the spot! And viola, it disappears!
7. One More Thing...
Never, ever let them see the back ;)
Is your question how do I wrap my presents perfectly answered?