DIY Graduation Decorations
- By Andrew Jacobs
- Jun 2, 2017
DIY Graduation Decorations
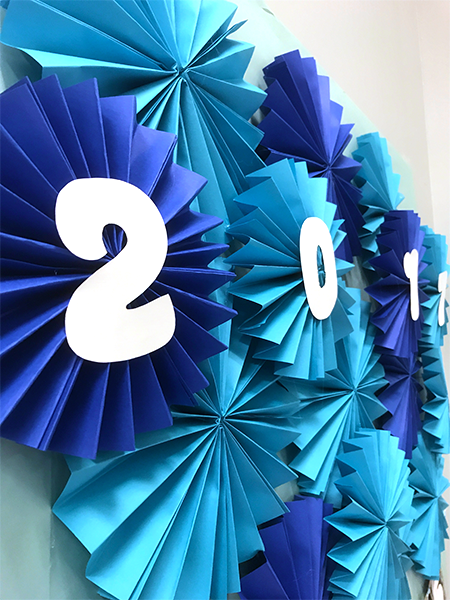
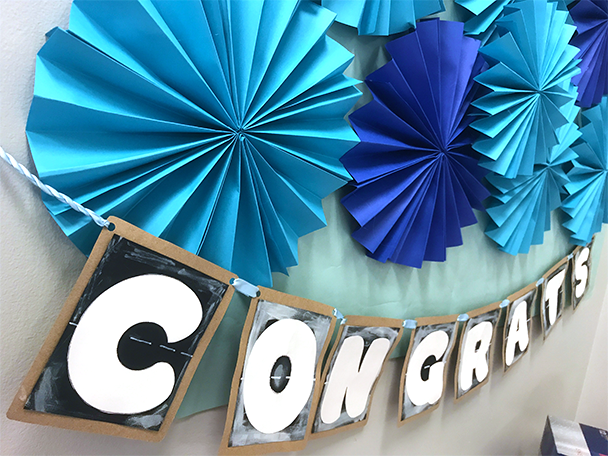
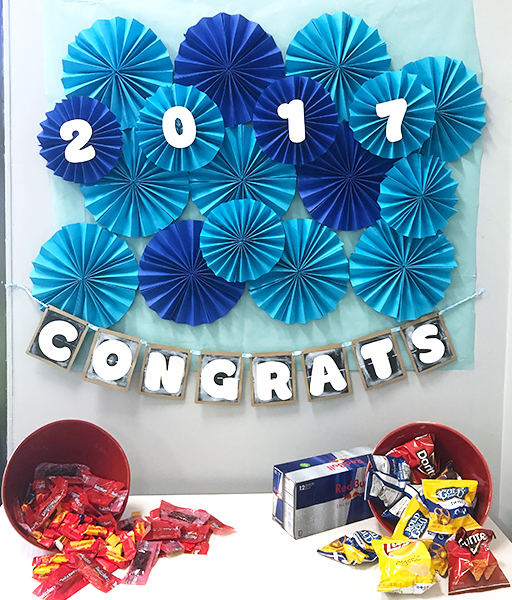
Schoooool is out for the summer!! Well at least for college grads – YOU GUYS MADE IT! On to the real world! High school students, almost there but on to…MORE SCHOOL!! Of course you’ll want to celebrate your huge accomplishment. What’s the perfect touch for a graduation party? DIY Graduation Decorations! We’ve made a beautiful backdrop which will be perfect for taking pictures and selfies. And of course you’ll need a congrats banner because, heeellloooo, you graduated!! Have fun with these DIY Graduation Decorations – they’re just right to make with family and friends.
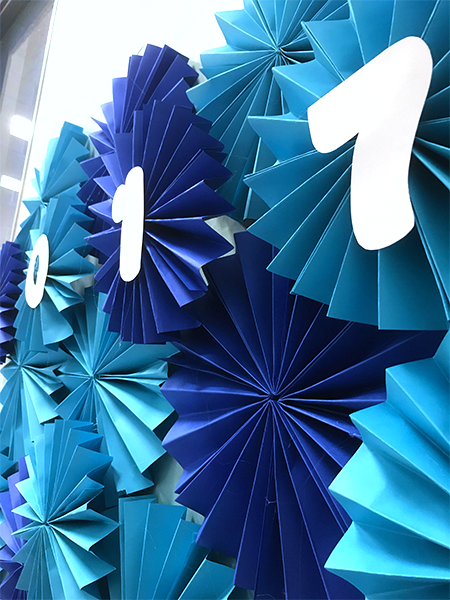
Welcome Class of 2017 with this Backdrop
Supplies
-
- Glue Gun
- Scissors
Step 1:
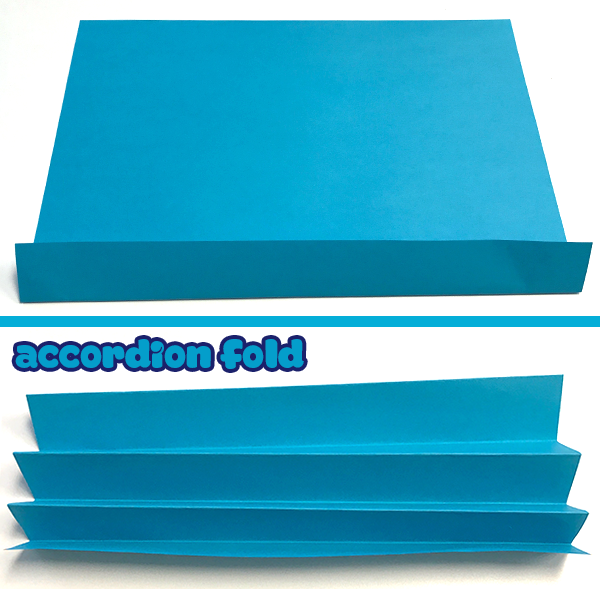
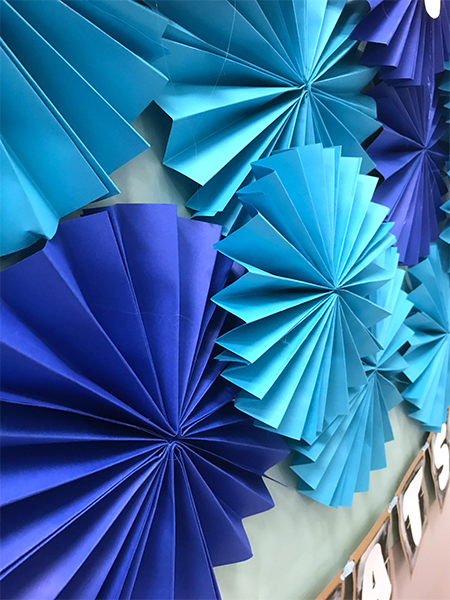
Grab your colored paper. I went to Kean University (woot woot!) so I went with Brite Hue Blue and Presidential Blue. Fold your paper about a half inch. Continue to fold in an accordion style. Make sure you sues paper because cardstock is too think to fold this many times.
Hint: You can do it long way or short way. The long way will give you a bigger fan and the short way will be smaller.
Step 2:
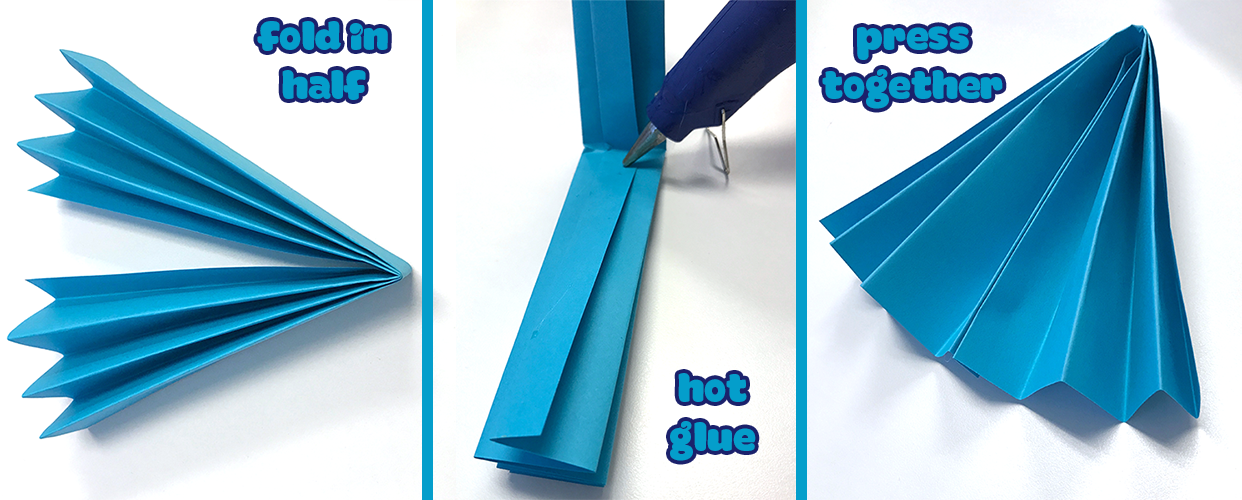
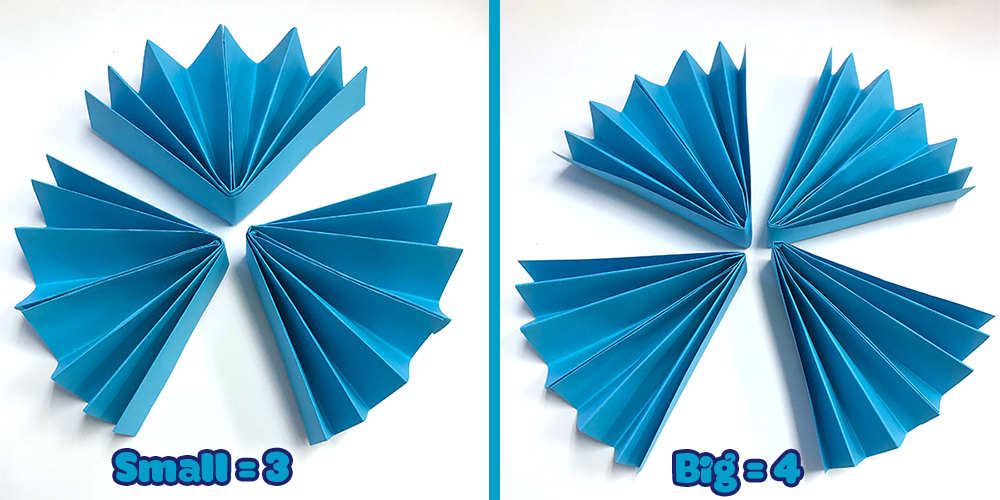
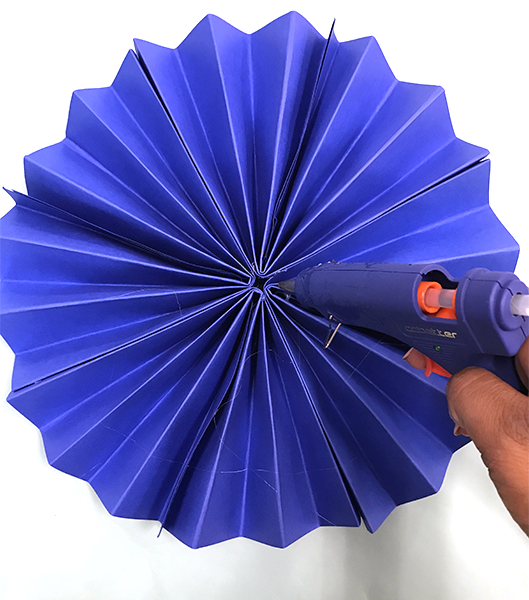
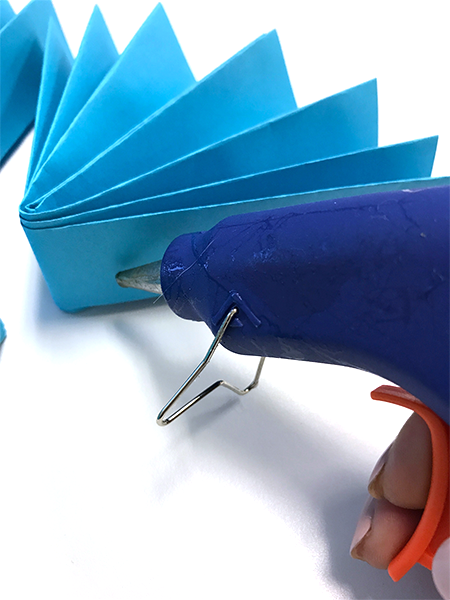
Now fold your accordion in half. Hot glue the two ends together so you make one fan. Repeat 3-4 times. For the smaller ones you’ll only need three but for the bigger ones you need four.
Step 3:
With your hot glue gun, glue the ends of each fan to the end of the next fan. You should have a big circular fan by the end. You’ll need at least 15 circular fans to make a decent backdrop.
Step 4:
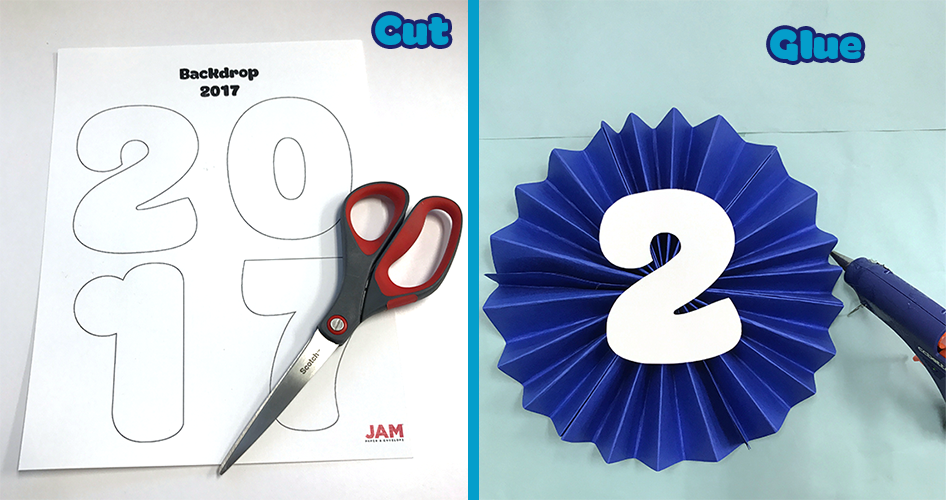
Download your Backdrop 2017 template and cut it out. Then with your hot glue gun, glue the numbers to the middle of each fan.
Step 5:
Now you need your wrapping paper of your choice, finished fans, hot glue, and scissors. I used the Matte Pool Blue wrapping paper.
Step 6:
Use your hot glue gun to glue your fan to the wrapping paper. I just scattered hot glue on the fan of the fan and then quickly pressed it on to the wrapping paper. Feel free to overlap your fans to make the backdrop look fuller!
Congrats! You Survived!
Supplies
-
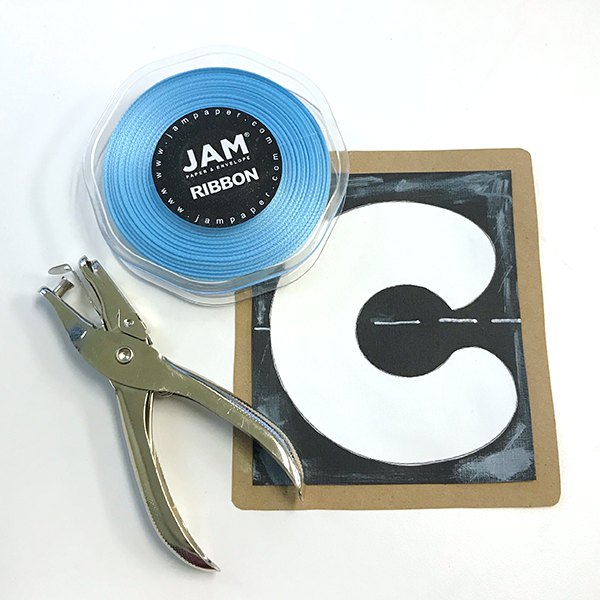
- Hole Puncher
-
- Scissors
- Glue
Step 1:
Download and print the front and back panel templates. Then cut out the front and back panels.
Step 2:
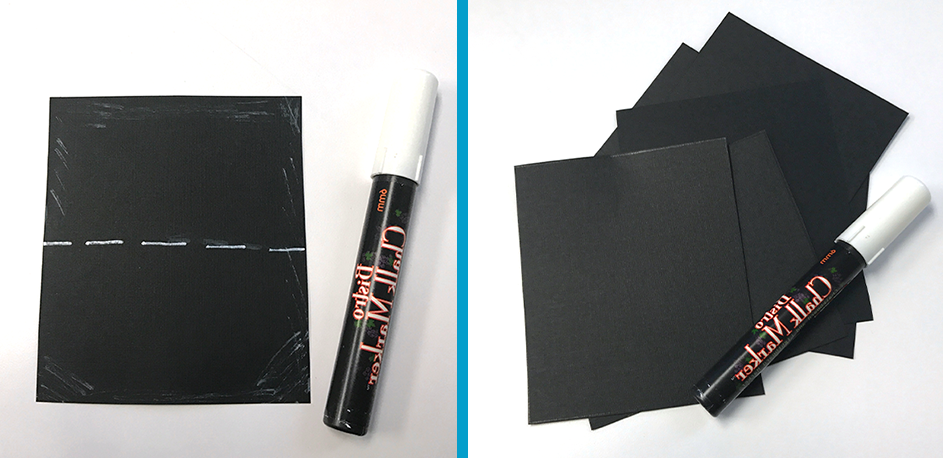
Now it’s time to spruce up the front panels. You want to make it look like a chalkboard. Use your white chalk marker to make dashes across the panel. To make it look more like a chalkboard, take your paint marker and press it down so it kinda leaks out on the panel. Then quickly smudge it around with your finger.
Step 3:
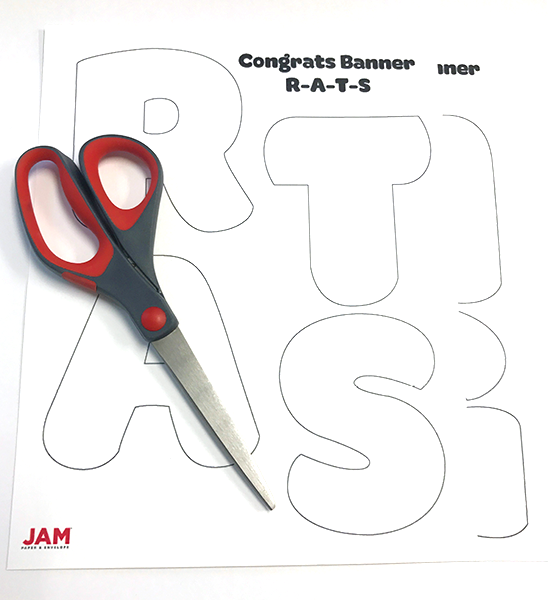
Download and print out your letter templates on white cardstock, I used Strathmore Bright White, and then cut those out.
Step 4:
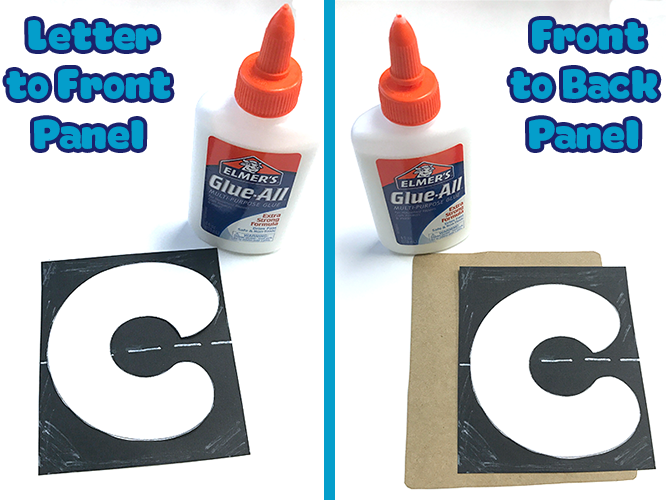
Glue the letters on to each individual panel. Then glue the front panel to the back panel.
Step 5:
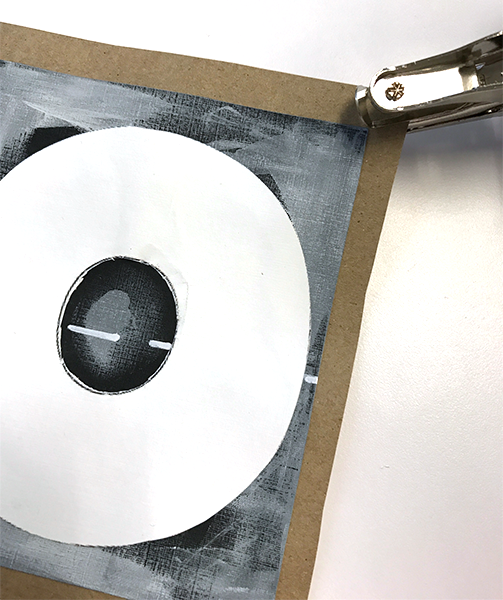
Use your hole puncher to make a hole in the top corners of each back panel.
Step 6:
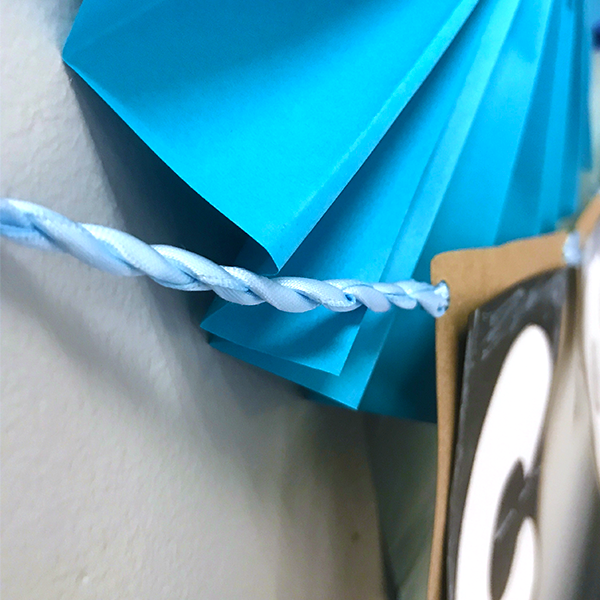
Now it’s time for ribbon!! I used 3/8 inch Baby Blue Satin Ribbon. Cut small pieces of ribbon and string them through each hole. Lay the ends flat and hot glue to seal. Repeat for each letter. For the ends of the banner, make sure you make the ribbon longer and you can simply tie and knot it through the holes. You can make it fancy by twisting two pieces of ribbon together like I did!
And that’s it! You can make these with some of your friends! Bond! Create! Celebrate! This DIY Graduation Decorations will be sure to brighten up your parties! Plus, it’s a total brag. “Not only did I graduate but I also made these decorations.” I love it! Feel free to use these for any graduations! I don’t know if you’ve heard but going to kindergarten is kinda a big deal. Celebrate all the graduations in your family- none is too big or too small. These DIY Graduation Decorations will be part of tons of memories to come. Take a selfie in front of the backdrop, take a look at your congrats banner, and head into your new chapter in your life. Congrats! You truly deserve it!
| [media-downloader media_id="23853" texts="Congrats Front Panel Template"] | [media-downloader media_id="23851" texts="Congrats Back Panel Template"] |
| [media-downloader media_id="23852" texts="Congrats Letters 1 Template"] | [media-downloader media_id="23854" texts="Congrats Letters 2 Template"] | [media-downloader media_id="23850" texts="Backdrop 2017 Template"] |
DIY Graduation Decorations: Adding a Personal Touch to Your Celebration
Graduation is a momentous occasion, and what better way to celebrate than by adding a personal touch to your decorations? DIY graduation decorations allow you to showcase your creativity and make your event truly unique. Whether you're a parent, friend, or the graduate themselves, creating your own decorations can be a fun and rewarding experience. From handmade banners and centerpieces to personalized photo displays, the possibilities are endless when it comes to DIY graduation decorations. Not only do they add a special touch to the celebration, but they also serve as meaningful keepsakes for years to come.
Benefits of DIY Graduation Decorations
One of the main benefits of DIY graduation decorations is the ability to customize every aspect of the decor to fit the graduate's personality and style. Additionally, creating your own decorations can be a cost-effective alternative to purchasing pre-made items, allowing you to save money while still achieving a personalized look. DIY decorations also provide a sense of accomplishment and pride, as each piece is a reflection of your creativity and effort. Furthermore, they can serve as conversation starters and icebreakers at the event, sparking meaningful discussions and connections among guests.
Use Cases for DIY Graduation Decorations
DIY graduation decorations can be used in a variety of settings, including at-home celebrations, outdoor parties, and formal gatherings. They are suitable for all types of graduates, whether it's a high school graduation, college commencement, or vocational program completion. DIY decorations can also be tailored to fit any theme or color scheme, making them versatile for different types of graduation events. Additionally, they can be incorporated into photo backdrops, dessert tables, and gift displays, adding a personal touch to every aspect of the celebration.
Alternatives to DIY Graduation Decorations
While DIY decorations offer a unique and personalized touch, there are alternative options for those who may not have the time or resources to create their own. Pre-made decorations, such as banners, balloons, and table centerpieces, are readily available for purchase and can still be customized with the graduate's name and school colors. Additionally, hiring a professional decorator or event planner can provide a stress-free alternative for those who prefer to leave the details in the hands of experts.
Tips for Using DIY Graduation Decorations
When creating DIY graduation decorations, it's important to plan ahead and start early to allow for ample time to complete the projects. Consider involving the graduate in the design process to ensure the decorations reflect their personality and preferences. Utilize online tutorials and crafting resources for inspiration and guidance, and don't be afraid to get creative with unconventional materials and designs. Finally, remember that the sentiment behind the decorations is what truly matters, so enjoy the process and celebrate the graduate's achievements with pride.
Adding a Personal Touch to Your Celebration
DIY graduation decorations offer a unique opportunity to infuse your celebration with personal touches and meaningful details. From custom photo displays to handmade centerpieces, these decorations serve as a reflection of the graduate's journey and accomplishments. By incorporating DIY decorations into your event, you can create a memorable and heartfelt celebration that honors the graduate and their achievements in a truly special way.
