Using Origami to Teach Math: A Fun Lesson Plan
- By Andrew Jacobs
- Mar 5, 2014
Using Origami to Teach Math: A Fun Lesson Plan
Chemists like to say that biology is just applied chemistry, and physicists like to say that chemistry is just applied physics. But really, everything is just applied math. Just like physics and chemistry and biology, math is an often complicated, occasionally frustrating, but ultimately beautiful way of understanding the world around us and within us. And since sometimes the most complicated things are really very simple at heart, we are going to use something very simple to teach something very complicated.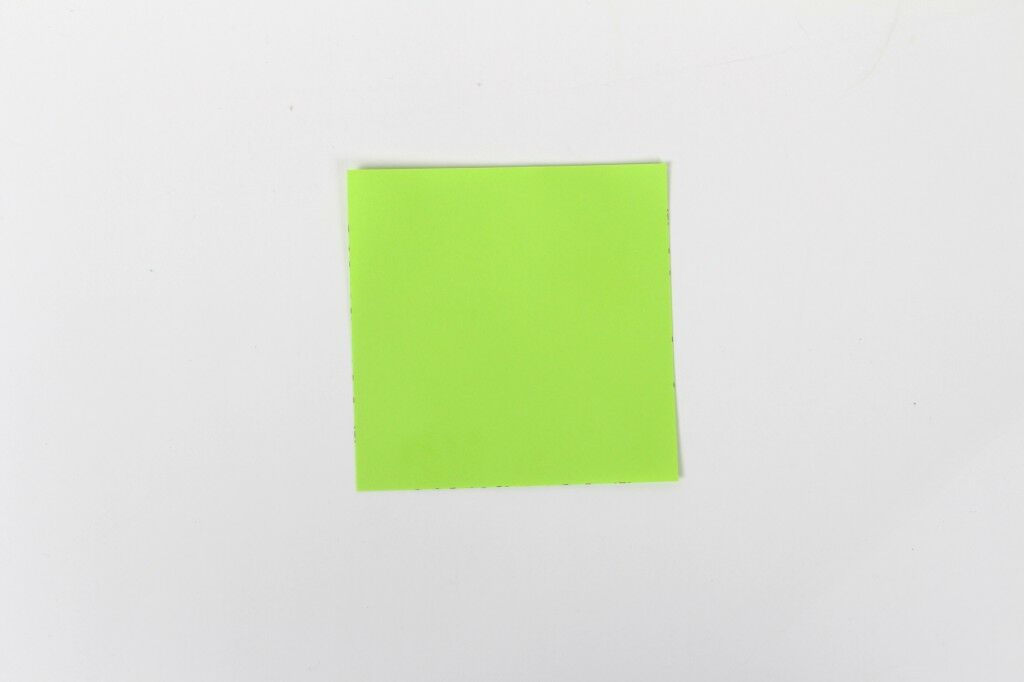
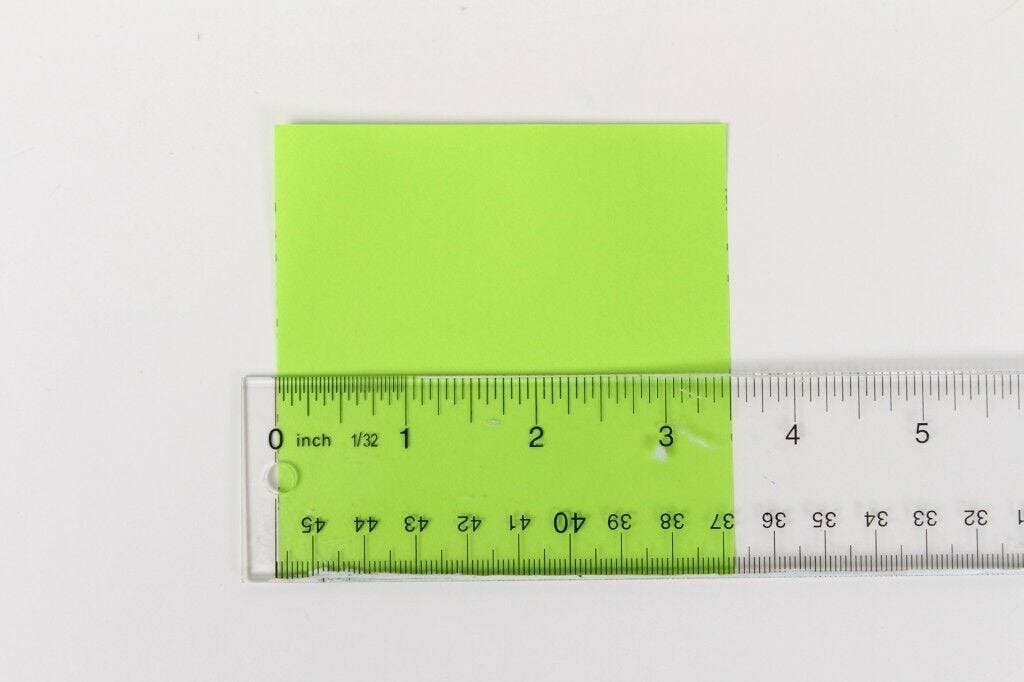
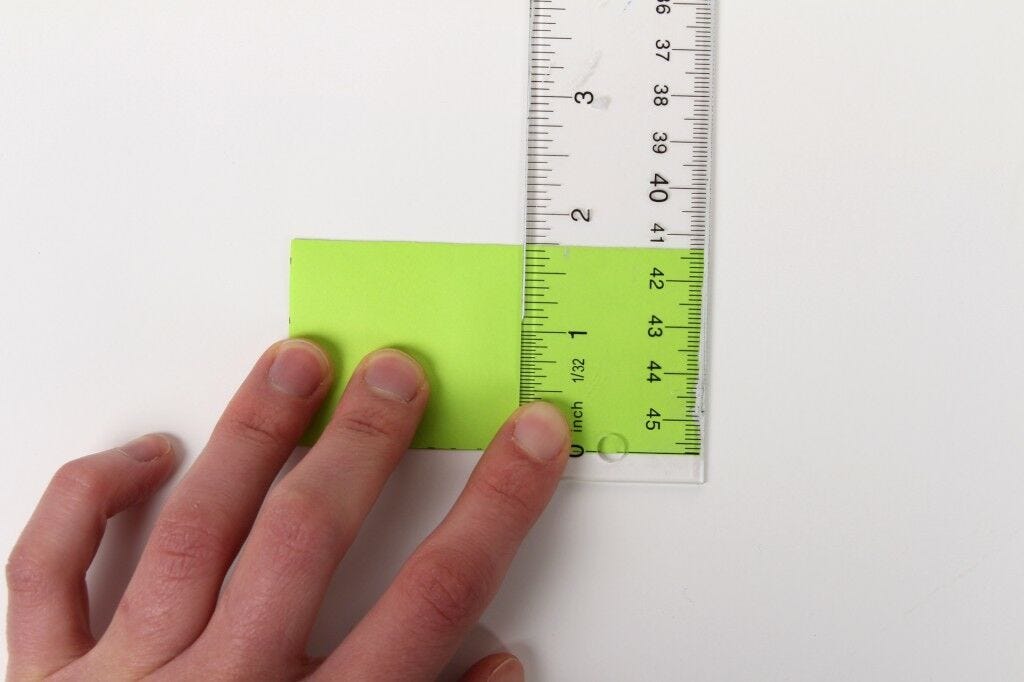 Step 3:
Then unfold it and fold it in half again.
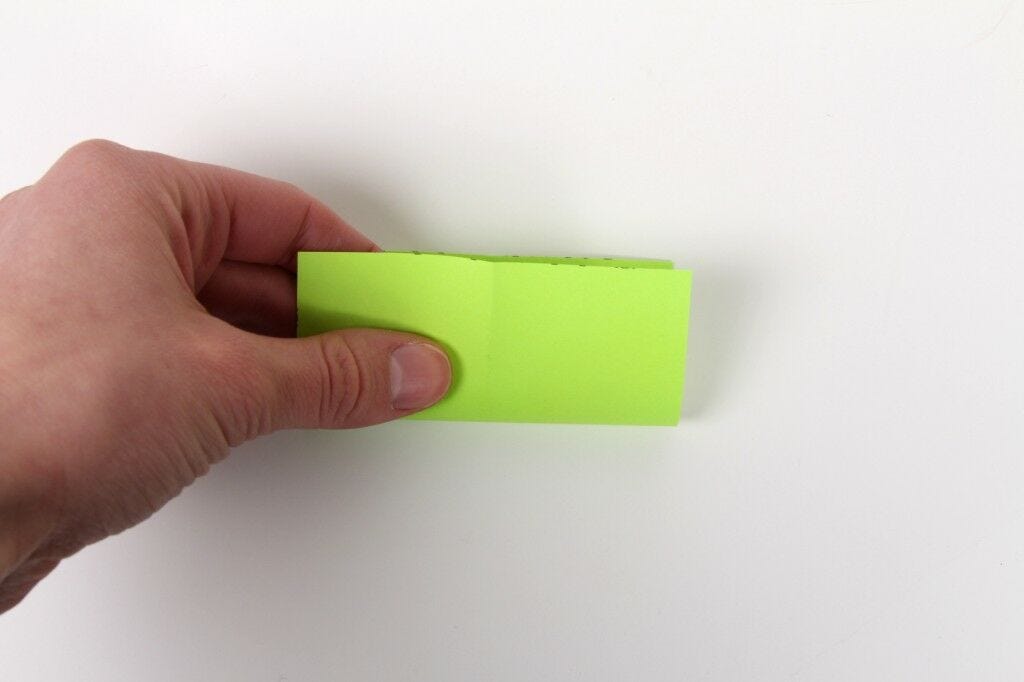 Step 4:
Fold the corners down to make a smaller square.
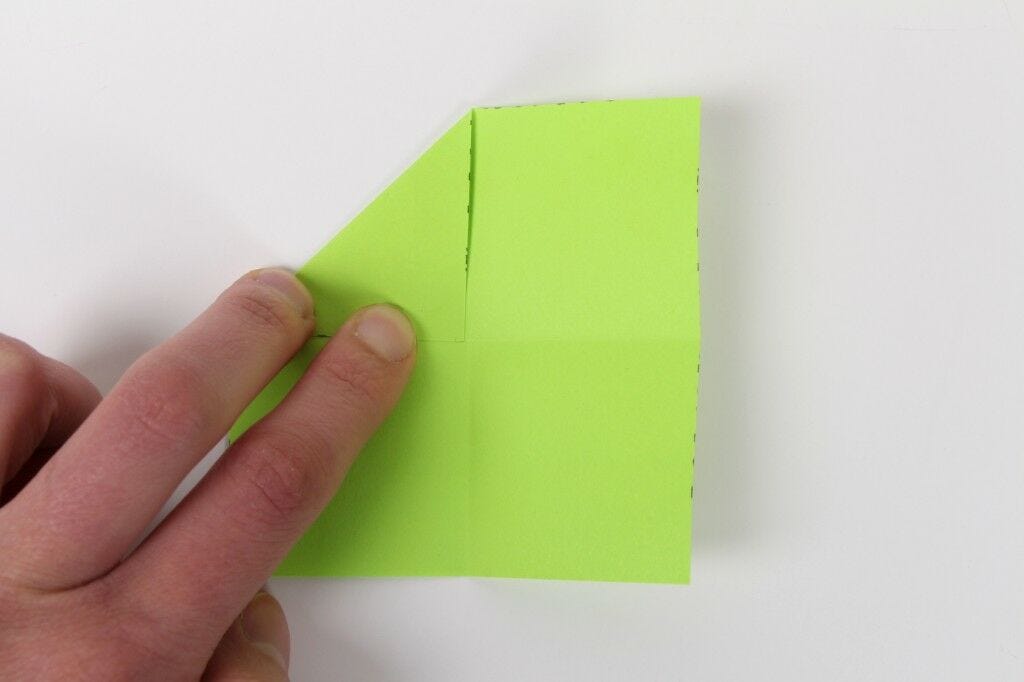
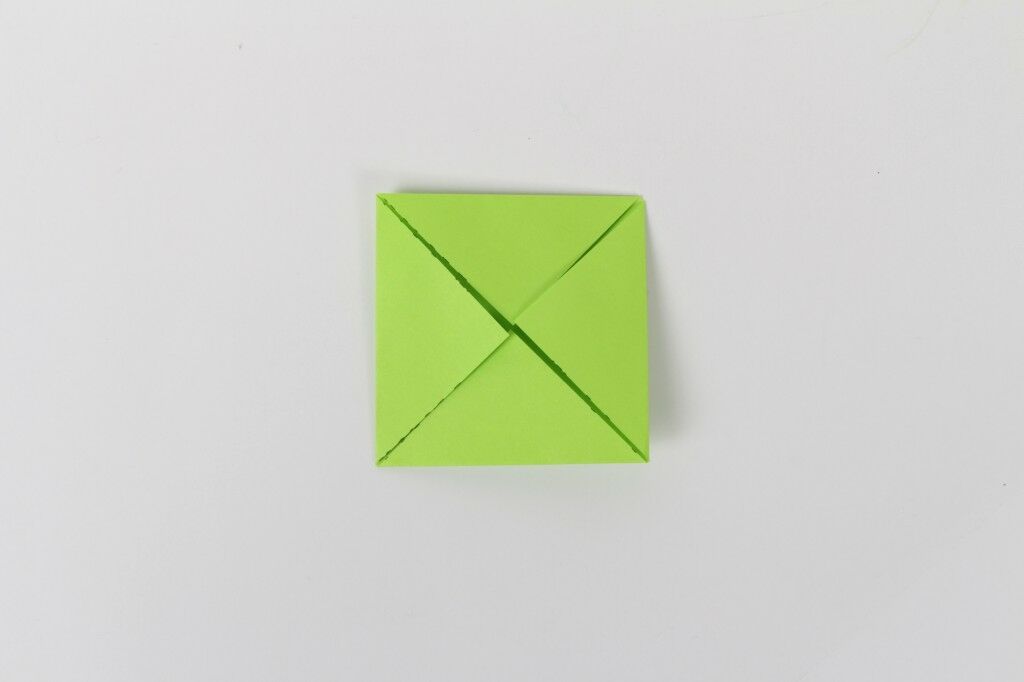 Step 5:
Measure the length the new sides and calculate the new area.
6.3 cm x 6.3 cm = 39.69 cm ^2
Notice that this area and the area previous calculated are the same (roughly) and are half the area (roughly) of the original square.
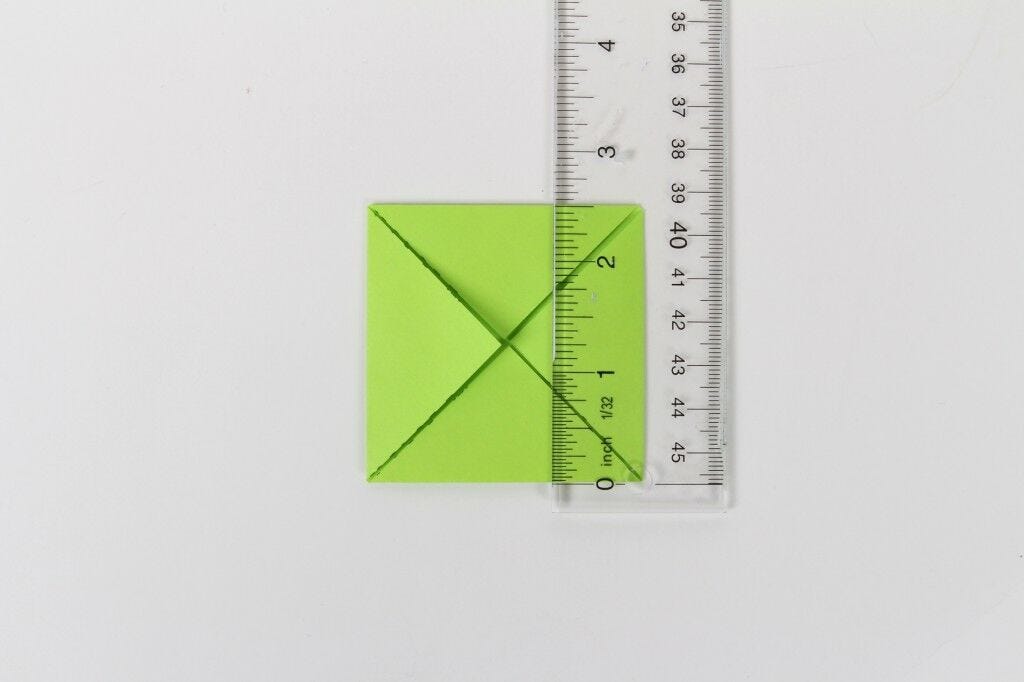 Step 6:
Next, fold the tips of each triangle (or the right angles) to the sides of the square (or the hypoteneuse).
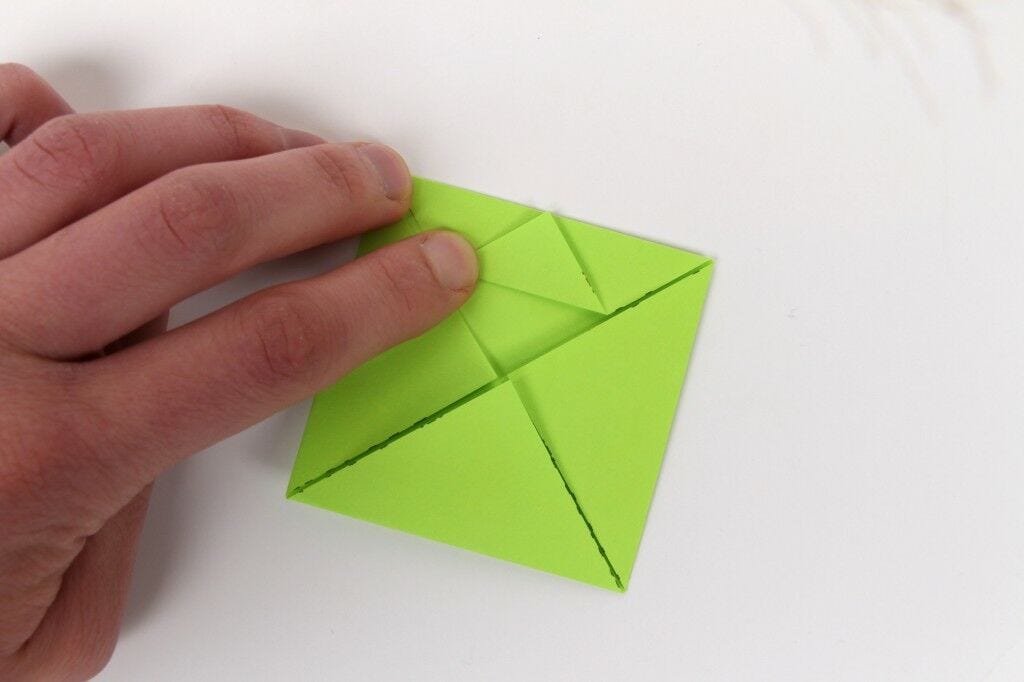
 Step 7:
Measure the sides of the smaller square and calculate its area.
3.15 cm x 3.15 cm = 9.92 cm ^2
Evaluate the relationship between this area and the previously calculated area
39.61 cm^2 / 9.92 cm^2 = 4
and this area and the original area of the square
79.21 cm^2 / 9.92 cm^2 = 8
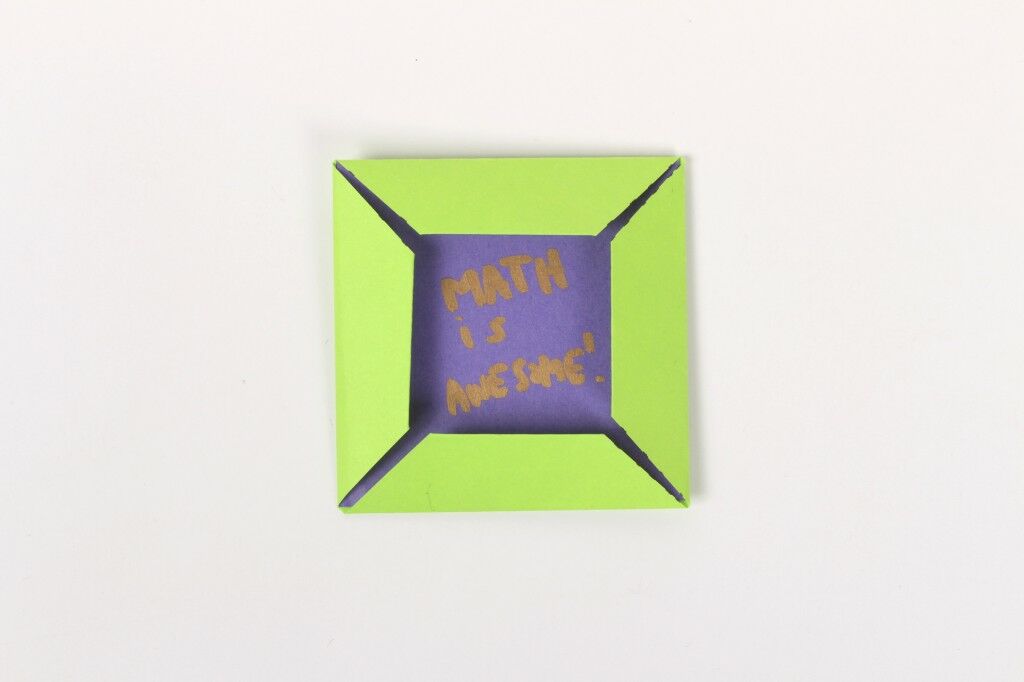
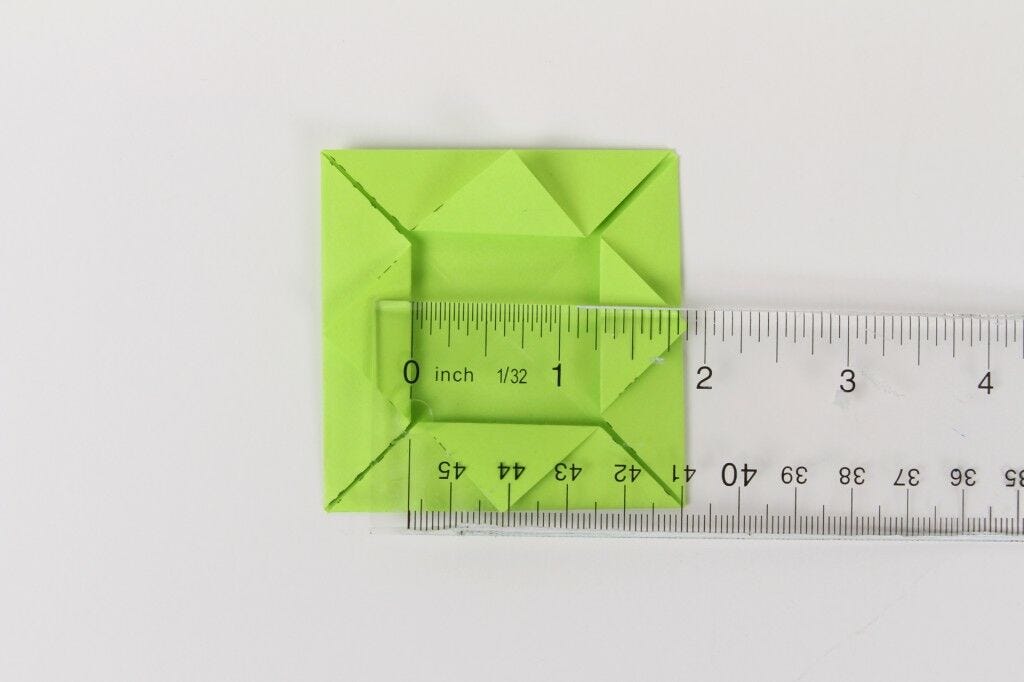 Once your students understand these relationships and how fractions work, they can turn their origami learning tool into a picture frame for their favorite photo or drawing.
 To all you teachers and parents, check back for more exciting crafts and lessons to do with your kids!
Adapted from this great lesson!
To all you teachers and parents, check back for more exciting crafts and lessons to do with your kids!
Adapted from this great lesson!Using Origami to Teach Math: A Fun Lesson Plan
Origami, the traditional Japanese art of paper folding, has been used as a teaching tool for various subjects, including math. By incorporating origami into math lessons, educators can make learning more engaging and interactive for students. This hands-on approach allows students to visualize mathematical concepts and develop problem-solving skills in a fun and creative way. Using origami to teach math can also help students improve their spatial reasoning and fine motor skills, making it a valuable addition to any lesson plan.
The Benefits of Using Origami in Math Education
Integrating origami into math education offers numerous benefits for both students and educators. It provides a unique way to introduce complex mathematical concepts in a way that is accessible and enjoyable for students. Origami can also help students develop patience, perseverance, and attention to detail, which are essential skills for success in math and other subjects. Additionally, using origami in math lessons can foster a sense of creativity and confidence in students, making them more enthusiastic about learning and problem-solving.
Practical Use Cases for Origami in Math Lessons
There are countless practical applications for using origami in math lessons. From teaching geometry and symmetry to exploring fractions and proportions, origami can be used to illustrate a wide range of mathematical concepts. Educators can also use origami to teach problem-solving strategies, such as trial and error and logical reasoning. Furthermore, origami can be adapted to suit different age groups and skill levels, making it a versatile tool for math education.
Alternatives to Using Origami in Math Education
While origami is an effective and engaging teaching tool, there are alternative methods for incorporating hands-on activities into math lessons. For example, educators can use building blocks, puzzles, or interactive games to teach mathematical concepts. However, origami offers a unique combination of art and mathematics that can captivate students' interest and enhance their learning experience in a distinct way.
Tips for Using Origami in Math Lessons
When using origami to teach math, educators should start with simple and familiar designs before progressing to more complex models. It is also important to provide clear instructions and demonstrations to ensure that students understand the mathematical principles behind each origami project. Additionally, educators can encourage students to explore their own creative variations of origami designs to reinforce their understanding of mathematical concepts.
Enhancing Math Education with Origami: A Creative Approach
Integrating origami into math education offers a creative and innovative approach to teaching mathematical concepts. By leveraging the benefits of origami, educators can create a dynamic and interactive learning environment that inspires students to explore and appreciate the beauty of mathematics. Whether used to teach geometry, fractions, or problem-solving strategies, origami provides a valuable tool for enhancing math education and fostering a deeper understanding of mathematical principles.


