Paper Butterfly Heart Wall Art
- By Andrew Jacobs
- Jan 18, 2017
Since this is my last blog at JAM (tear!) I wanted to do something special. This paper butterfly heart wall art craft really leaped out at me on Pinterest and I knew immediately that I wanted to make this! Maybe it was because making an origami paper butterfly was one of the first things I made when I started decorating my desk, or maybe because I just wanted to make something that represented my love for the time I spent here, I’m glad I had the time to dedicate to making this.
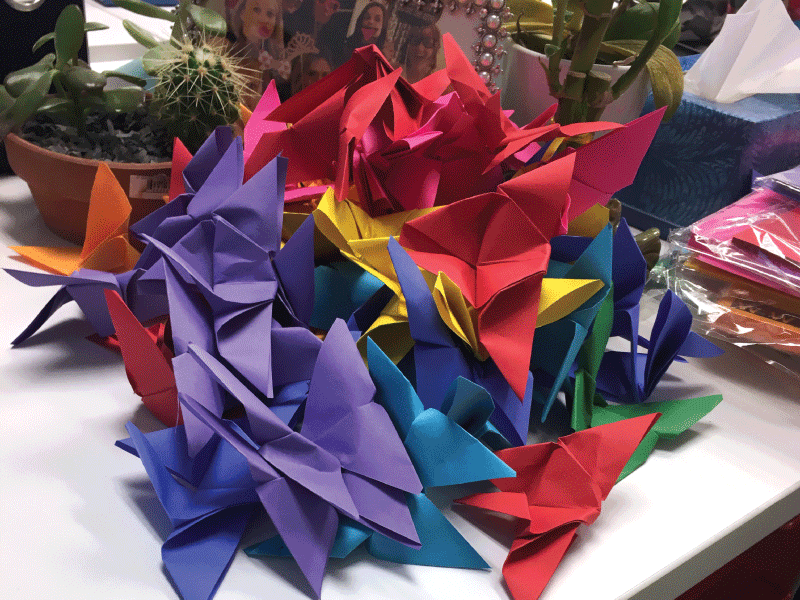
This craft was fun and totally worth the time it took to make. I’ll be honest I worked on it for two days. I made a TON (82 to be exact) of butterflies so I could make this pretty large, but you can totally scale it down and make less/smaller butterflies.
The butterflies themselves are easy, quick and relaxing to make, once you get the hang of it. I could probably make them with my eyes closed now. The hardest part was figuring out how to arrange them on the paper.
And, bonus—all it takes is a few JAM products for this to come together!
Supplies
JAM Paper in various colors. I used all Brite Hue colors (Ultra Fuchsia, Violet, Ultra Orange, Green, Red, Sea Blue, Yellow, and Blue)
JAM Wire Edge Ribbon. I used 2” Gold Glitter
JAM Double Sided Satin Ribbon. I used Black.
Hot glue gun
Butterfly Directions
Step 1
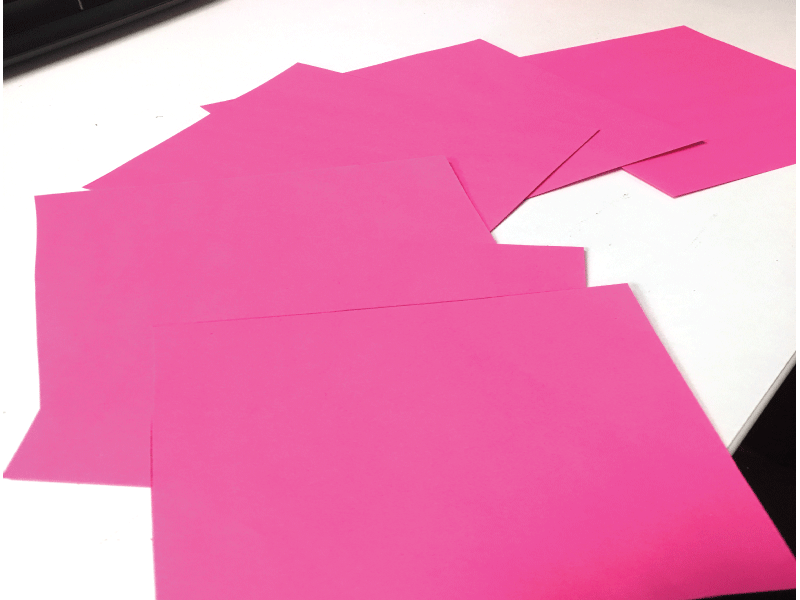
First thing you have to do is cut your paper into squares. I cut mine 5 x 5 inches, but you can make them bigger or smaller depending on how big you want your final masterpiece to be. I made 8 of each color, but I had to go back and make more for the colors towards the top, as they covered a bigger space. I would start with 6-8 (again depending on how big you want it) and then go back when you lay everything out.
Step 2
Okay time to make the butterflies! First step—fold your paper in half, both ways. Then fold it diagonally both ways.
Step 3
Next is the tricky part but once you understand it, it comes a little easier. But not gonna lie, I struggled with this part even when I made the 82nd one.
So you’re going to hold your square so the horizontal fold (not the indented crease) is facing UP. This is important (reference picture if you’re confused).
Then, you’re going to pinch the middle and fold the top and bottom diagonal folds inwards into a triangle shape, and then crease the horizontal fold. You should have a single triangle with two flaps. Again, I hope the reference pictures are helpful.
Step 4
Once you figure out the tricky part, everything else is easy! First, you're going to fold the two corners of one of the flaps upward and towards the middle. Next you’re going to flip the butterfly and fold the other flap upwards. Make sure you fold it as far as you can and DON’T line up the tip with the side of the paper. You want a little excess hanging over. Fold the tiny part of the tip over the edge of the paper and make sure it’s a tight crease.
Step 6
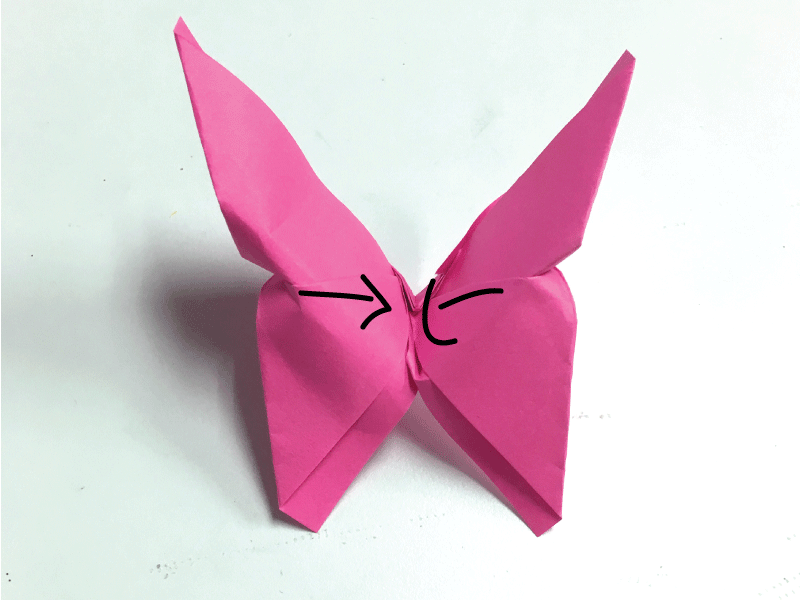
This is the easiest part! Flip the butter fly over (so the tiny point you just folded over is on top) and fold the two wings together to create a crease in the middle of the butterfly. Tada! You are done! Now, do that 81+ more times!
Layout Directions
Now onto the layout. Cut a sizable piece of Kraft paper. I honestly didn’t measure mine. I found a scrap in our craft room and thankfully it worked out.
After this, you need to sketch your heart. I measured the whole paper across, and marked the center. I eyeballed how deep I wanted the V of the heart to be, and made it 5 inches down. I also made a dot all the way at the bottom in the center of the paper too, so I knew where I wanted the point to come to.
From there, I lined my ruler up with that line horizontally and measured three inched from each side. I then just simply connected those dots in the shape of a heart. This sounds far more complicated then it really is, and it’s totally not necessary if you’re good at eyeballing your drawings. I just wanted everything to be even.
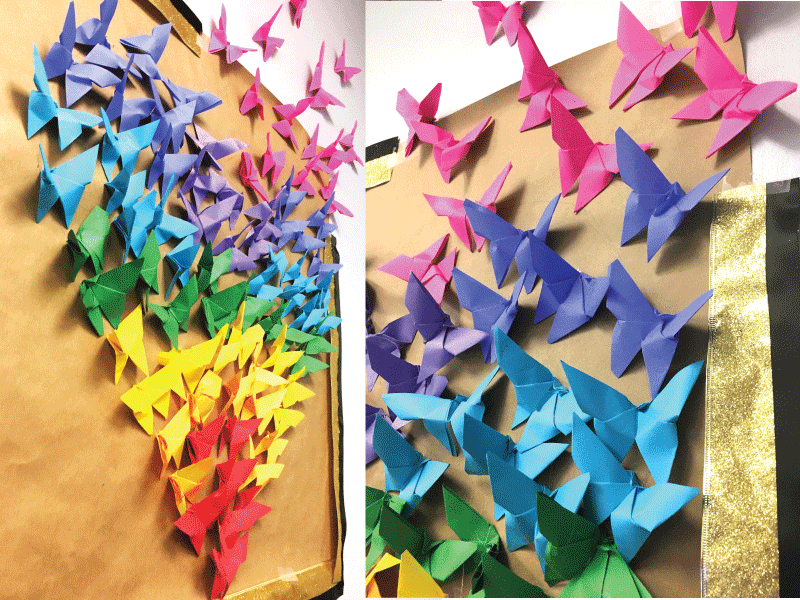
Next up comes the lining up of the butterflies. I started with the outline, glued it down and then filled in the heart after that. When you line up your butterflies, make sure that they are all facing the same way and follow a in a straight line all the way around. Once I laid everything out, I hot glued it down.
To distinguish the “V” part I turned a butterfly upside down, which gave it a little more definition.
I started gradually ended the outline and started to make the butterflies fly away a little at a time and added some to the wall to make it look a little fuller. When that was done, I then filled the rest in the same way (laying it out, than gluing it). If there are any blank spots or bare patches, make more butterflies.
The last thing I did was make a border because once it was on the wall it looked like it needed a little something else. Simply hot glue the satin ribbon to the gold, and glue the gold to the edge of the Kraft, leaving the spot where the butterflies start to fly away blank.
There you have it! I hope your paper butterfly heart wall art comes out beautifully!
Creating Stunning Paper Butterfly Heart Wall Art
Transform your living space with our exquisite paper butterfly heart wall art. This unique and elegant piece adds a touch of whimsy and charm to any room, making it a perfect addition to your home decor. Crafted with precision and care, our paper butterfly heart wall art is a beautiful representation of nature's delicate beauty. Whether you're looking to spruce up your bedroom, living room, or office, this stunning piece is sure to captivate and inspire.
The Benefits of Paper Butterfly Heart Wall Art
Our paper butterfly heart wall art not only serves as a visually stunning decor piece but also brings a sense of tranquility and serenity to your space. The delicate fluttering of the butterflies and the heart-shaped design create a soothing and calming ambiance, perfect for relaxation and unwinding after a long day. Additionally, the intricate craftsmanship and attention to detail make this wall art a conversation starter and a focal point in any room.
Use Cases for Paper Butterfly Heart Wall Art
Our paper butterfly heart wall art is versatile and can be used in a variety of settings. Whether you're decorating a nursery, adding a touch of elegance to your living room, or creating a serene atmosphere in your office, this piece is the perfect choice. It also makes for a thoughtful and unique gift for special occasions such as weddings, anniversaries, or housewarmings.
Alternatives to Paper Butterfly Heart Wall Art
While our paper butterfly heart wall art is truly one-of-a-kind, there are alternative options for those seeking different styles or themes. Consider exploring our collection of floral paper art, geometric designs, or custom-made pieces to find the perfect match for your personal taste and decor preferences.
Tips for Using Paper Butterfly Heart Wall Art
When displaying your paper butterfly heart wall art, consider placing it against a neutral backdrop to allow the delicate details and vibrant colors to stand out. Experiment with different lighting to create a captivating and dynamic effect, and consider pairing it with complementary decor elements such as framed artwork, mirrors, or decorative shelves to enhance its visual impact.
Adding a Personal Touch to Your Paper Butterfly Heart Wall Art
Customize your paper butterfly heart wall art by incorporating personal touches such as adding a monogram, a special date, or a meaningful quote. This not only adds sentimental value but also makes the piece uniquely yours, creating a truly special and cherished addition to your home decor.


