How to Make a Diamond Kite
- By Andrew Jacobs
- Apr 28, 2014
How to Make a Diamond Kite
April is National Kite Month! Don’t worry you still have time to learn how to make a diamond kite and fly it. Besides who limits themselves to one month when they have the entire summer to enjoy kite flying? With all of those April showers your kite couldn't stand a chance but now it can. We are going to show you how to make a diamond kite!
Kite flying has been celebrated for about two thousand years. The Chinese originally used them for strategic purposes during war. Benjamin Franklin used a kite to prove that lighting is a static electricity. However, over the years kite flying has become a fun activity. Teaching your children how to make their own kites is an excellent way for them to use their creativity and get them outdoors. Learn how to make a diamond kite in just six easy steps!
What You’ll Need
Paper
Chopsticks
Scissors
Tape
String
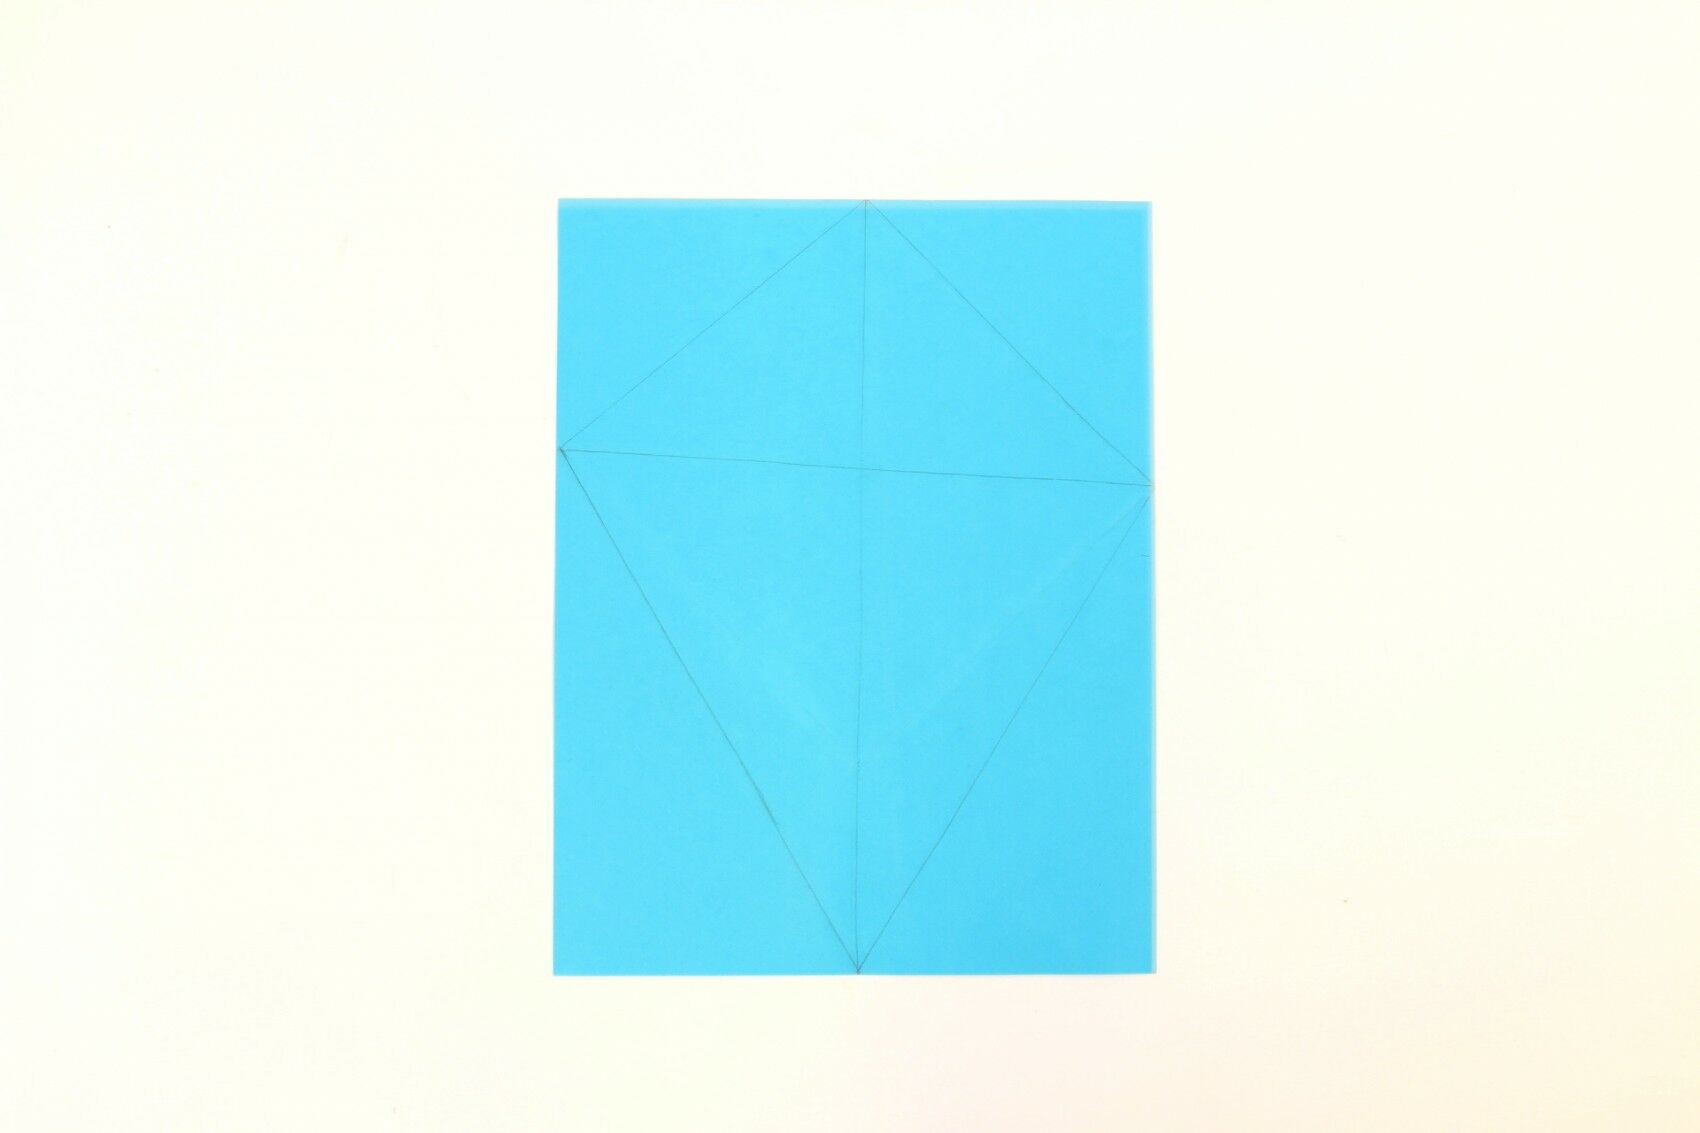
Step #1
Draw a diamond shape on a piece of paper
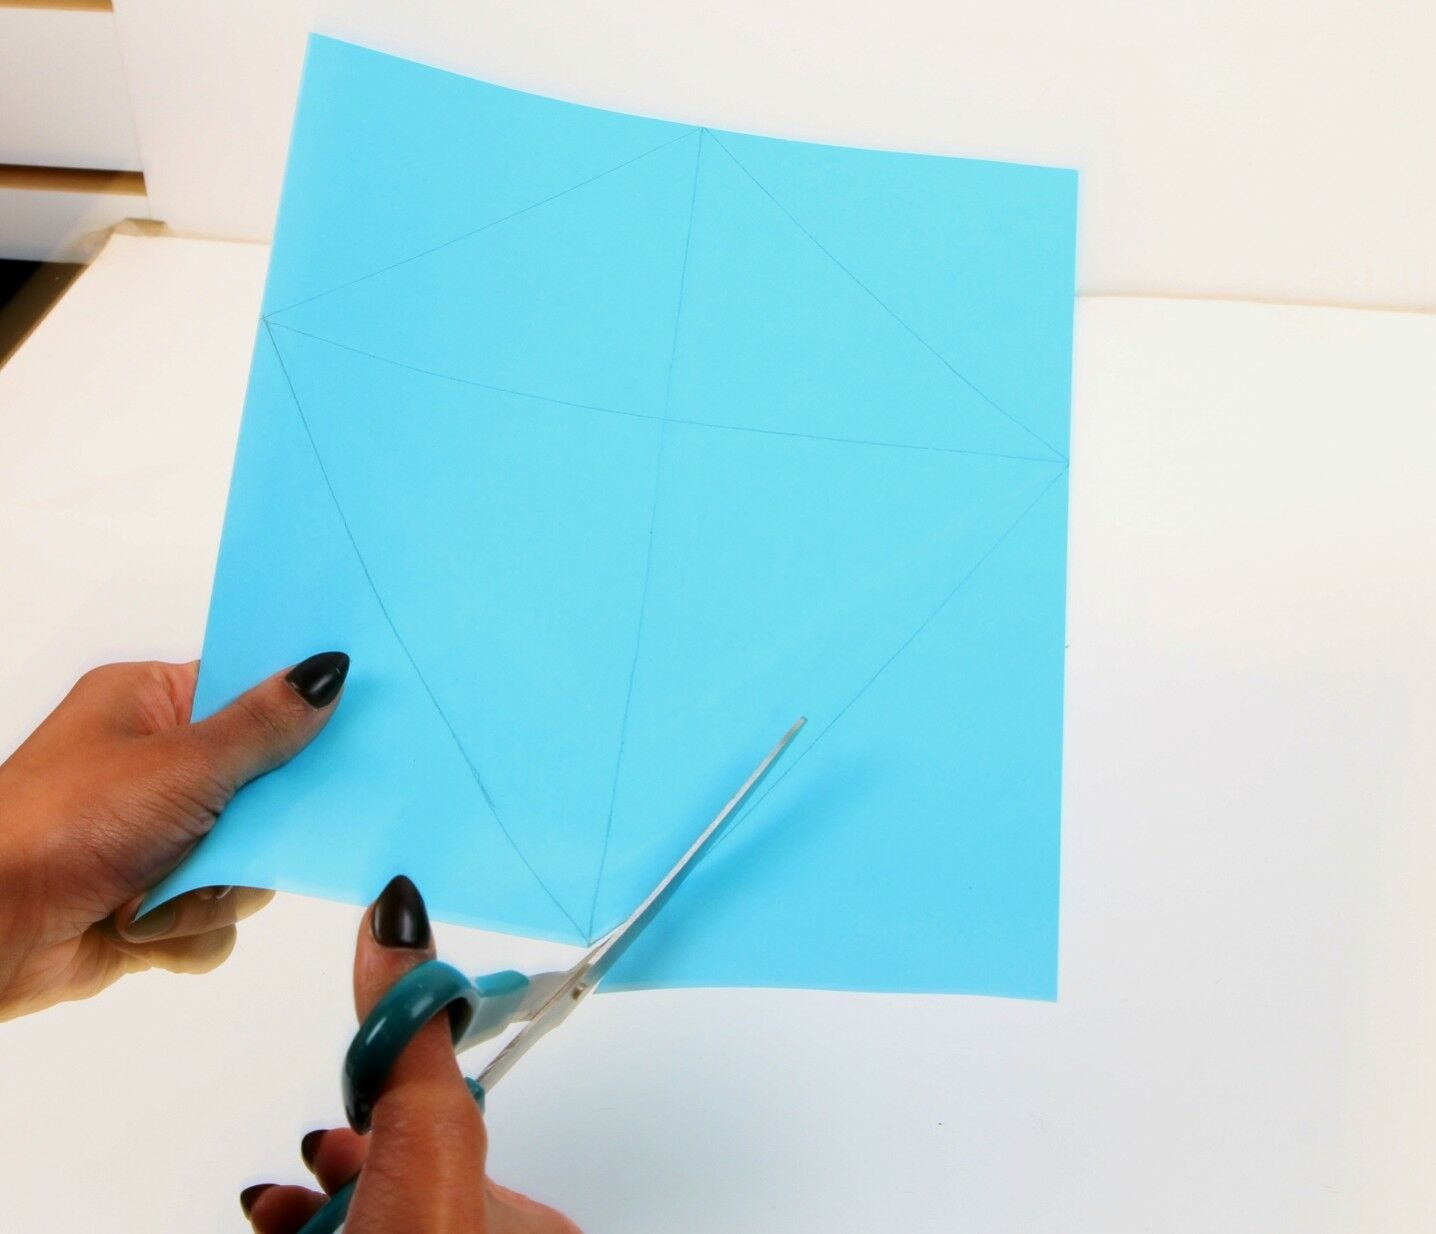
Step #2
Cut your kite out
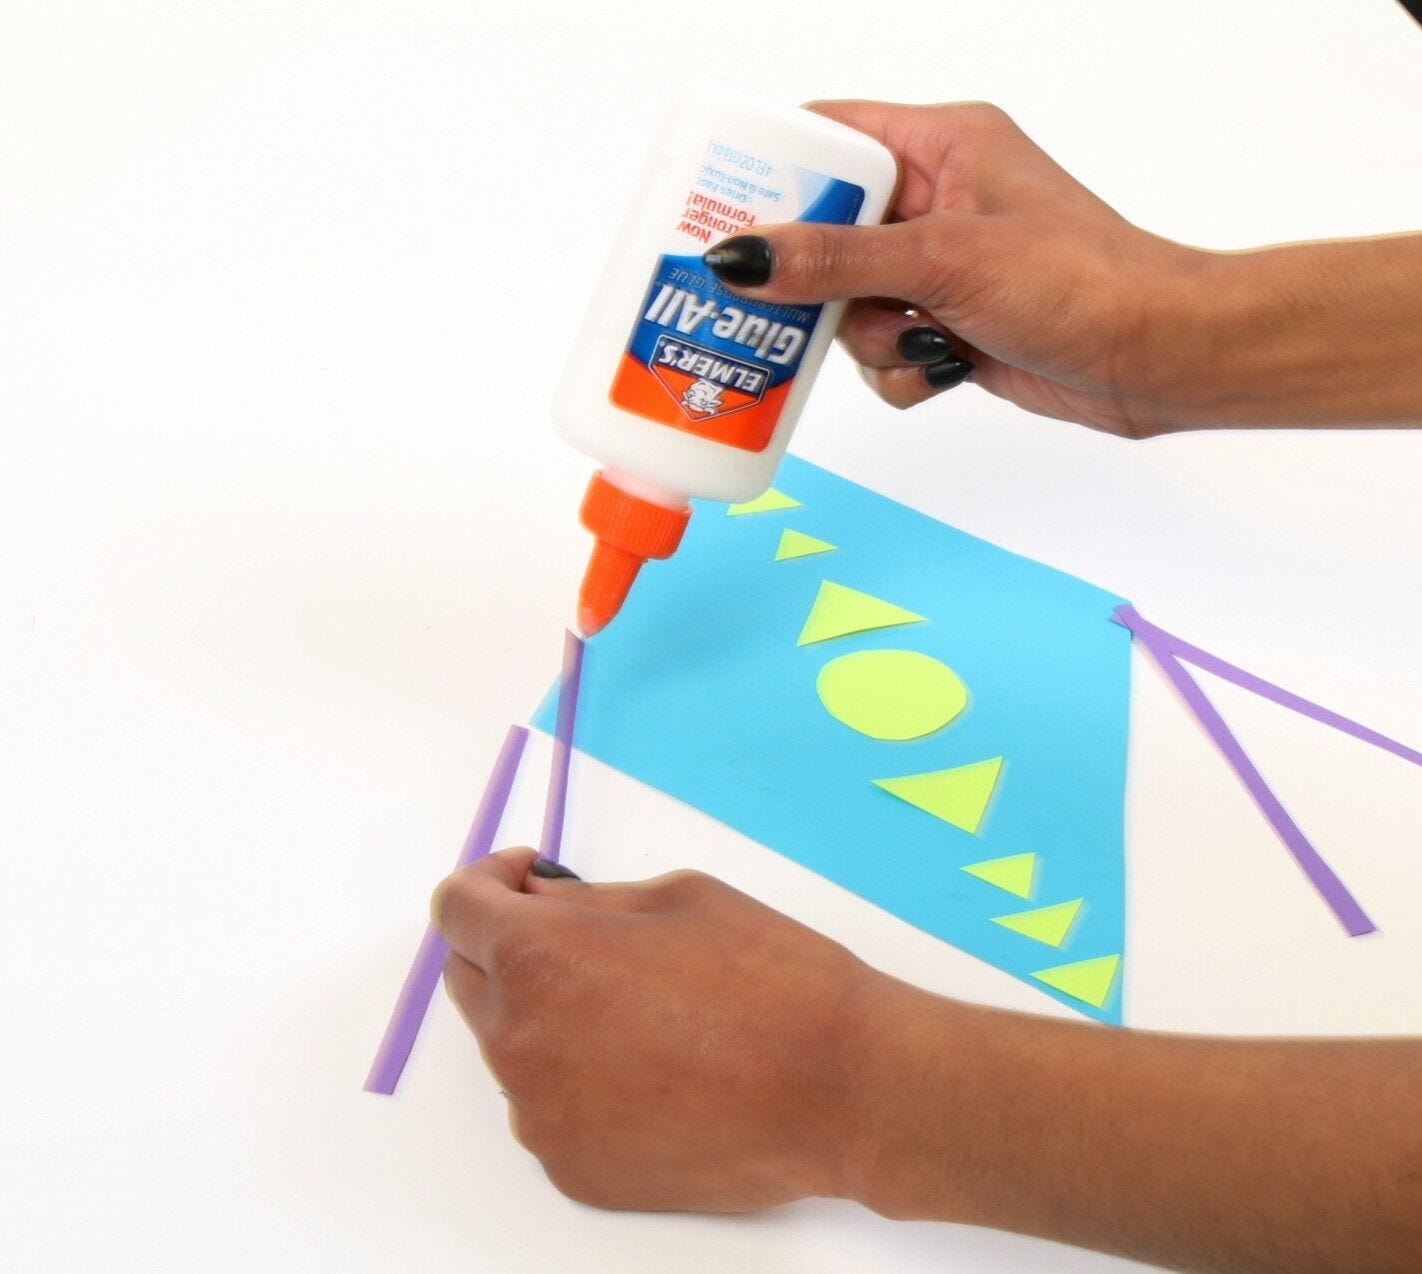
Step #3
Now its time to decorate! This step is completely up to you.
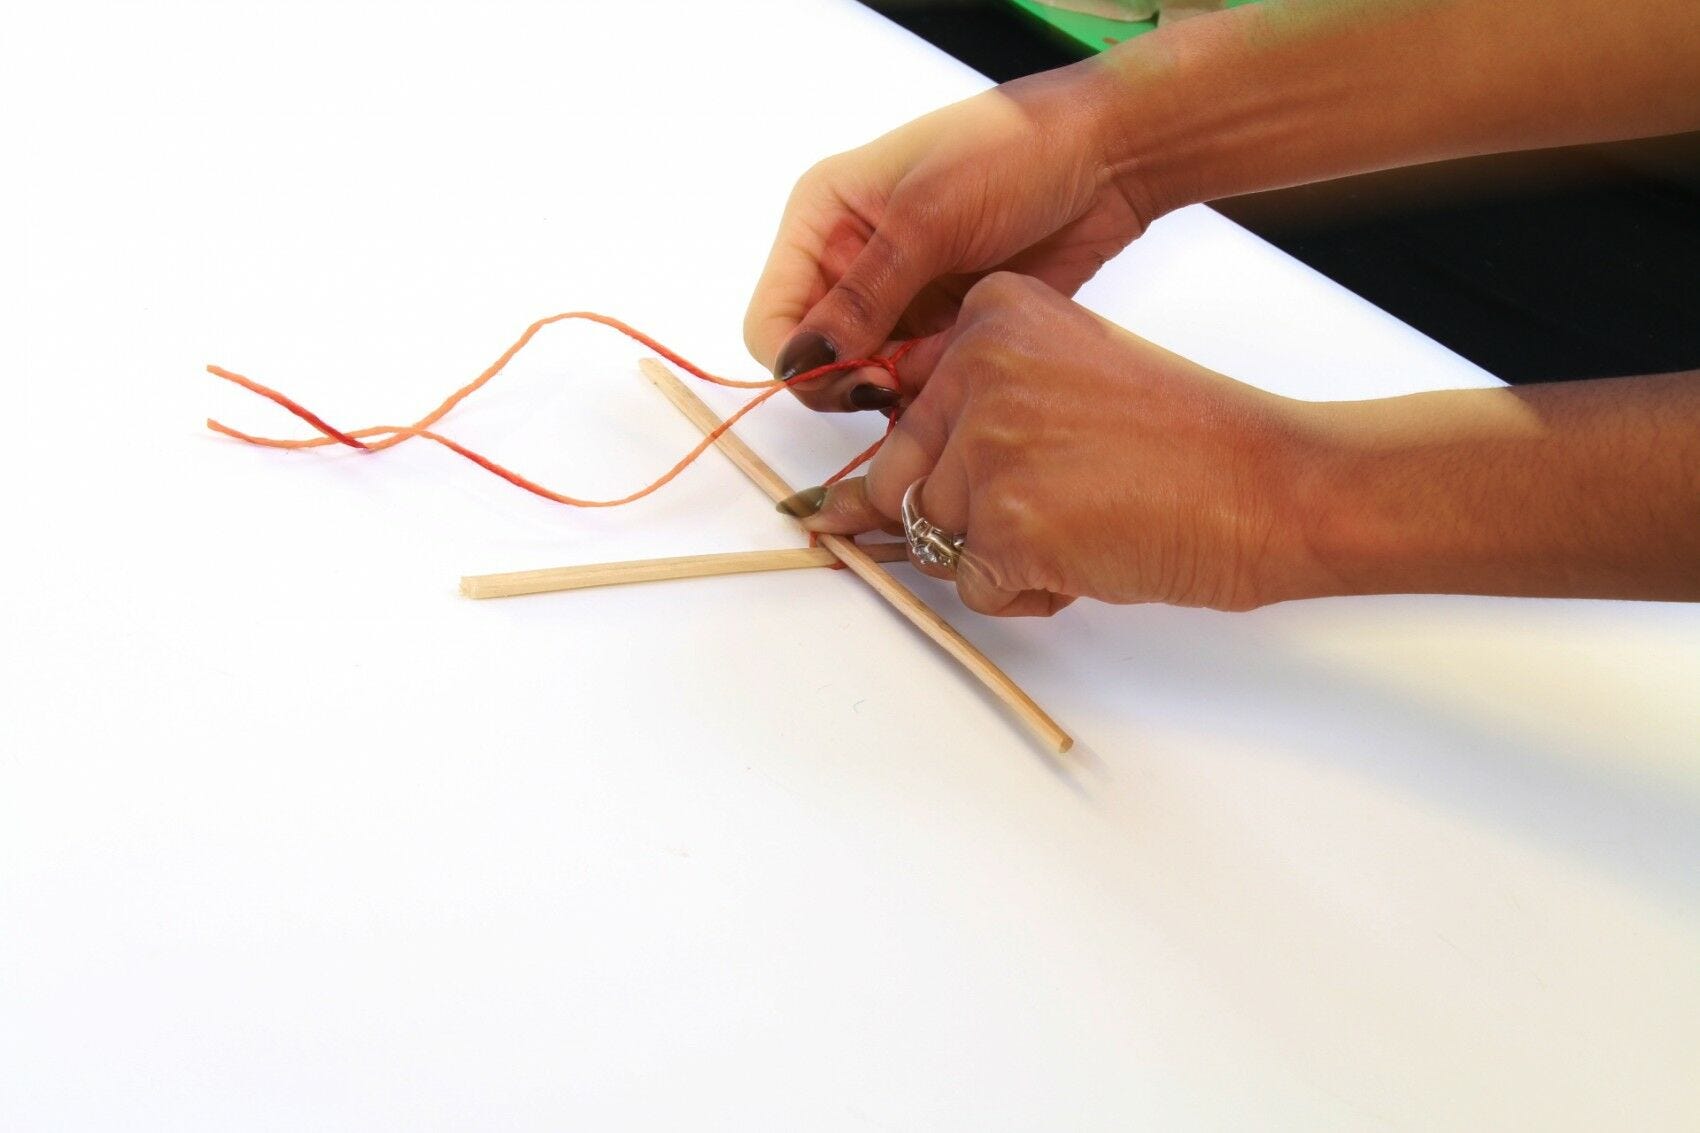
Step #4
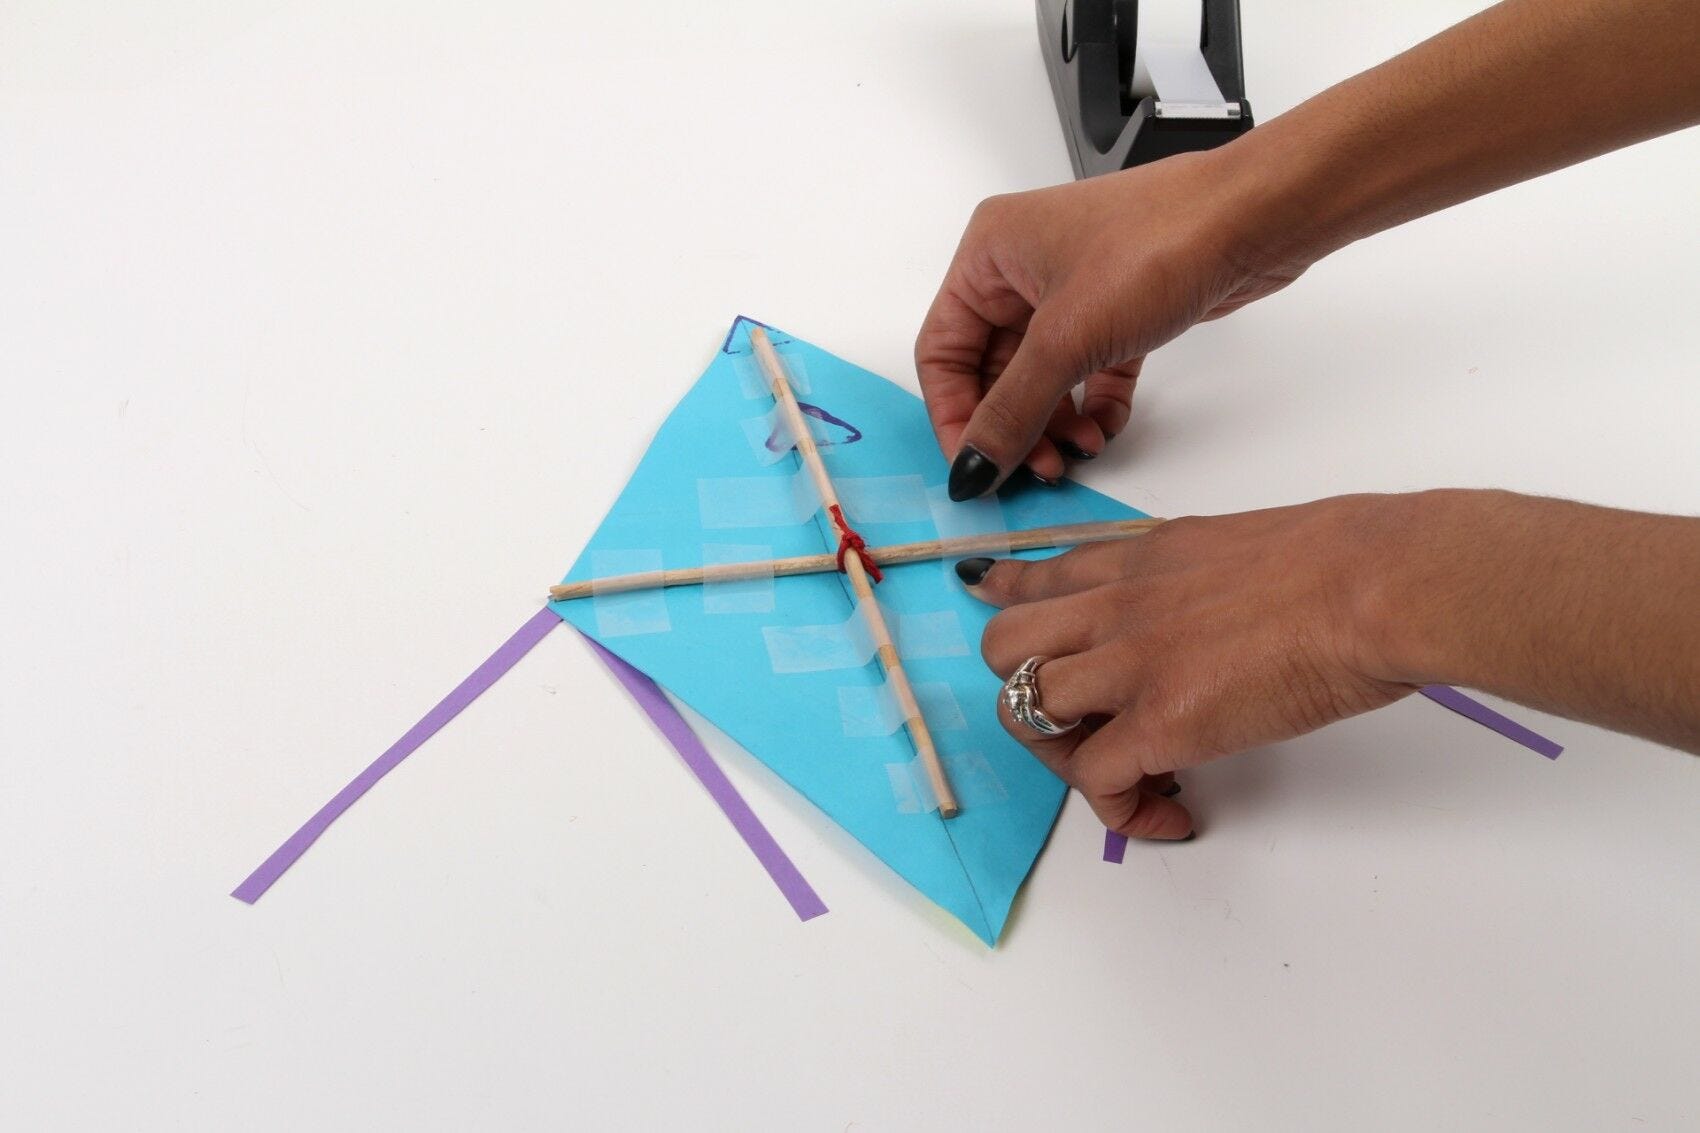
Tie your chopsticks together with a string
Step #5
Tape the chopsticks to the back of the kite
Step #6
Tape a long piece of string at the back of your kite
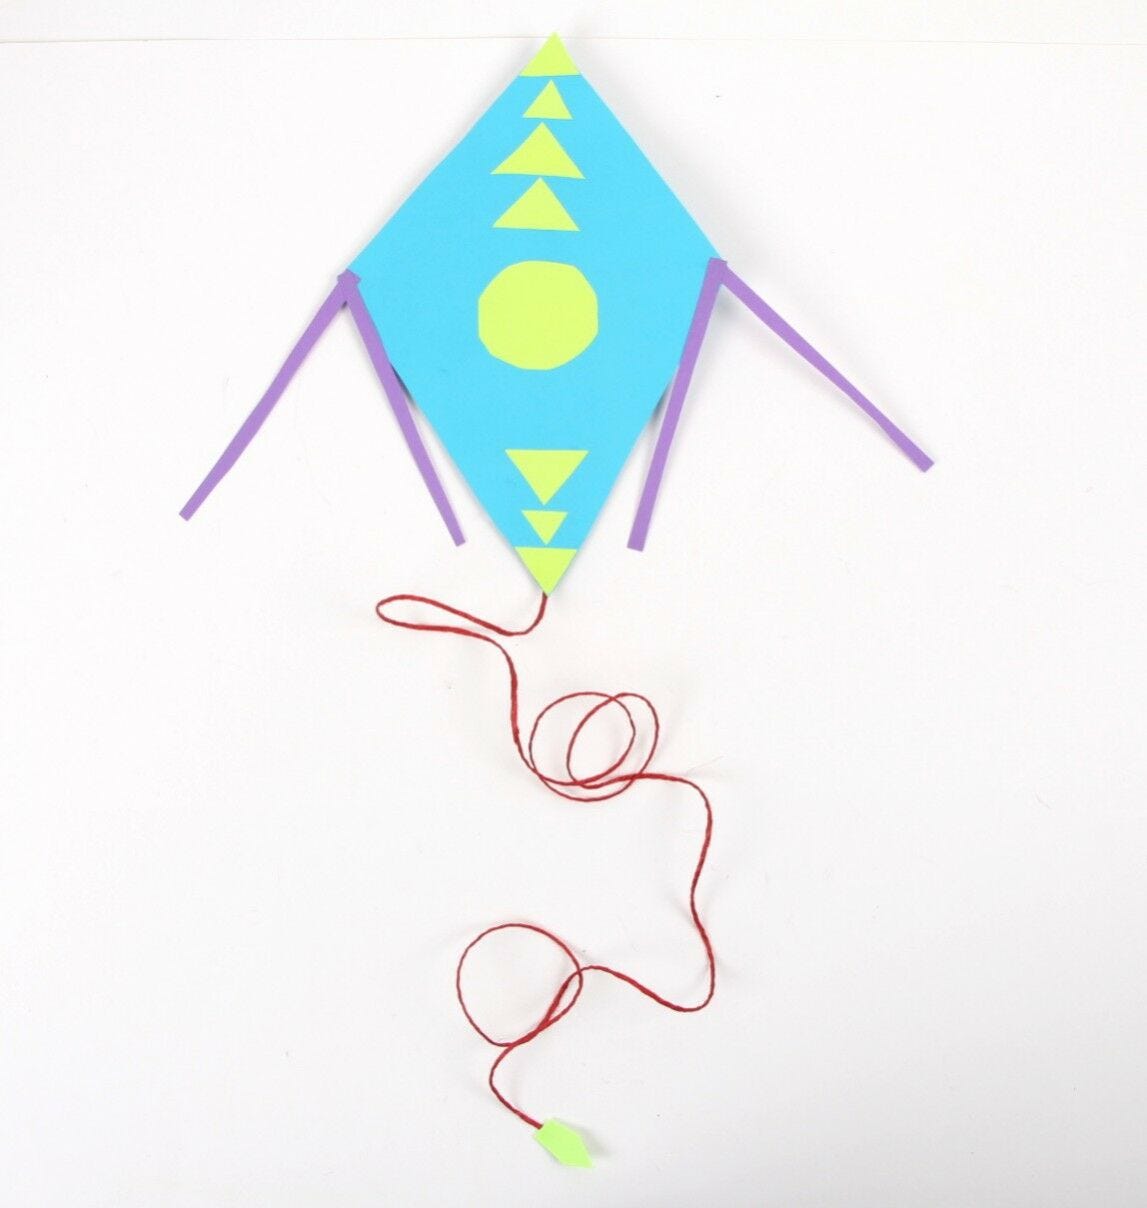
Fly away!
How to Make a Diamond Kite: A Fun and Easy DIY Project
Learning how to make a diamond kite is a fun and rewarding DIY project that can be enjoyed by both kids and adults. Not only is it a great way to spend time outdoors, but it also provides a sense of accomplishment once the kite is soaring in the sky. Making a diamond kite is a simple and inexpensive activity that requires only a few materials, such as dowels, string, and a plastic sheet. By following a few easy steps, you can create a beautiful and functional kite that will provide hours of entertainment. Whether you're a beginner or an experienced crafter, making a diamond kite is a great way to unleash your creativity and enjoy the great outdoors.
The Benefits of Making Your Own Diamond Kite
One of the main benefits of making your own diamond kite is the sense of satisfaction and pride that comes with creating something from scratch. Additionally, making a diamond kite is a great way to spend quality time with your family and friends, as it encourages teamwork and collaboration. Furthermore, flying a homemade kite can be a great way to relax and unwind, providing a sense of freedom and joy as it soars through the sky. Not to mention, making your own kite is a cost-effective alternative to purchasing one, and it allows you to customize the design and colors to your liking.
Use Cases for Your Homemade Diamond Kite
Once you've mastered the art of making a diamond kite, the possibilities for its use are endless. You can take your homemade kite to the beach, park, or any open space with a bit of wind. It's a great way to enjoy the outdoors and get some exercise while having fun. Additionally, you can use your diamond kite as a decorative piece in your home, adding a touch of whimsy and creativity to any room. You can also use it as a unique and thoughtful gift for friends and family, showcasing your crafting skills and creativity.
Alternatives to Traditional Diamond Kite Making
If you're looking for alternative materials or methods for making a diamond kite, consider using different types of fabric or adding embellishments such as ribbons or streamers for a personalized touch. You can also experiment with different shapes and sizes to create a truly unique kite that stands out from the rest. Additionally, you can explore different techniques for adding stability and balance to your kite, such as adjusting the bridle or tail length to achieve optimal flying performance.
Tips for Making and Flying Your Diamond Kite
When making your diamond kite, be sure to follow the instructions carefully and take your time to ensure a well-crafted final product. It's also important to choose a suitable location for flying your kite, such as an open field or beach with consistent wind. Additionally, be mindful of safety precautions, such as avoiding power lines and crowded areas when flying your kite. Lastly, have fun and enjoy the experience of seeing your homemade diamond kite take flight!
Get Creative with Your Diamond Kite Design
One of the best parts of making a diamond kite is the opportunity to get creative with the design. Consider using vibrant colors, patterns, and unique materials to make your kite stand out. You can also experiment with different tail designs and lengths to achieve various flying effects. Don't be afraid to let your imagination run wild and create a one-of-a-kind diamond kite that reflects your personality and style.


