DIY Paper Science Experiment: Paper Helicopter
- By Andrew Jacobs
- Mar 19, 2014
DIY Paper Science Experiment: Paper Helicopter
Teaching science to kids can sometimes be a difficult task, even for teachers. Scientific concepts can seem daunting and unaccessible, but by approaching them using common items and fun activities, everyone can have a great time learning. Today we're going to use our paper crafting skills to make a paper helicopter. This will teach your kids about gravity, air, and how things fly. Materials Thick Cardstock Paperclip (or Papercloop) Scissors Ruler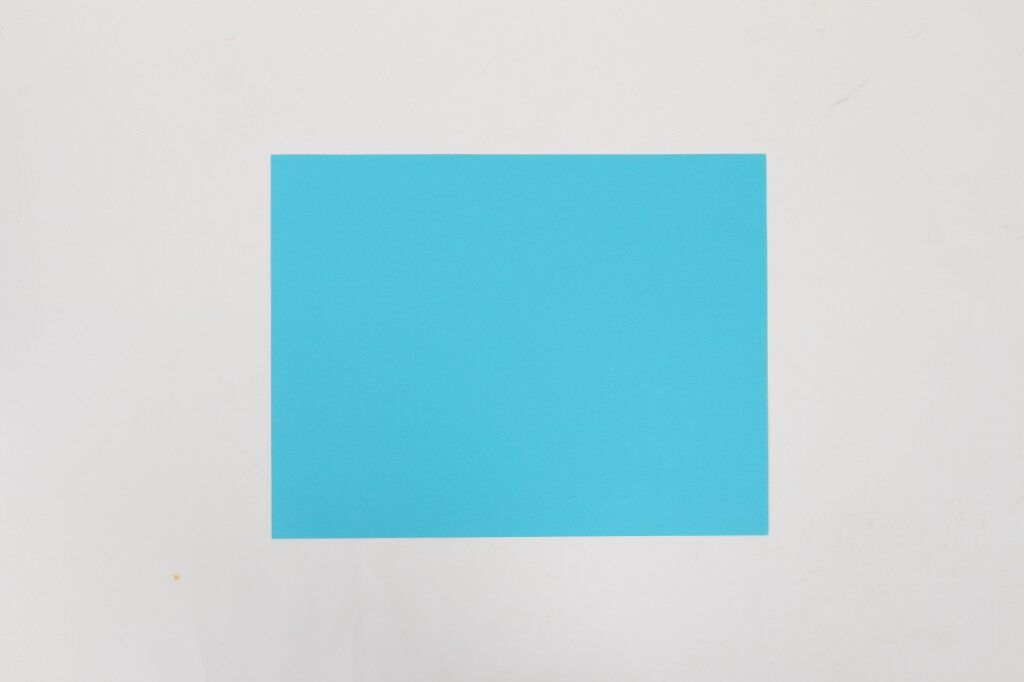 Step 1
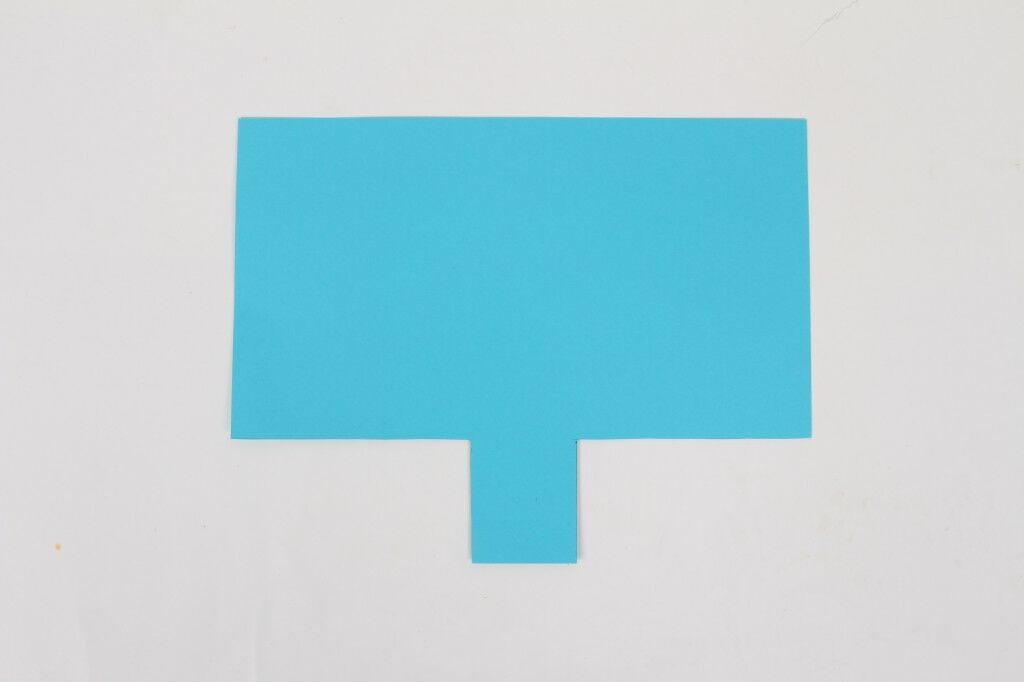
Cut your cardstock as shown below. There's no need for exact measurements. Get creative! As a matter of fact, you can experiment with different dimensions to see how they affect your results.
 Step 2
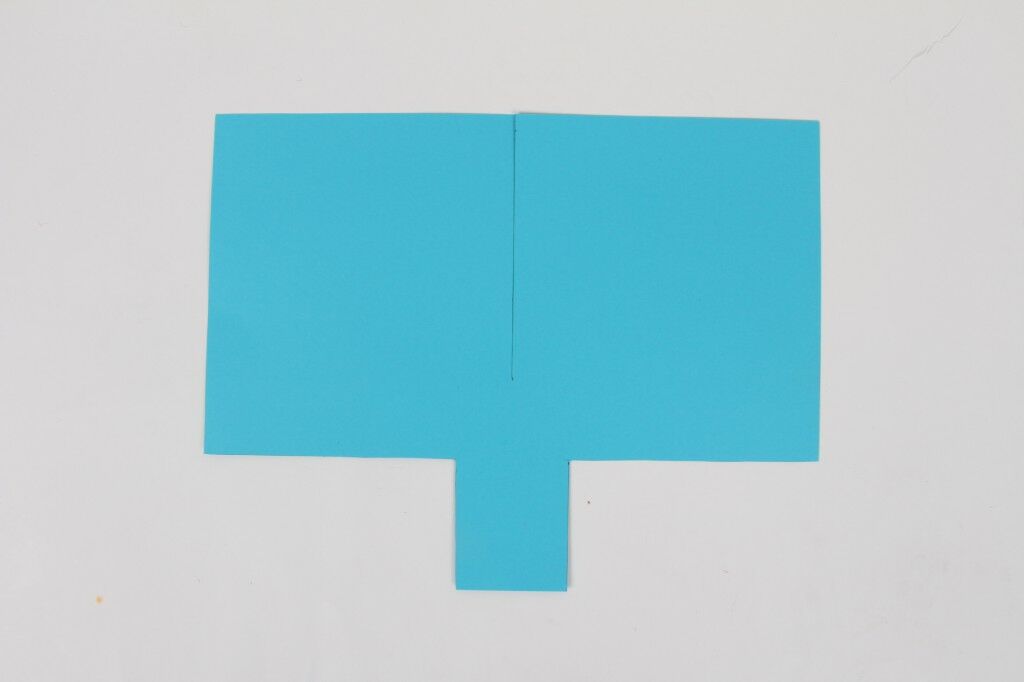
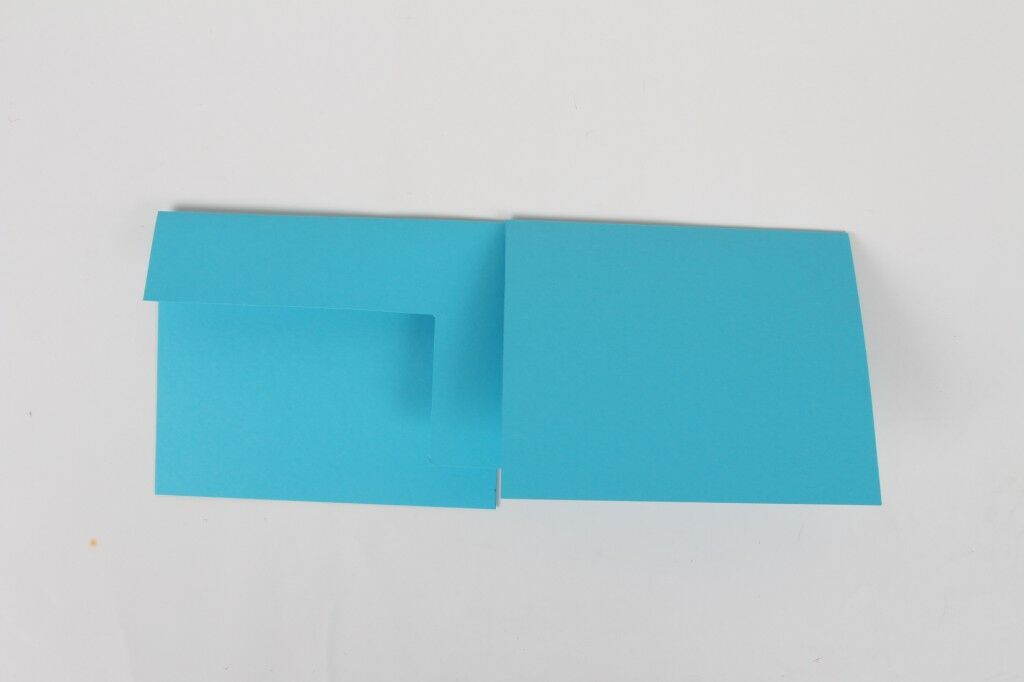
Make another cut down the center as shown below.
 Step 3
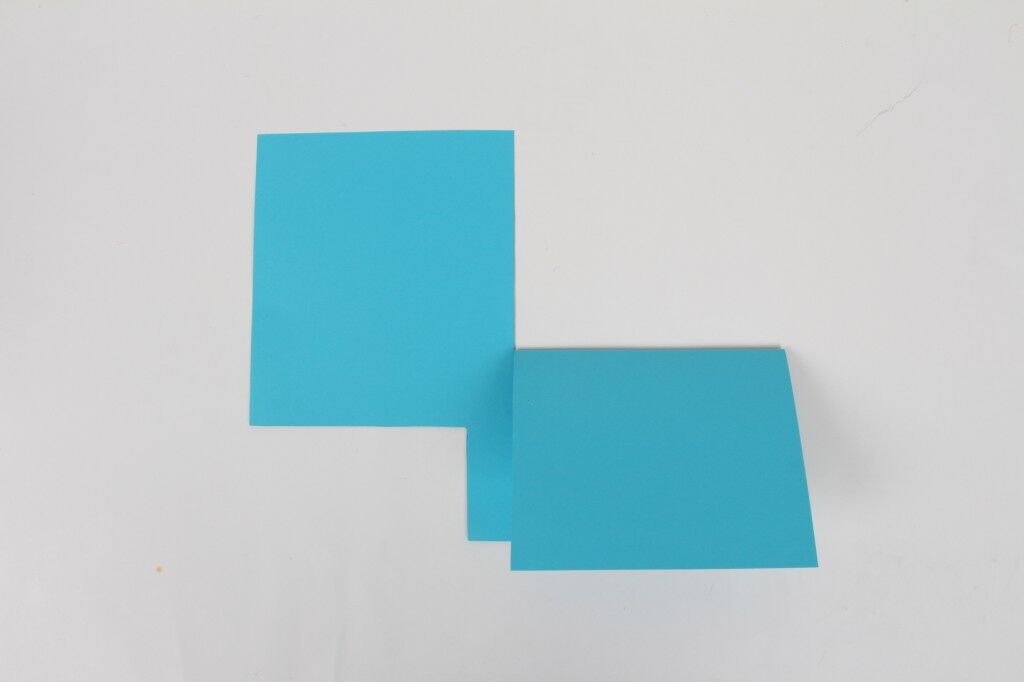
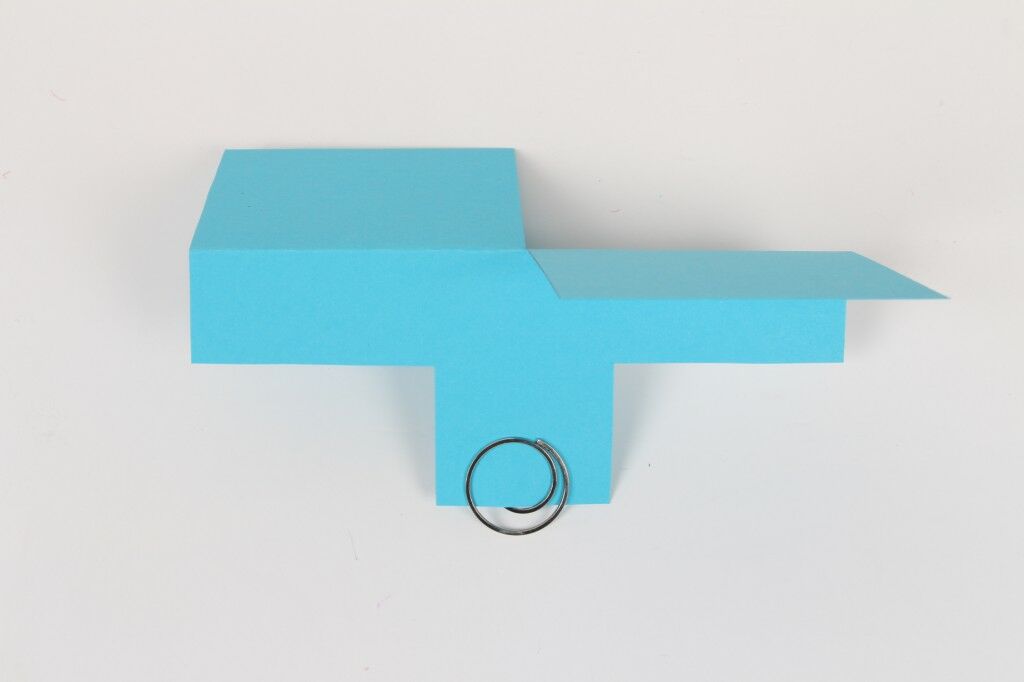
Fold the flaps down in opposite directions.
 Step 4
Attach a paperclip, or papercloop, to the bottom.
 Step 5
Make sure there is adult supervision for this part. Get to a high up location (top of a staircase or stand on a chair) and let your helicopter fly! You don't have to do anything fancy. Just drop it and watch it spiral down.
Do you wonder why this happens, as opposed to it just falling down normally like a balled up piece of paper would? It's because air gets caught underneath the propellers and moves around the propellers in opposite directions. The air trapped under the propellers makes the helicopter fall down gradually, and the air moving around the propellers in opposite directions makes the helicopter spin. Think about things that can fly: airplanes, birds. What do they have in common? Big, flat wings! Things that fly need something large and flat to catch air underneath it and keep it from falling down, or at least from falling down too quickly.
Experiment with making larger helicopters, helicopters with thinner paper, or by clipping on more than one paperclip. See how these change the way the helicopter falls to the ground.
Step 5
Make sure there is adult supervision for this part. Get to a high up location (top of a staircase or stand on a chair) and let your helicopter fly! You don't have to do anything fancy. Just drop it and watch it spiral down.
Do you wonder why this happens, as opposed to it just falling down normally like a balled up piece of paper would? It's because air gets caught underneath the propellers and moves around the propellers in opposite directions. The air trapped under the propellers makes the helicopter fall down gradually, and the air moving around the propellers in opposite directions makes the helicopter spin. Think about things that can fly: airplanes, birds. What do they have in common? Big, flat wings! Things that fly need something large and flat to catch air underneath it and keep it from falling down, or at least from falling down too quickly.
Experiment with making larger helicopters, helicopters with thinner paper, or by clipping on more than one paperclip. See how these change the way the helicopter falls to the ground.DIY Paper Science Experiment: Paper Helicopter
Looking for a fun and educational DIY project to do with your kids? Try out this paper helicopter science experiment! This simple and engaging activity will not only keep your children entertained, but it will also teach them about the principles of flight and aerodynamics. All you need is some paper, scissors, and a paperclip to get started. By making and testing different designs, your kids can learn about the effects of air resistance and weight distribution on the flight of the paper helicopter. This hands-on experiment is a great way to introduce basic scientific concepts in a way that is both entertaining and educational.
What It Is
The paper helicopter experiment is a simple and fun way to introduce kids to the principles of flight and aerodynamics. By making and testing different designs, children can learn about the effects of air resistance and weight distribution on the flight of the paper helicopter. This hands-on experiment is a great way to introduce basic scientific concepts in a way that is both entertaining and educational.
Benefits
This DIY paper science experiment provides numerous benefits for children. It helps to develop their critical thinking skills, encourages creativity, and fosters a love for science and experimentation. Additionally, it offers a hands-on way to learn about the principles of flight and aerodynamics, making complex scientific concepts more accessible and engaging for young learners.
Use Cases
The paper helicopter experiment is perfect for use in a classroom setting, as a homeschooling activity, or as a fun project to do at home with kids. It can be easily adapted for different age groups and can be used to supplement lessons on physics, engineering, or even art and design.
Alternatives
If you're looking for alternative DIY science experiments, consider trying out other paper-based activities such as making paper airplanes, creating paper mache sculptures, or conducting paper chromatography experiments. These activities offer similar hands-on learning experiences and can be easily customized to suit different interests and learning objectives.
Tips for Using
When conducting the paper helicopter experiment, be sure to provide clear instructions and guidance for children to follow. Encourage them to think critically about the design and construction of their paper helicopters, and to record their observations and findings. Additionally, consider incorporating a discussion about the real-world applications of aerodynamics and flight, to help children understand the relevance of the experiment.


