Christmas Gift Wrapping Idea for Kids
- By Andrew Jacobs
- Nov 6, 2013
Customer Talent Spotlight
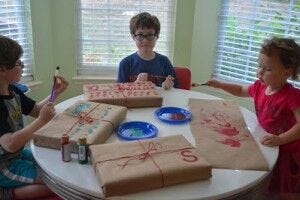
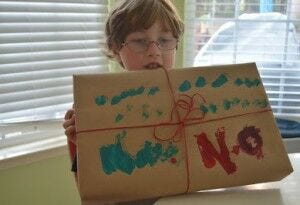
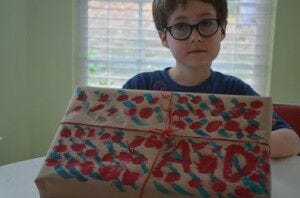
This lovely Christmas gift wrapping idea for kids was sent to us by our customer Sarah of the blog, 'The House of Boys and a Girl.' She turned gift wrapping into a family activity.-Check it out-
I find the holiday season SO exciting. I am a gift giver. I LOVE finding the right gift for the right person. I love finding amazing things on sale, because then I can buy them more! One thing I really REALLY don't enjoy buying is wrapping paper. Seriously. I like things to be uniform under the tree. I am not saying they all have to match, I mean Santa has to wrap his own things in paper with his face on it. For the rest of the items like a "theme". One thing I have ALWAYS wanted to do was to make wrapping paper. Wrapping paper can be VERY expensive. I *try* to get to after holiday sales, but with three kids, that doesn't happen. The kids are still small enough to want to craft with me and when I had the idea, they were EXCITED! First things first. You need supplies. You can really just use what you have on hand. I am a craft-aholic, so I have an over abundance of on hand items. My wrapping is going to be Christmas themed, but you can really change this around to fit any holiday!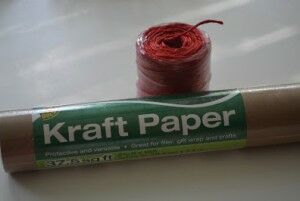
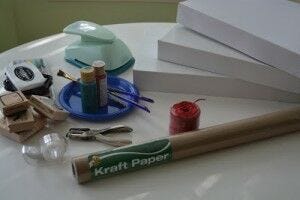
Gift Wrapping Supplies:
- Presents to be wrapped
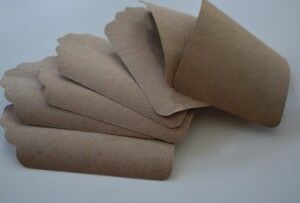
- Kraft Wrapping Paper
- Red Kraft Twine
- Paint in your choice of colors & brushes
- Stamps
- Ink Pads/Markers
- Tape
- Hole puncher
- Paper Punch
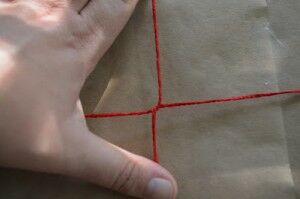
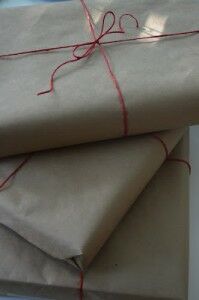

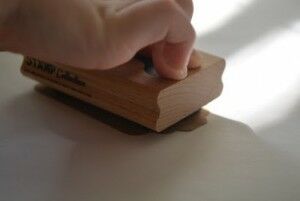
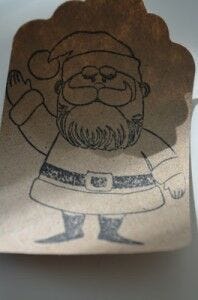
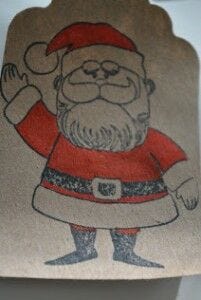
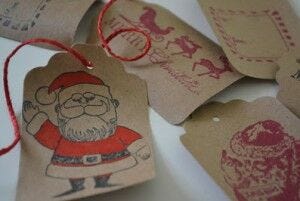
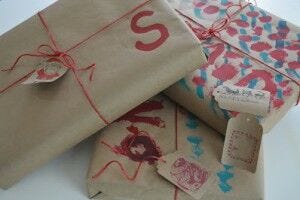
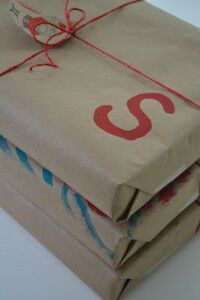
Fun and Creative Christmas Gift Wrapping Ideas for Kids
When it comes to Christmas, kids are always excited about the gifts they will receive. To make the gift-giving experience even more special, why not involve them in the gift wrapping process? Not only will it keep them entertained, but it will also add a personal touch to the presents. One great idea is to use colorful and festive wrapping paper that features their favorite cartoon characters or holiday themes. You can also let them decorate the wrapped gifts with stickers, ribbons, and other embellishments to make each present unique. By involving kids in the gift wrapping, you are not only creating cherished memories but also teaching them the value of giving and creativity.
Benefits of Involving Kids in Gift Wrapping
There are numerous benefits to involving kids in the gift wrapping process. It allows them to express their creativity and personal style, fostering a sense of pride and accomplishment. Additionally, it teaches them the importance of giving and the joy of creating something special for others. Involving kids in gift wrapping also provides an opportunity for quality bonding time and creates lasting memories that they will cherish for years to come.
Use Cases for Kids' Gift Wrapping
Whether it's for Christmas, birthdays, or other special occasions, involving kids in gift wrapping is always a great idea. It not only adds a personal touch to the presents but also allows them to participate in the joy of giving. Kids can also use their creativity to wrap gifts for their friends and family, making the gift-giving experience even more meaningful.
Alternatives to Traditional Gift Wrapping
If you're looking for alternative ways to involve kids in gift wrapping, consider using eco-friendly or reusable wrapping materials. This not only teaches them about sustainability but also encourages them to think creatively about gift presentation. Another alternative is to create handmade gift bags or boxes, adding a personal touch to each present.
Tips for Using Kids' Gift Wrapping Ideas
When involving kids in gift wrapping, it's important to provide them with age-appropriate materials and supervision. Encourage them to use their imagination and creativity while ensuring that they are safe and using the materials responsibly. Additionally, be patient and supportive, allowing them to take the lead in the gift wrapping process while offering guidance when needed.
Creating Lasting Memories with Kids' Gift Wrapping
By involving kids in the gift wrapping process, you are not only creating beautifully wrapped presents but also cherished memories that will last a lifetime. The joy and pride they feel when presenting their creatively wrapped gifts to loved ones are priceless, making the gift-giving experience even more meaningful and special.


