DIY Board Game: Checkers
- By Andrew Jacobs
- Sep 25, 2015
DIY Board Game: Checkers
When was the last time you played a board game? And I don’t mean opening an app on your phone. Can you remember when you sat down with another human and picked up the pieces to a board game? With our DIY Checkers Board you can quickly create a favorite board game. ( perfect for traveling too!) So turn off your TV, put down the phone and stretch your brain muscles. Game night coming right up!
Fun Fact: Checkers, called Draughts in most countries, has been traced back to the 1300s.
How to create your checkers board:
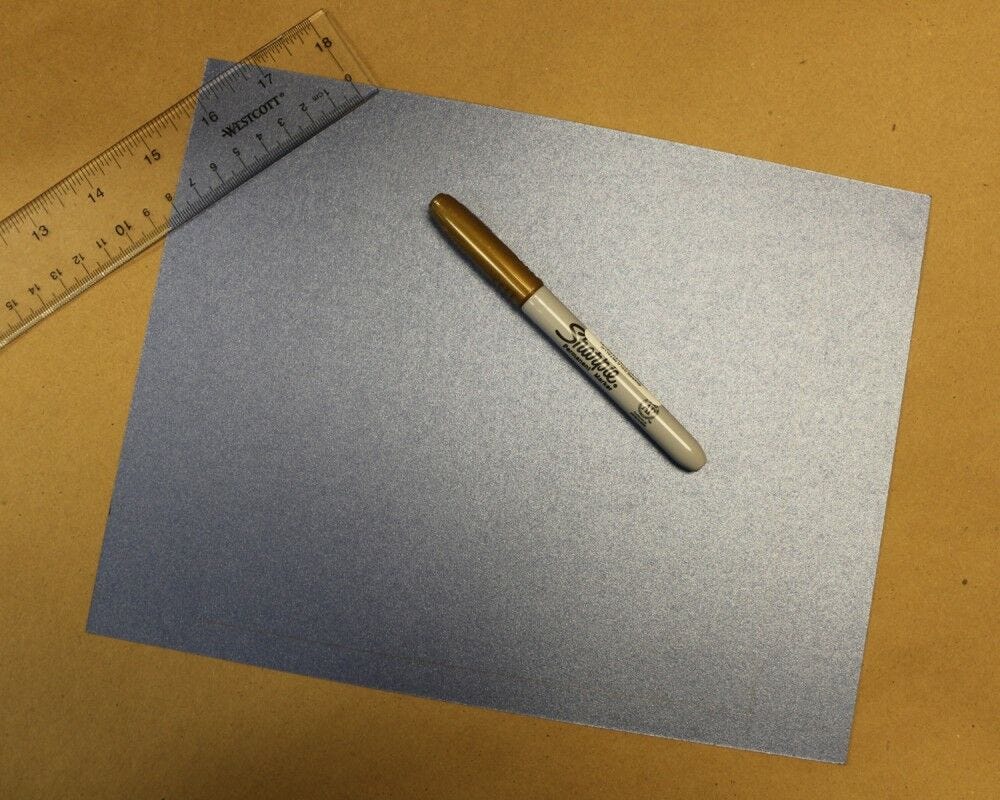
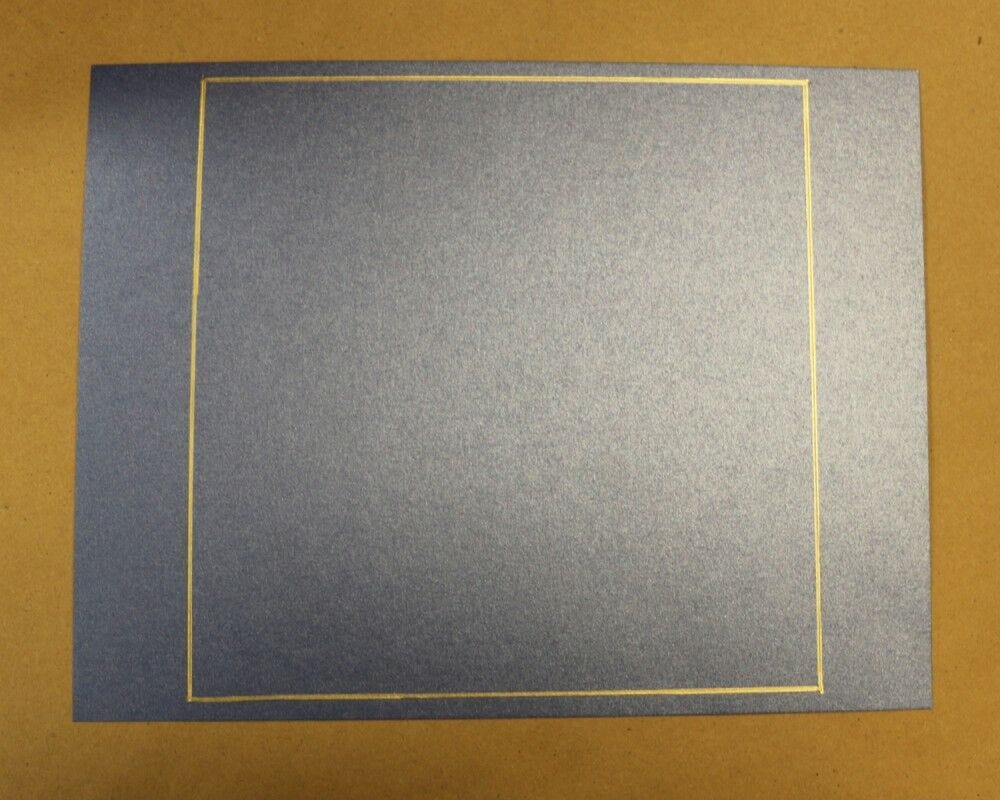
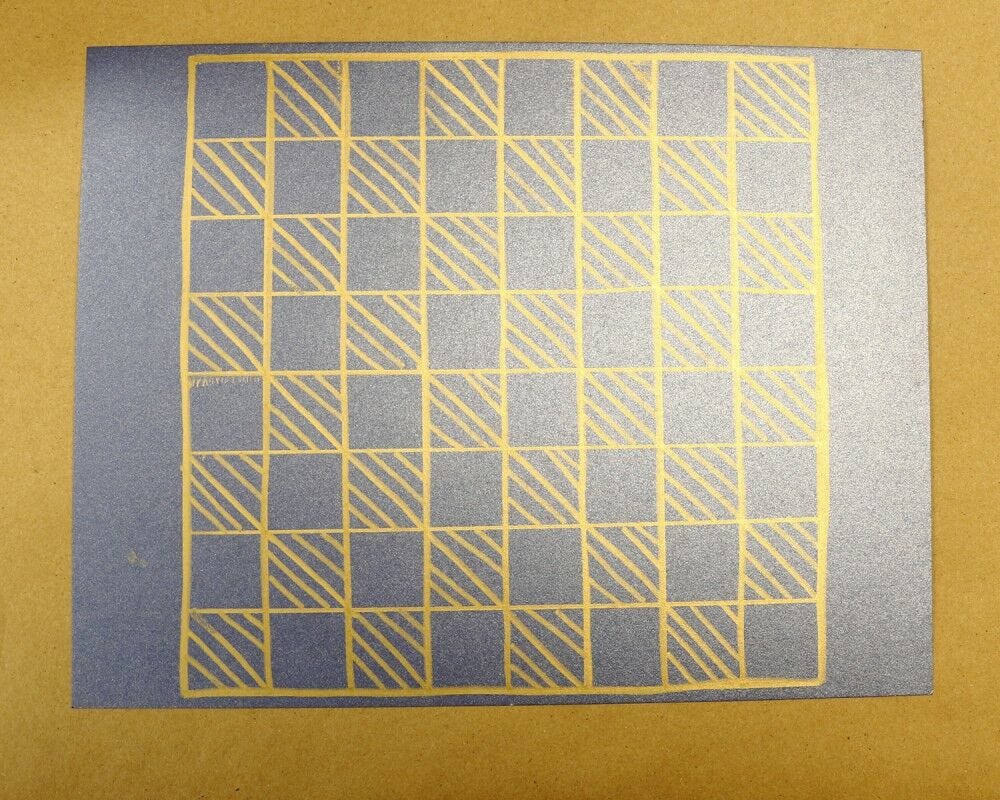
Grab a heavy piece of cardstock …in any color you’d like and draw an 8x8 inch large square in the middle. Sharpies are ideal here! Don’t forget to use a ruler! Straight lines are essential!
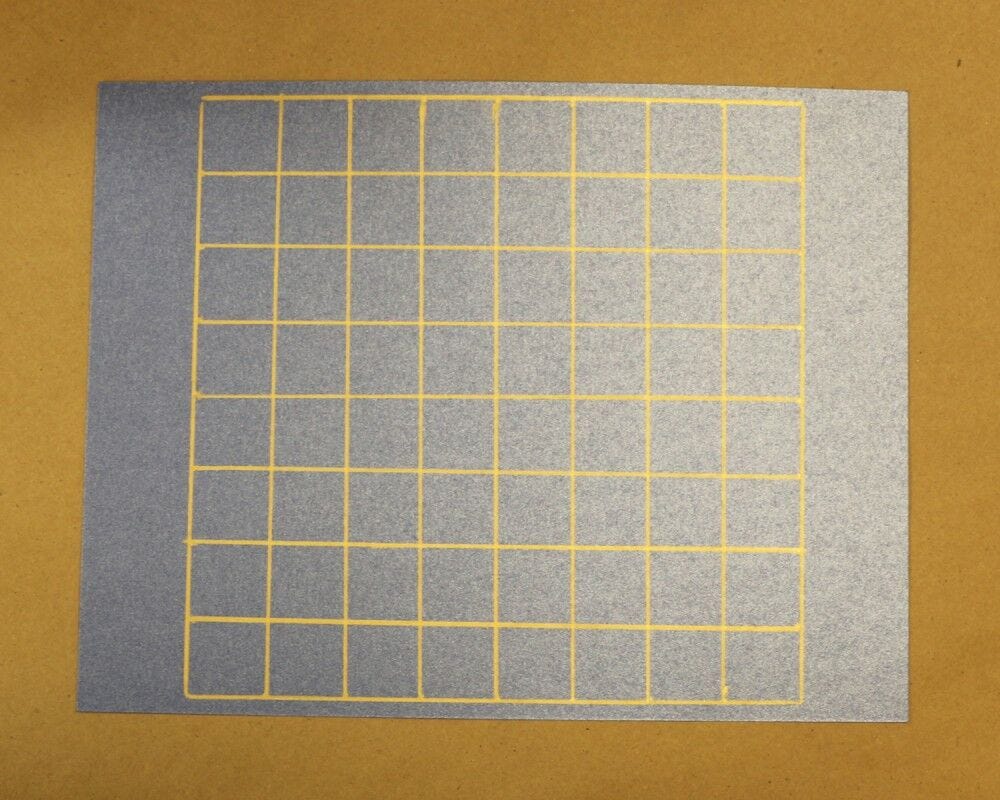
Next draw lines 1 inch apart from top to bottom and also side to side. This will create your 64 square grid needed to play.
Time to color! Drawing in every other square: make them solid, striped or whatever you desire. No 2 empty squres should touch.
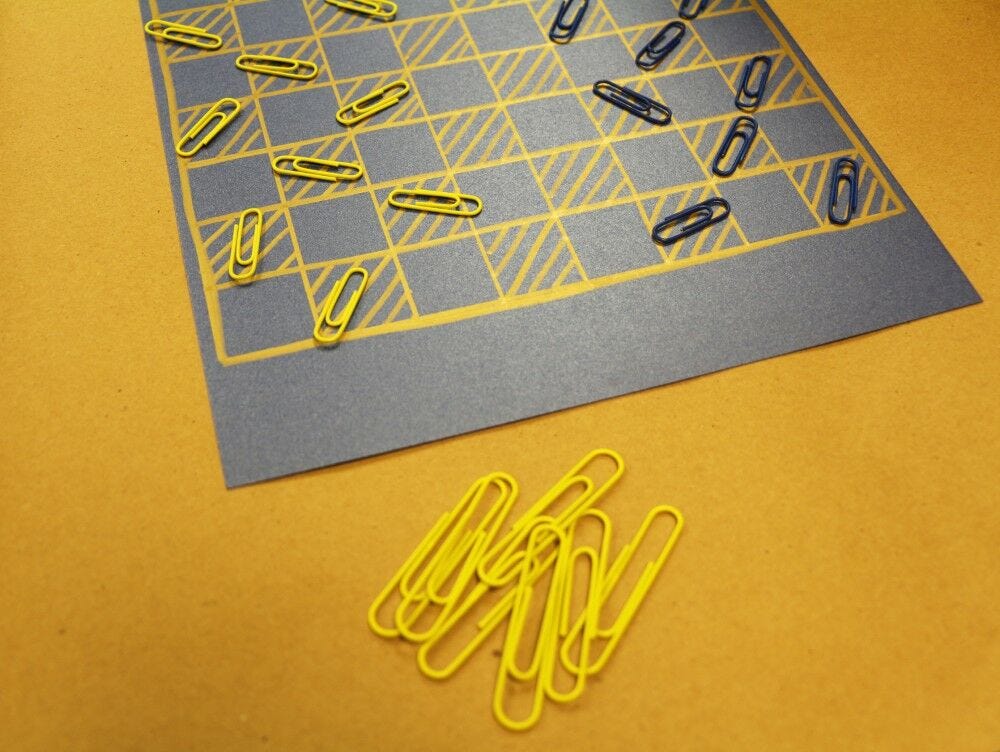
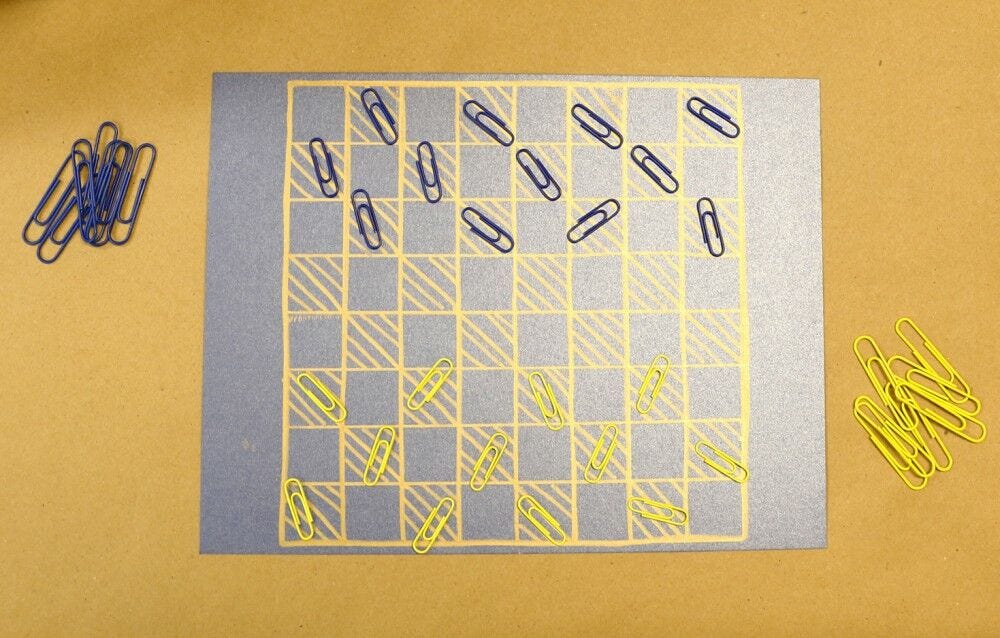
All you need is pieces to play. Grab whatever you have laying around: buttons, paper clips, binder clips... You need 12 pieces for each color. Here I choose our regular size paper clips for the pieces and the jumbo ones once one is kinged!
Now to learn how to play….
These are the standard US rules for Checkers:
First you need a partner! Checkers is played by two players. Each begins with 12 colored pieces usually red and black but here we used our paper clips.
Typically Black moves first. Players then alternate. (here you can flip a coin to decide who goes first)
In the beginning of the game: if it is your turn, you can move your piece one space forward in a diagonal direction to a dark square only. To win a game you need to move your pieces towards your opponent's side of the board. You can move quicker by jumping your opponent's pieces and then removing them from the board.
To capture: jump over their piece by moving two diagonal spaces in the direction of the checker, like you are hopping over your opponent's piece. Once you have jumped over them you can take that piece off the board!
But don’t forget! A space on the other side of your opponent’s checker must be empty to move to it.
A rule to remember: If you have the chance to jump your opponent, you have to take it.
If you capture a piece you only get to move forward once. But if your new spot gives you another opportunity to snag another piece, you can keep going until you can't jump any more.
When a piece reaches the furthest row from the player who controls that piece, it is crowned and becomes a king. In traditional checkers one of the pieces, which already has been captured would be placed on top of the ‘king’ so it is twice as high as a regular piece. Here we used our jumbo paper clips in place for a king.
Kings are limited to moving diagonally, but can move forward and backward, so it's easier for kings to capture your opponent's checkers.
A player wins the game when the opponent cannot make any more moves.
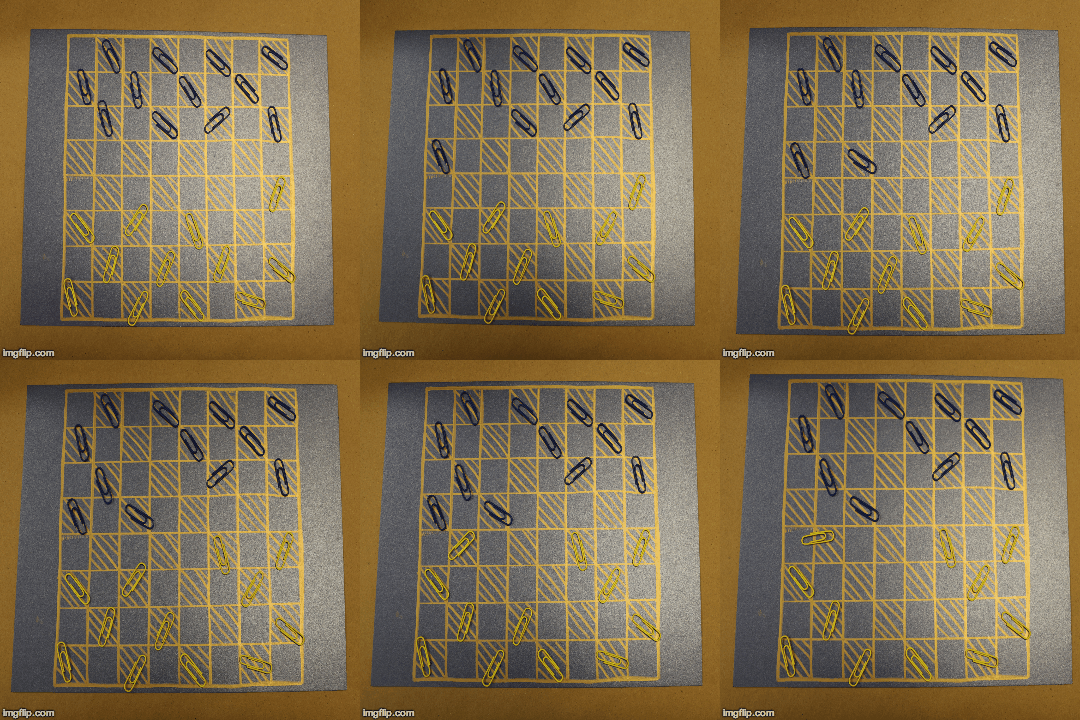
Game on!
this craft was inspired by this post on Scissors and Sage
Creating Your Own DIY Board Game: Checkers Edition
Are you a fan of board games and looking for a fun and creative project to take on? Why not try creating your own DIY board game, specifically a Checkers edition? DIY board games are a fantastic way to unleash your creativity and personalize your gaming experience. With a little bit of imagination and some basic crafting supplies, you can design a unique and entertaining game that you and your friends or family can enjoy. Not only is it a great way to spend quality time together, but it also allows you to customize the game to your preferences, making it even more enjoyable. So, roll up your sleeves and get ready to embark on a fun and rewarding DIY project that will result in hours of entertainment!
The Benefits of DIY Board Games
Creating your own DIY board game, such as a Checkers edition, offers a multitude of benefits. Not only does it provide a creative outlet for self-expression, but it also promotes critical thinking and problem-solving skills. Additionally, DIY board games can be tailored to suit the preferences and interests of the creator, resulting in a more personalized and enjoyable gaming experience. Furthermore, engaging in DIY projects can foster a sense of accomplishment and pride, as you witness your creation come to life. Overall, the benefits of DIY board games extend beyond mere entertainment, making it a worthwhile endeavor for individuals of all ages.
Use Cases for DIY Board Games
DIY board games, including a Checkers edition, can be utilized in various settings and scenarios. Whether it's for family game nights, classroom activities, or social gatherings, DIY board games offer a versatile form of entertainment. Additionally, they can serve as unique and thoughtful gifts for friends and loved ones, showcasing the time and effort invested in creating a personalized game. Furthermore, DIY board games can be used as educational tools to teach concepts such as strategy, decision-making, and sportsmanship. The possibilities are endless when it comes to the use cases for DIY board games, making them a valuable addition to any collection of games.
Alternatives to Traditional Board Games
While traditional board games are readily available for purchase, creating DIY board games, like a Checkers edition, presents a refreshing alternative. DIY board games allow for customization and personalization, offering a unique gaming experience that cannot be replicated by store-bought games. Additionally, DIY board games provide an opportunity for individuals to exercise their creativity and resourcefulness, resulting in a sense of ownership and pride in their creation. By exploring the world of DIY board games, you can discover a whole new realm of entertainment that goes beyond the confines of pre-made games.
Tips for Creating Your DIY Board Game: Checkers Edition
Embarking on a DIY board game project, particularly a Checkers edition, requires careful planning and execution. To ensure a successful outcome, consider the following tips: 1. Begin by brainstorming a theme or concept for your game to guide the design process. 2. Gather the necessary materials, such as a game board, playing pieces, and decorative elements. 3. Incorporate unique and personalized touches to make your DIY board game truly one-of-a-kind. 4. Test your game to ensure it is functional and enjoyable before sharing it with others. By following these tips, you can create a DIY board game that is both entertaining and meaningful.
Exploring the World of DIY Board Games
Delving into the realm of DIY board games, particularly a Checkers edition, opens up a world of creativity and endless possibilities. Whether you're a seasoned board game enthusiast or a newcomer to the hobby, creating your own DIY board game can be a fulfilling and enjoyable experience. By infusing your personal touch into the game, you can elevate the gaming experience and create lasting memories with friends and family. So, roll the dice and embark on a DIY adventure that will result in a unique and entertaining board game that is truly your own.


